
WHAT’S FOR DESSERT?
Chocolate Mint Tart
COOK TIME
TOTAL TIME
SERVINGS
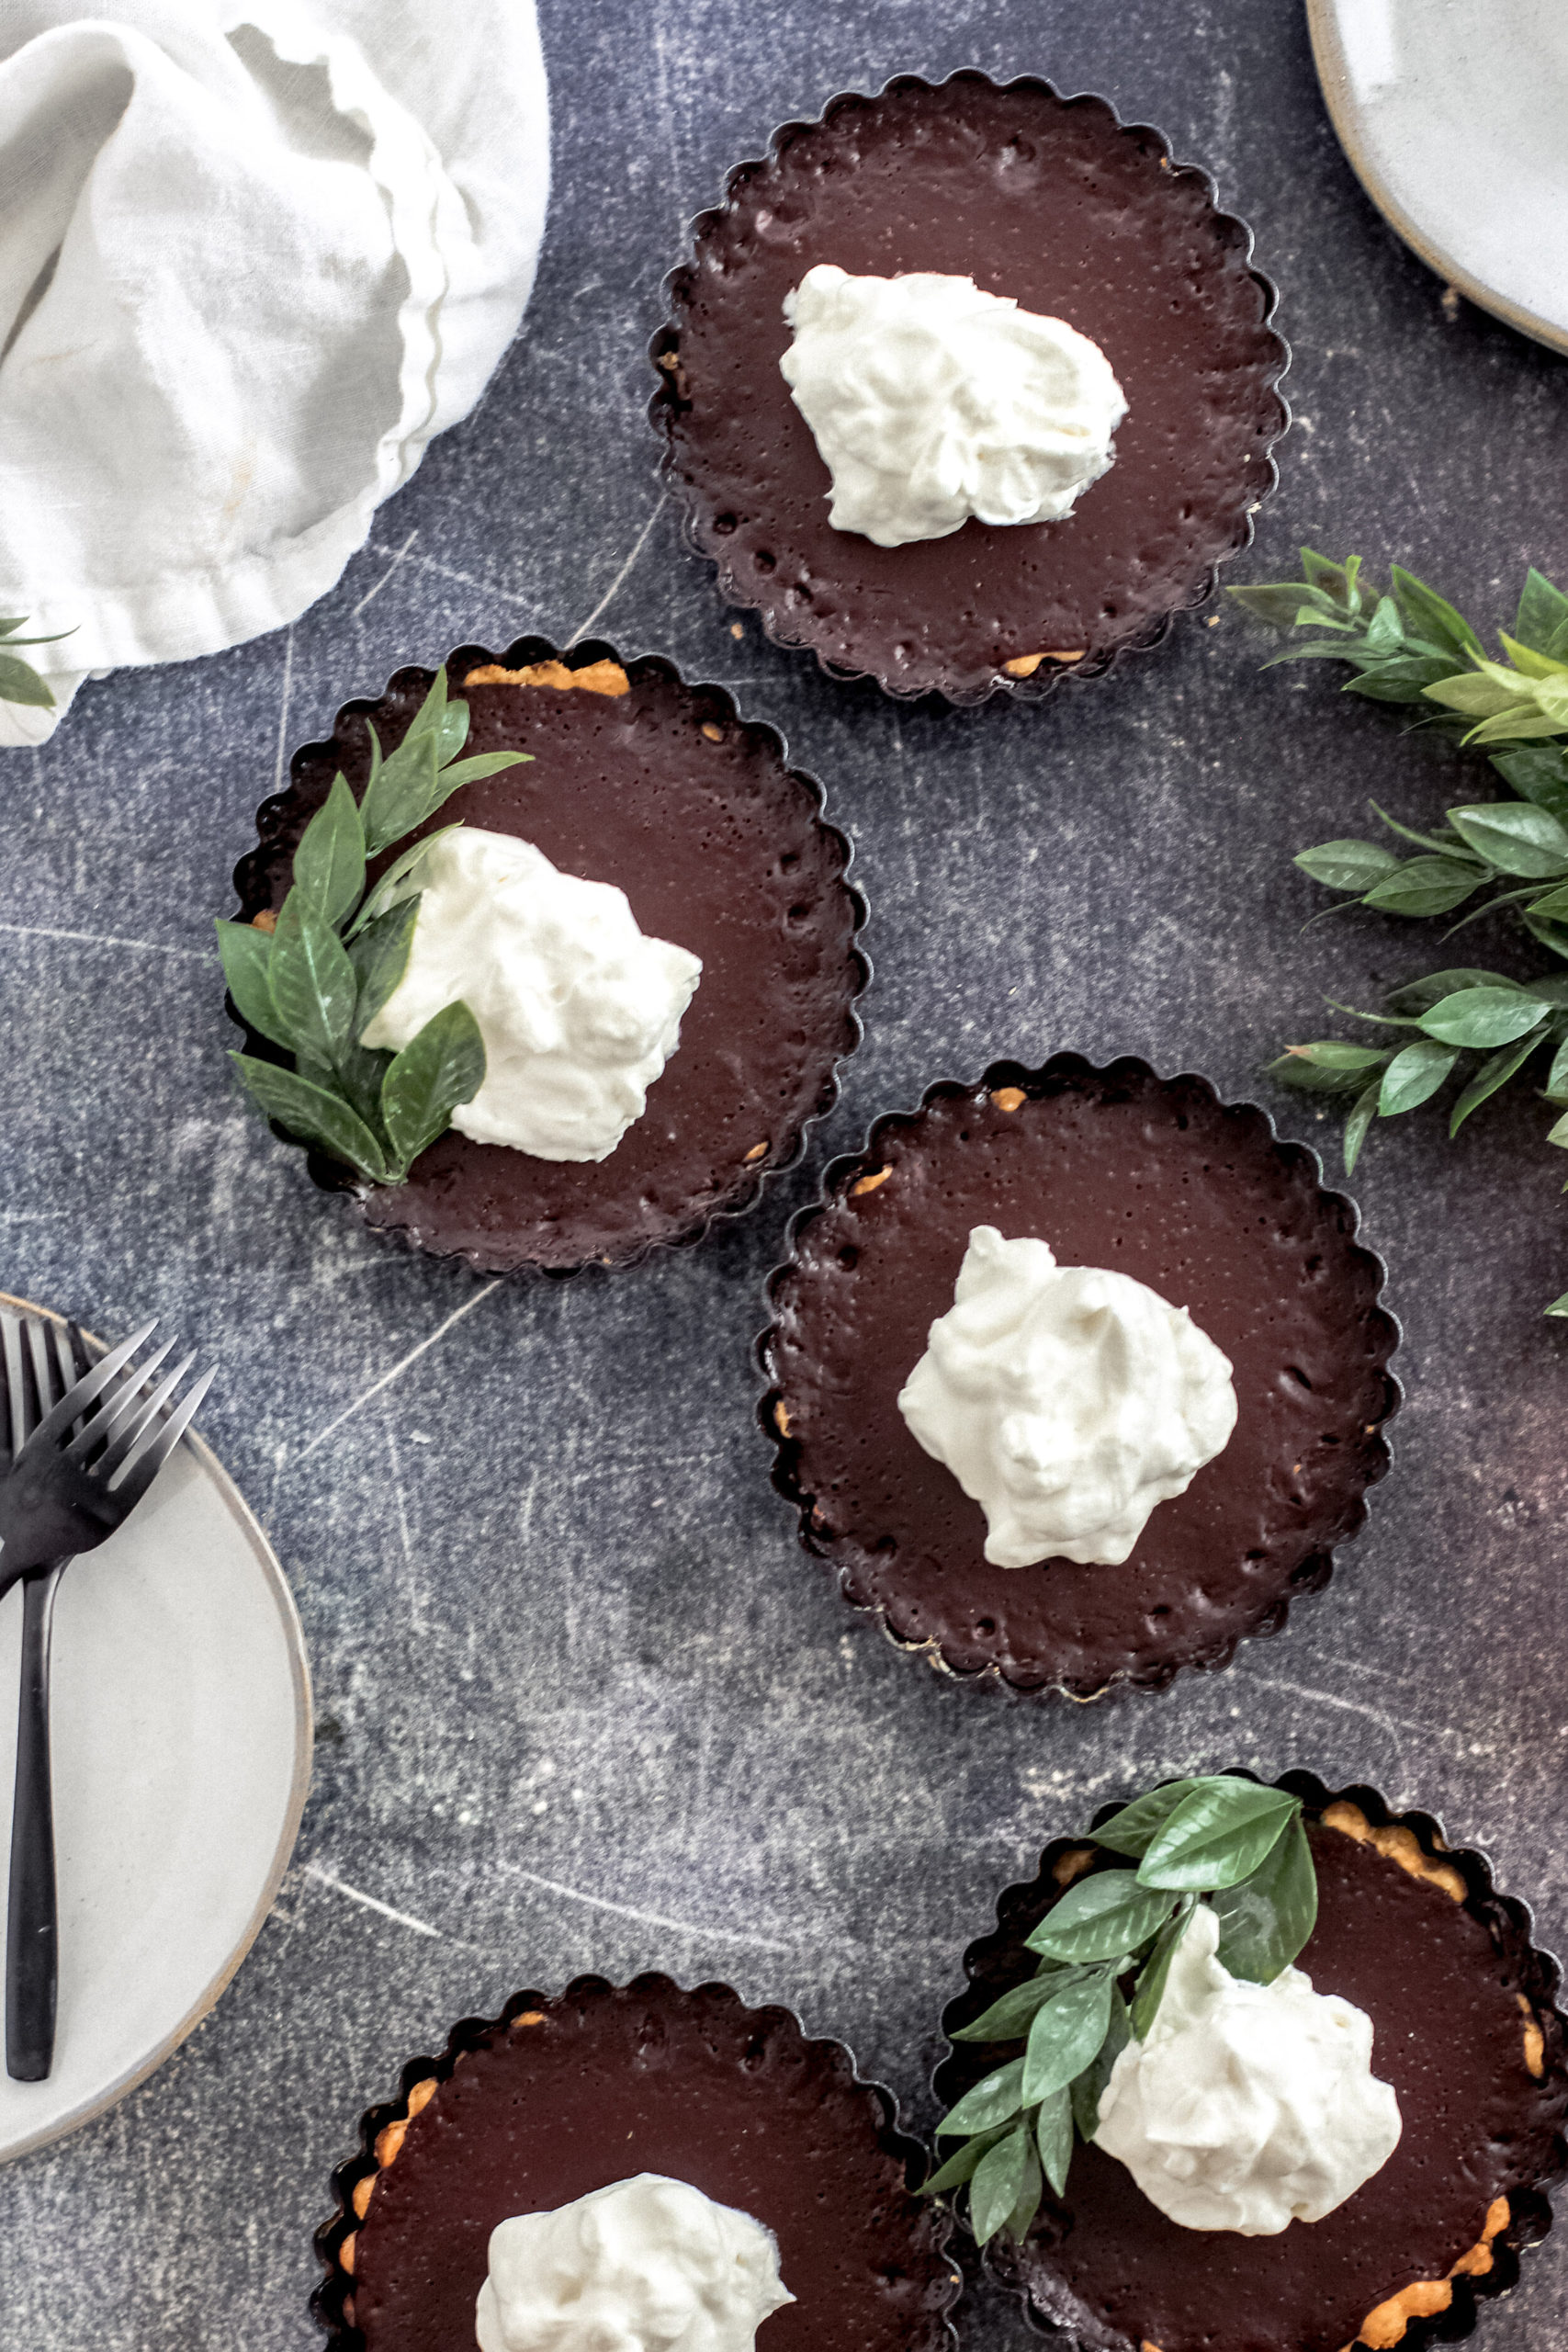
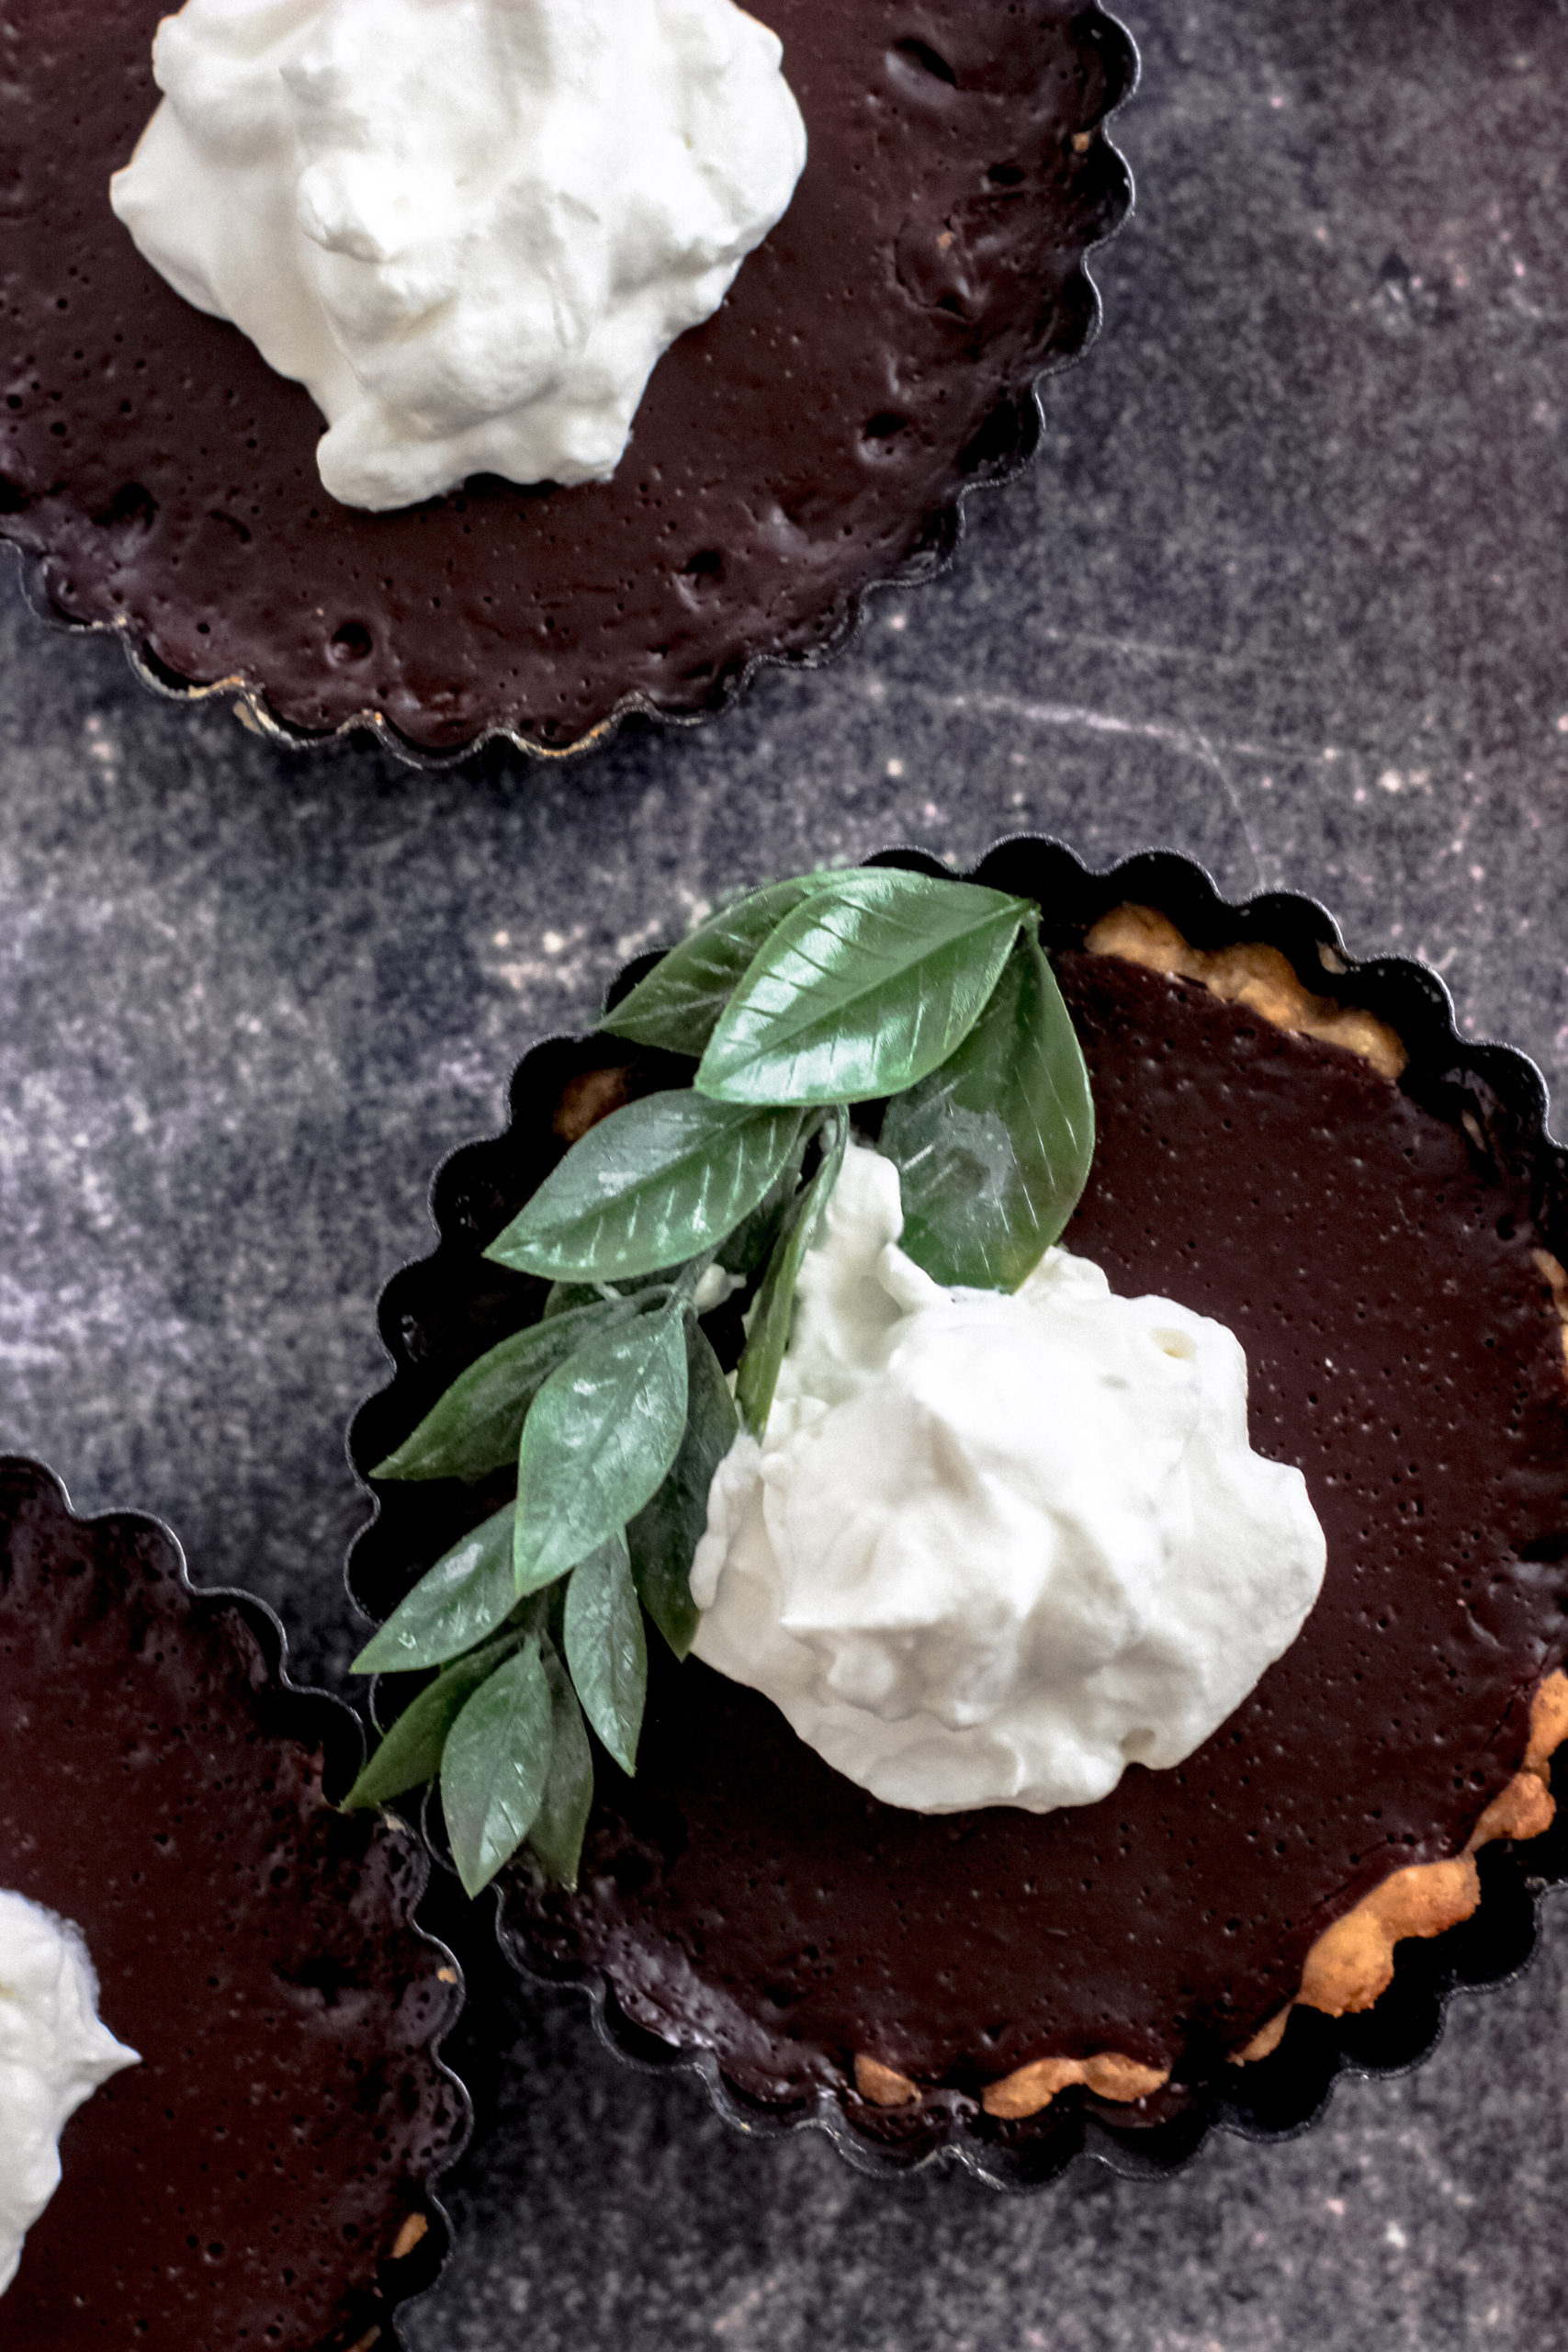
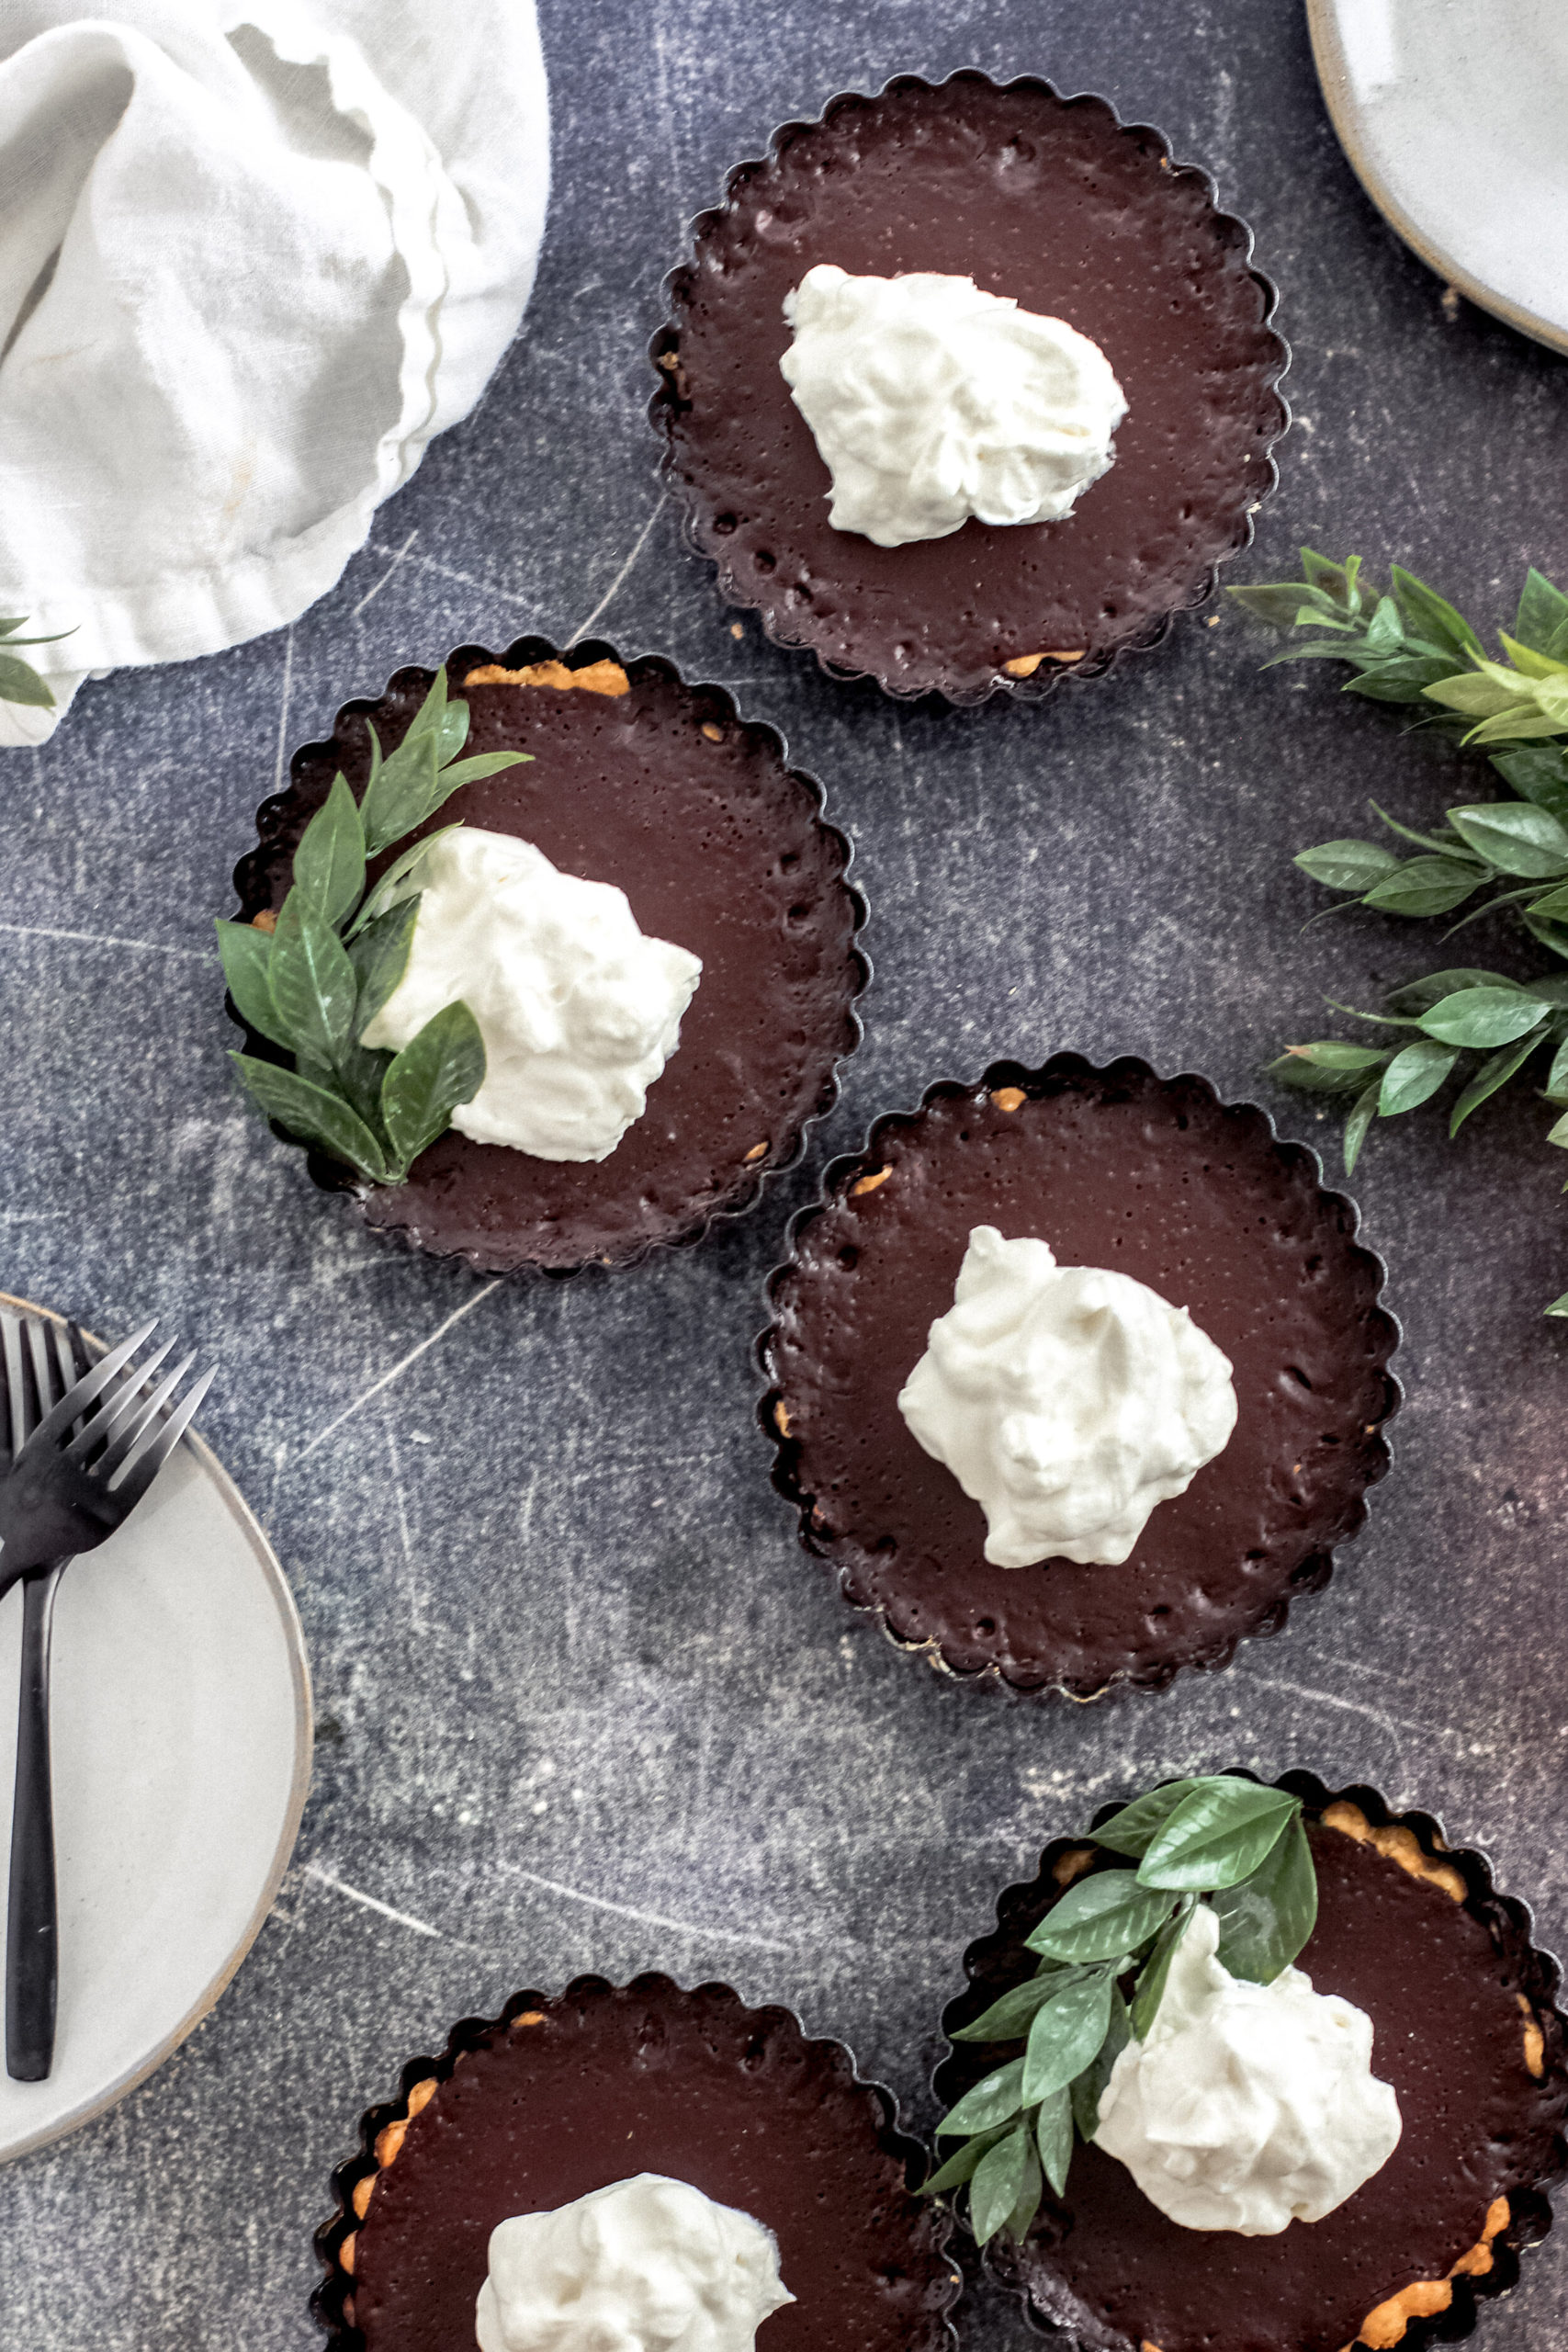
My sweet friend Michelle has the best podcast called The Busy Years Podcast. I found out that she actually lives in my city….and even better, about 1 mile away. What are the odds? She messaged me and said she had a chocolate mint plant in her backyard and asked if I wanted any of it to bake with. Yes, so much yes.
Her sweet little boys hand picked some chocolate mint for me to pick up and off I went to create. A lot of ideas, mostly with cocktails, but I figured I should probably make something that her boys cold enjoy too. I settled on mini chocolate tarts. Mostly because I wanted to use my tiny tart pans that rarely get used. Plus, it’s chocolate.
These are so good, so creamy, so rich with a subtle real mint flavor. Plus the tiny size makes you feel much better about devouring the whole thing. Easy recipe that you can use this crust recipe below or feel free to use a premade crust. Also, I used fresh chocolate mint leaves, but you could absolutely use peppermint extract or just leave it plain chocolate.
Be sure to follow me over @lolohomekitchen on Instagram and Facebook. Plus be sure to leave a comment!

Chocolate Mint Tart
Simple and beautiful Mini Chocolate Mint Tarts are filled with rich, creamy and delicious chocolate mint flavor. So good and fun to make for a special occasion or just a simple night at home.

Ingredients
Pastry Dough
2 cups all-purpose flour, plus more for dusting
3 Tablespoons sugar
1/4 teaspoon salt
3/4 cup (1 1/2 sticks) butter, cold and cut into small chunks
1 large egg, separated into yolk and white
2 Tablespoons ice water, plus more if needed
Chocolate Filling
1 cup heavy cream
1/2 cup milk
10 ounces semisweet chocolate, chopped
3–4 fresh chocolate mint leaves or 1 teaspoon peppermint extract
2 Tablespoons sugar
1/4 teaspoon kosher salt
2 large eggs, at room temperature
Instructions
- Pastry: In a large bowl, combine the flour, sugar and salt. Add the chunks of butter and mix with a pastry blender or just use your hands. You will want it to resemble coarse sand.
- Make a small well in the middle. In a small bowl, mix the egg yolk and 2 teaspoons of the ice water. Pour the egg mix into the wellin the pastry dough. Using your hand or a pastry blender again, mix until the dough holds all together but not sticky. If it’s too crumbly still, add a little more ie water. Mold the dough into a disk shape and wrap with plastic and refrigerate for at least 30 minutes.
- Once chilled, roll out the pastry on a lightly floured surface about 1/4 inch thick. If you are doing mini tarts, then use mini tart pans like cookie cutters to cut out dough. If you are using a larger pie tin, then you will roll up dough onto rolling pin and carefully roll out onto pie tin. Press the dough into the pan or mini tart pans so it fits tightly. Cut off any extra dough around the edges of pan. Place in the fridge again for about 15 minutes.
- Preheat oven to 350 degrees. Place the pans onto a cookie sheet. Line each tart with aluminum foil and then fill with pie weights or with uncooked beans to do a blind bake. Bake for 30 minutes, remove from oven and remove weights and foil. Then using a pastry brush, brush a lightly beaten egg white over the crust and bake again for about 8 minutes or until golden brown. Remove from the oven and set aside to cool. Move oven temp to 325 degrees.
- Filling: In a medium to large pot over medium heat, heat the heavy cream, milk and chocolate mint leaves or peppermint extract until it just starts to simmer around the edges. Remove from the heat and add chopped chocolate and stir until smooth. Add sugar and salt and whisk again. At this time, remove the chocolate mint leaves from the mixture.
- In a separate bowl, beat the eggs and then add to the chocolate mixture, stir until all is combined. Pour the filling into the tart shell and bake again at 325 for 15 minutes until set.
- Coll all the way before cutting. Add whipped cream to top and enjoy!
Notes


- Sign me up. Sign me up. Sign me up. Sign me up. Sign me up. Sign me up.
- Sign me up. Sign me up. Sign me up. Sign me up. Sign me up. Sign me up.
- Sign me up. Sign me up. Sign me up. Sign me up. Sign me up. Sign me up.
NEED IDEAS FOR FOODS YOUR KIDS
WILL *ACTUALLY* EAT?
Our best tips for quick and tasty recipes, ideas and more, right to your inbox.

