


Print
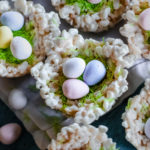
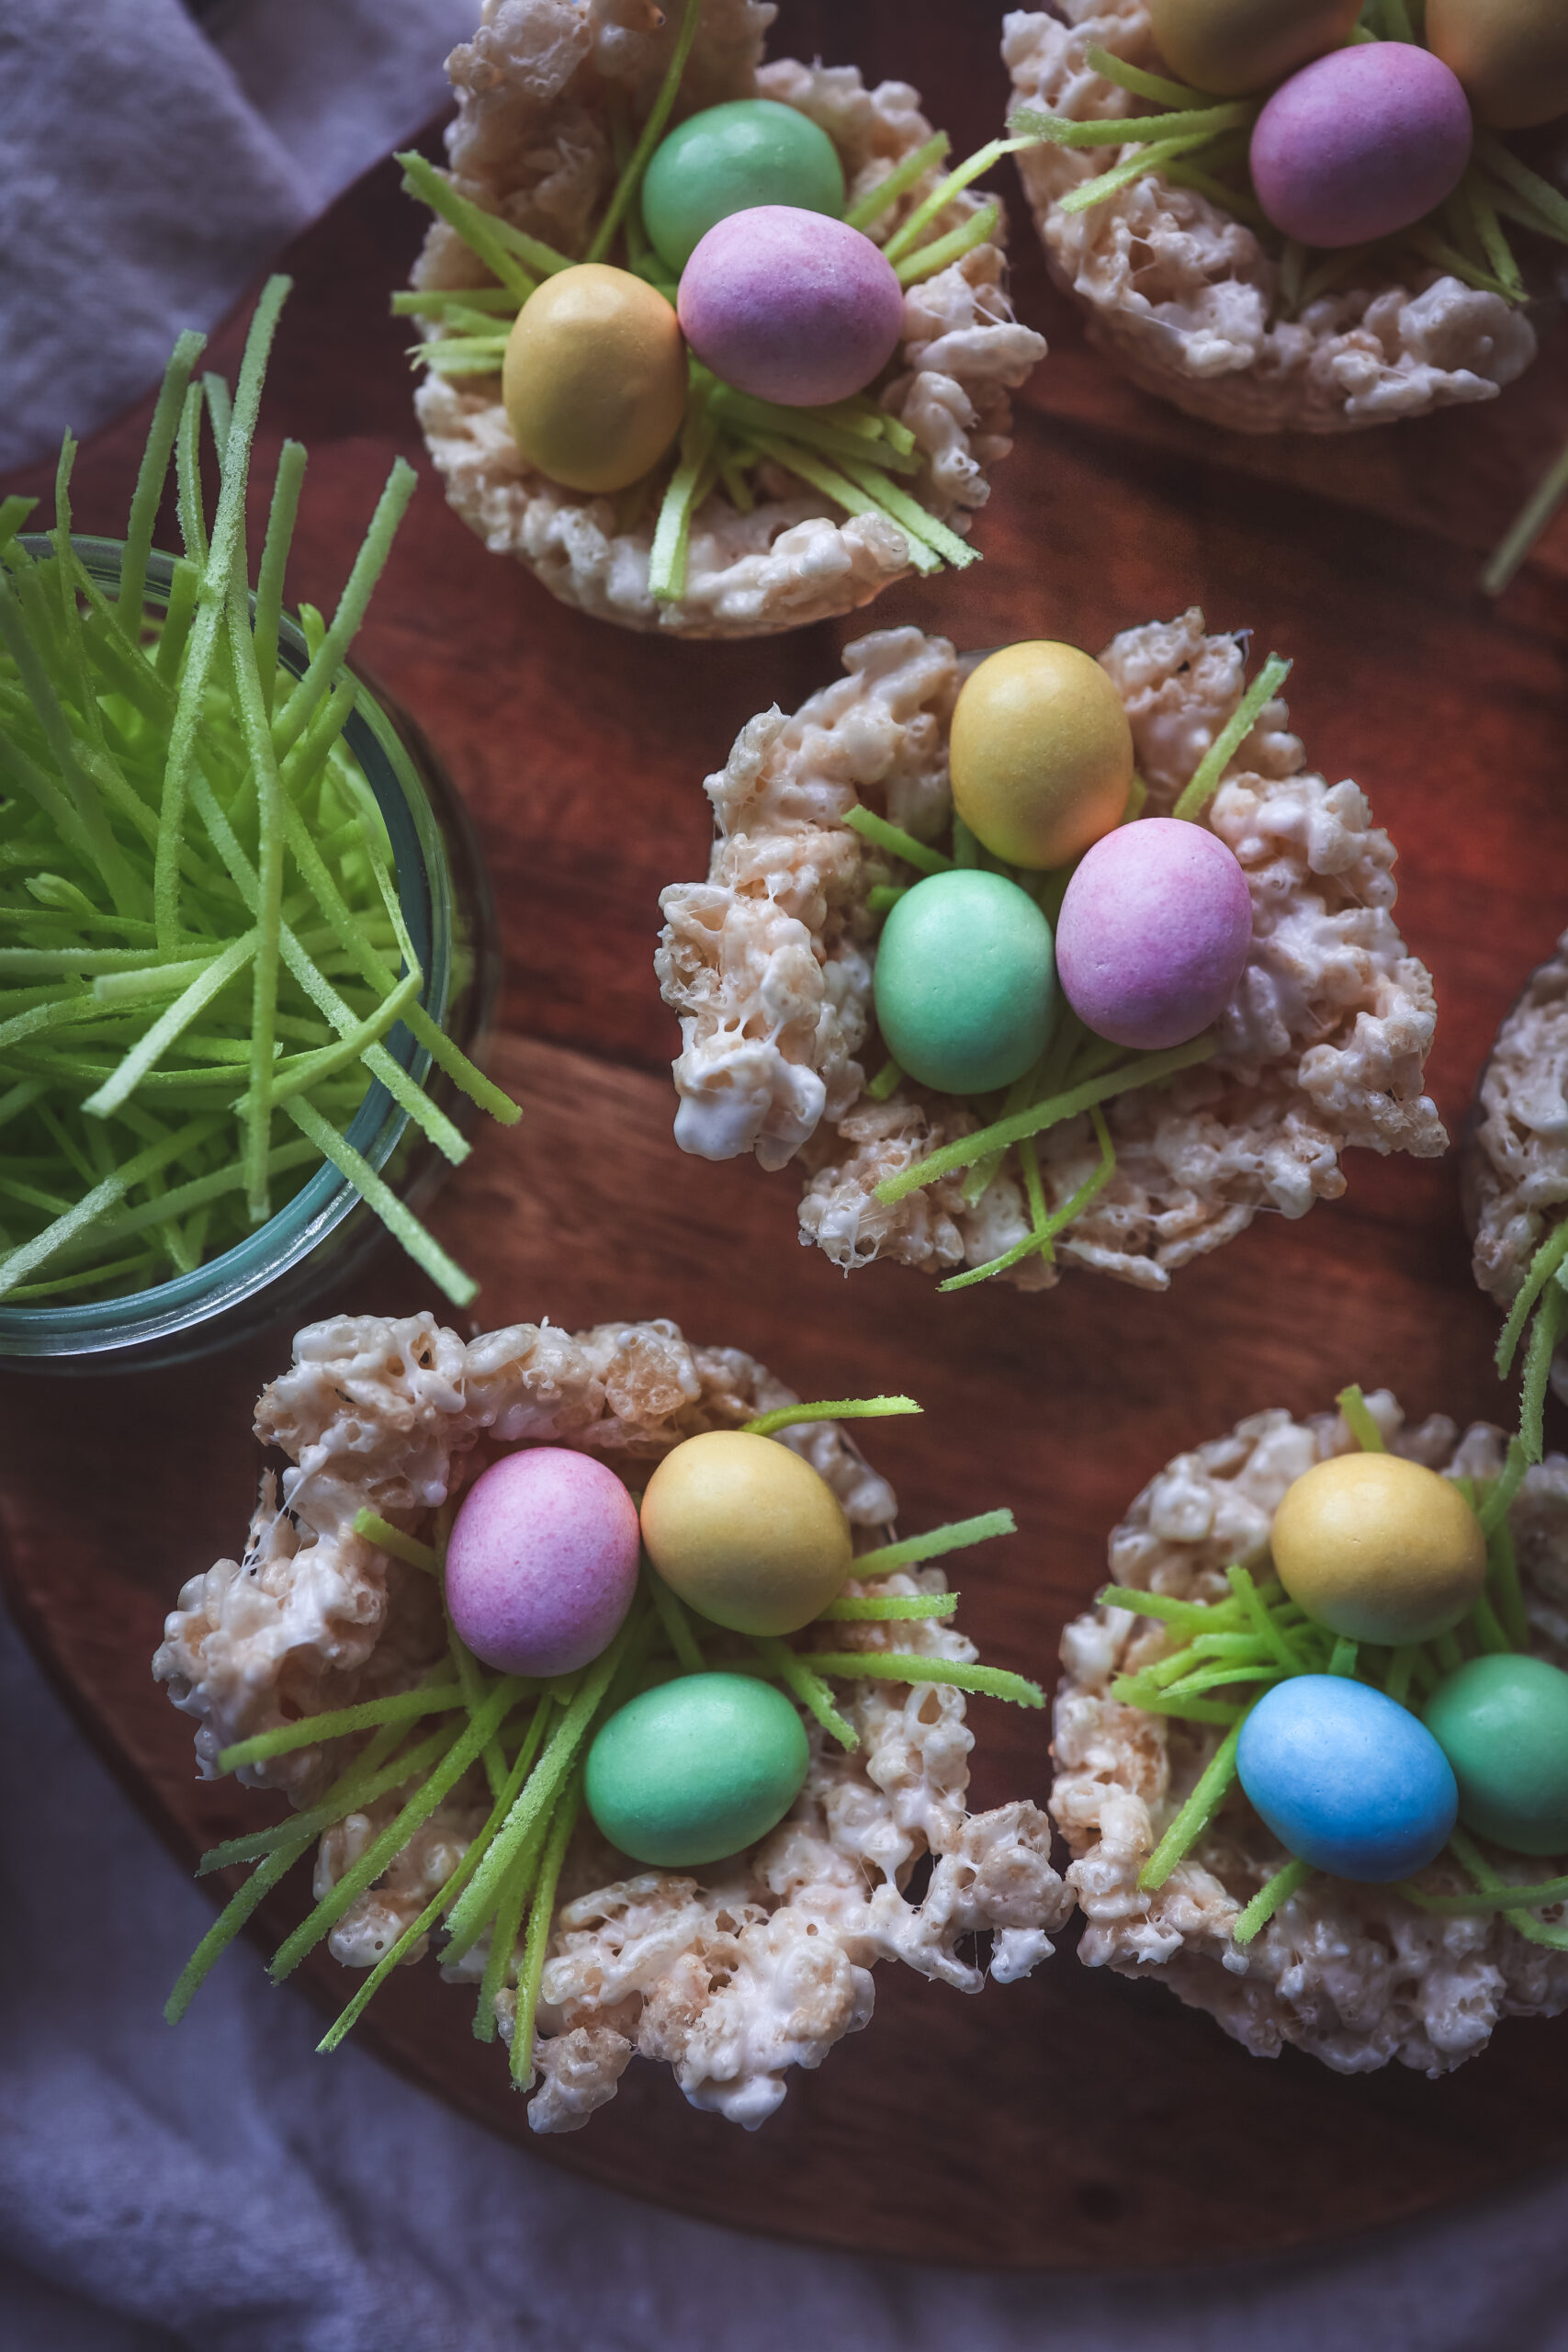
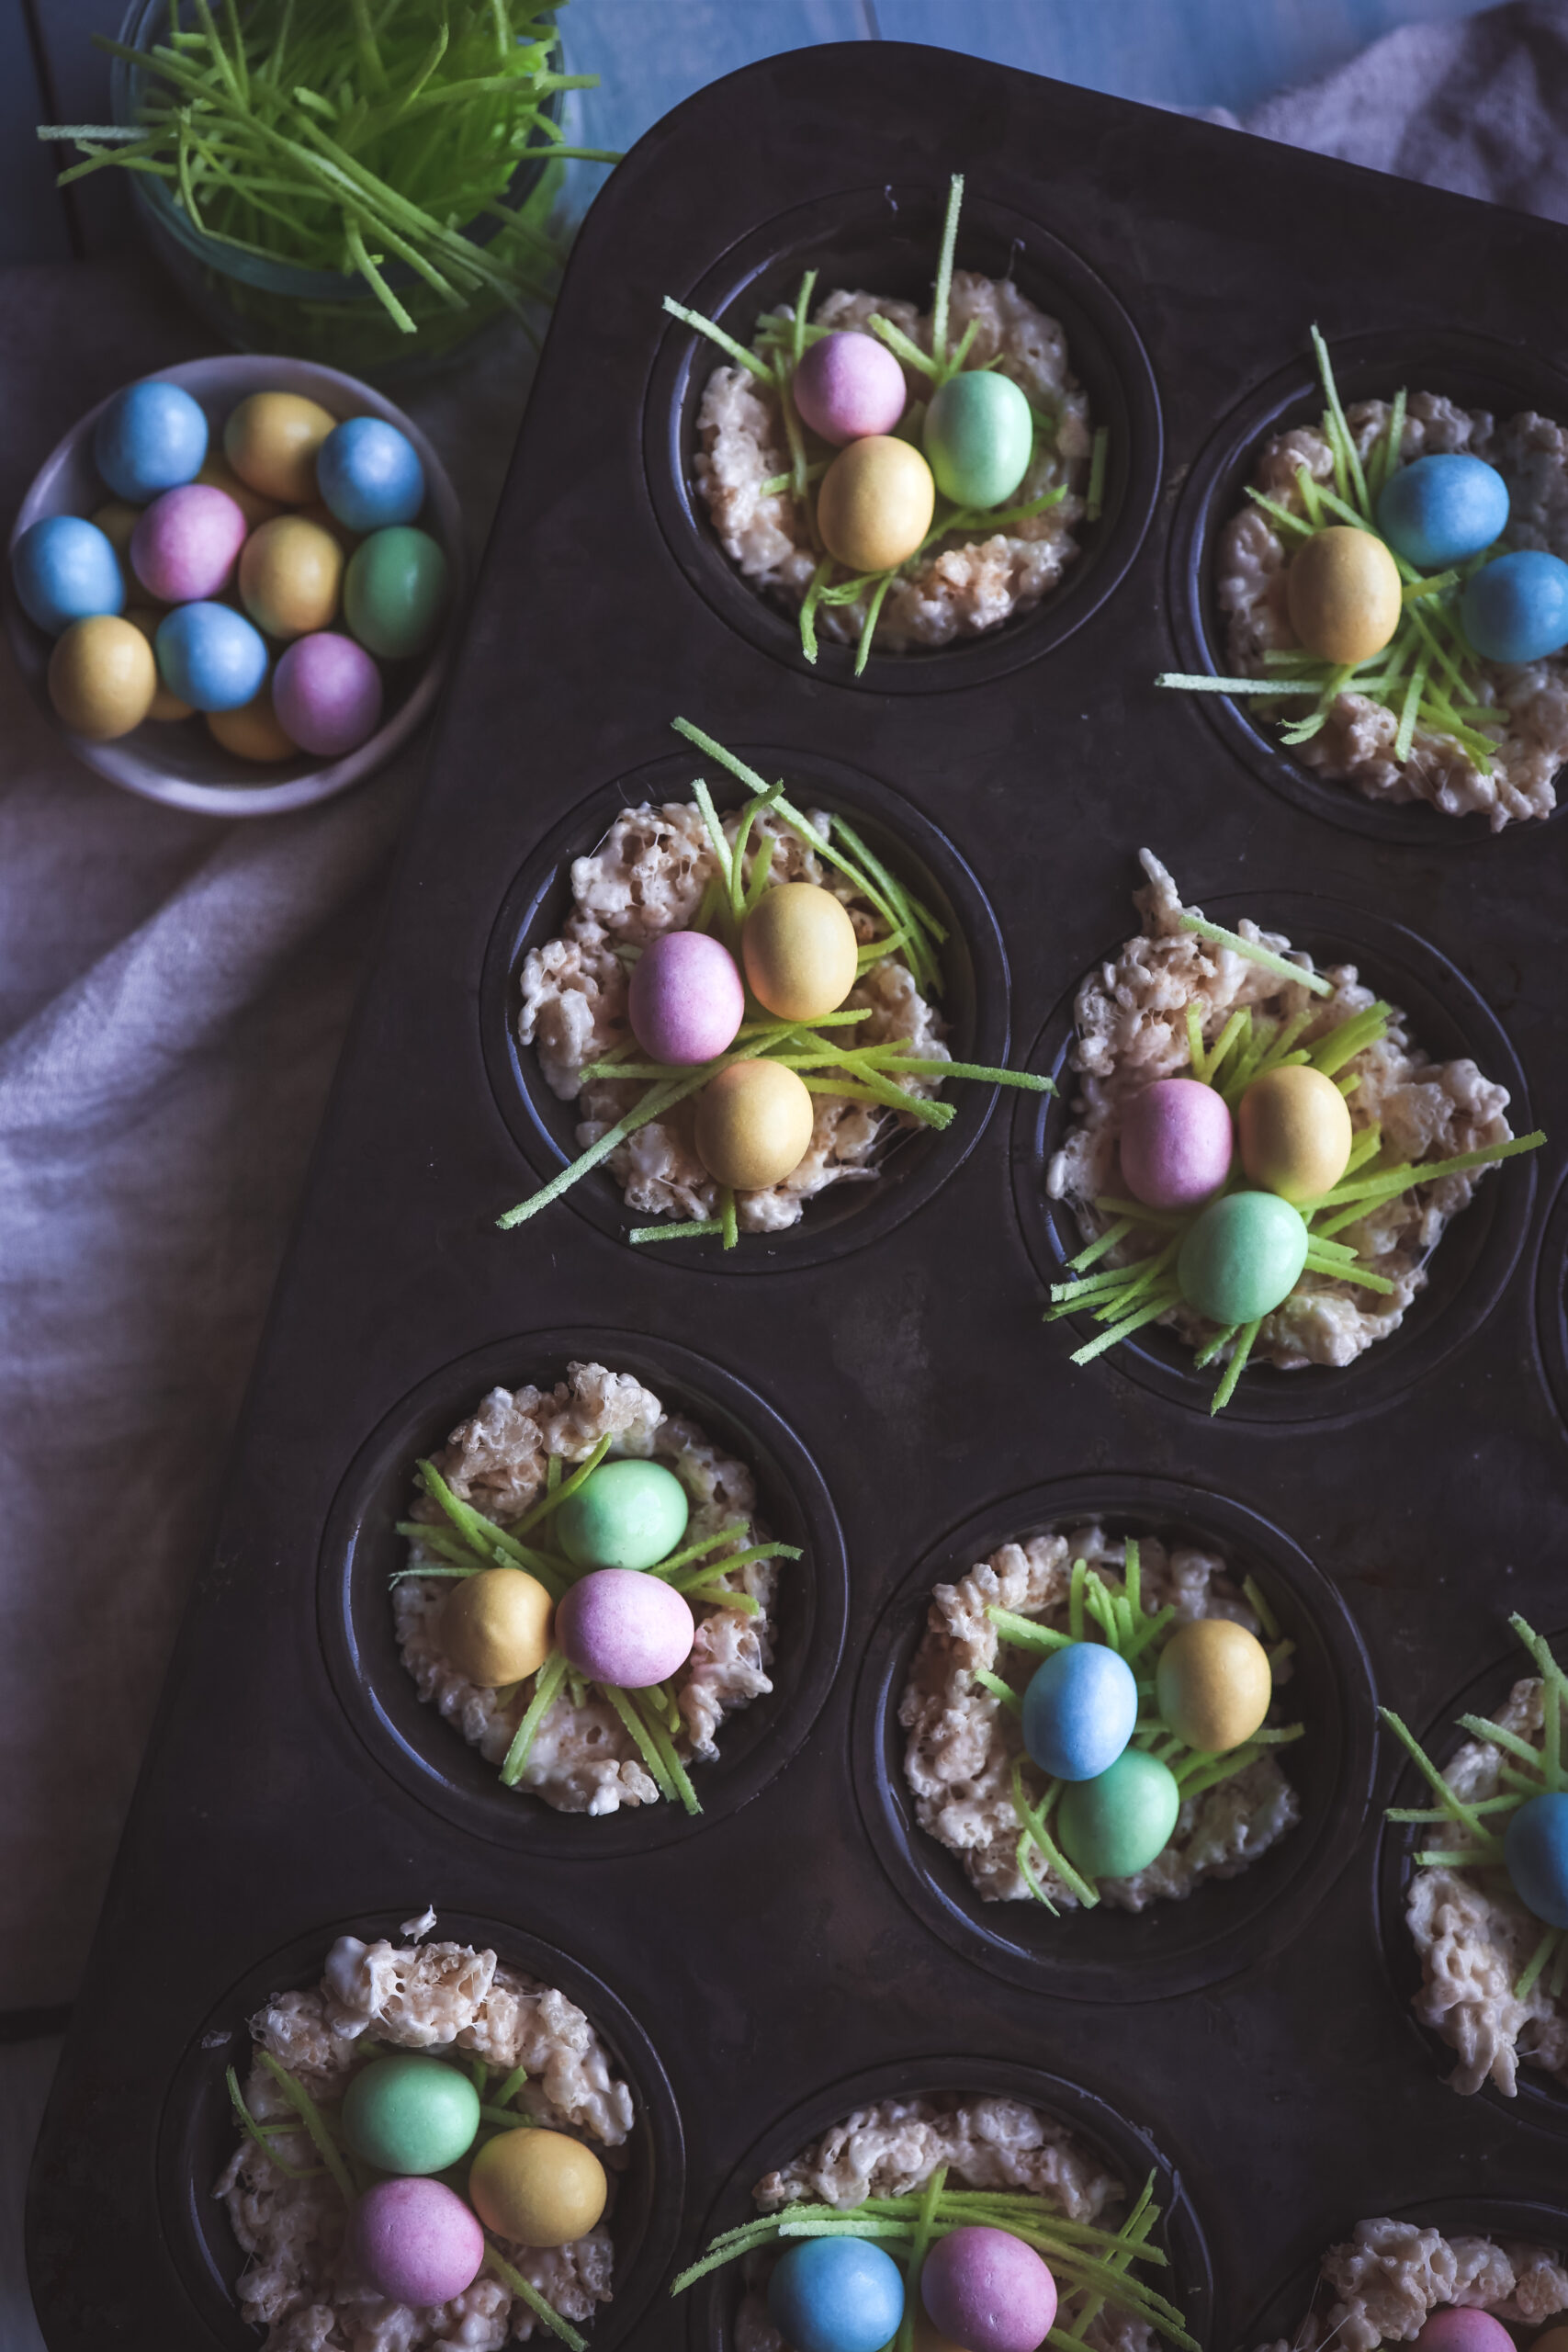
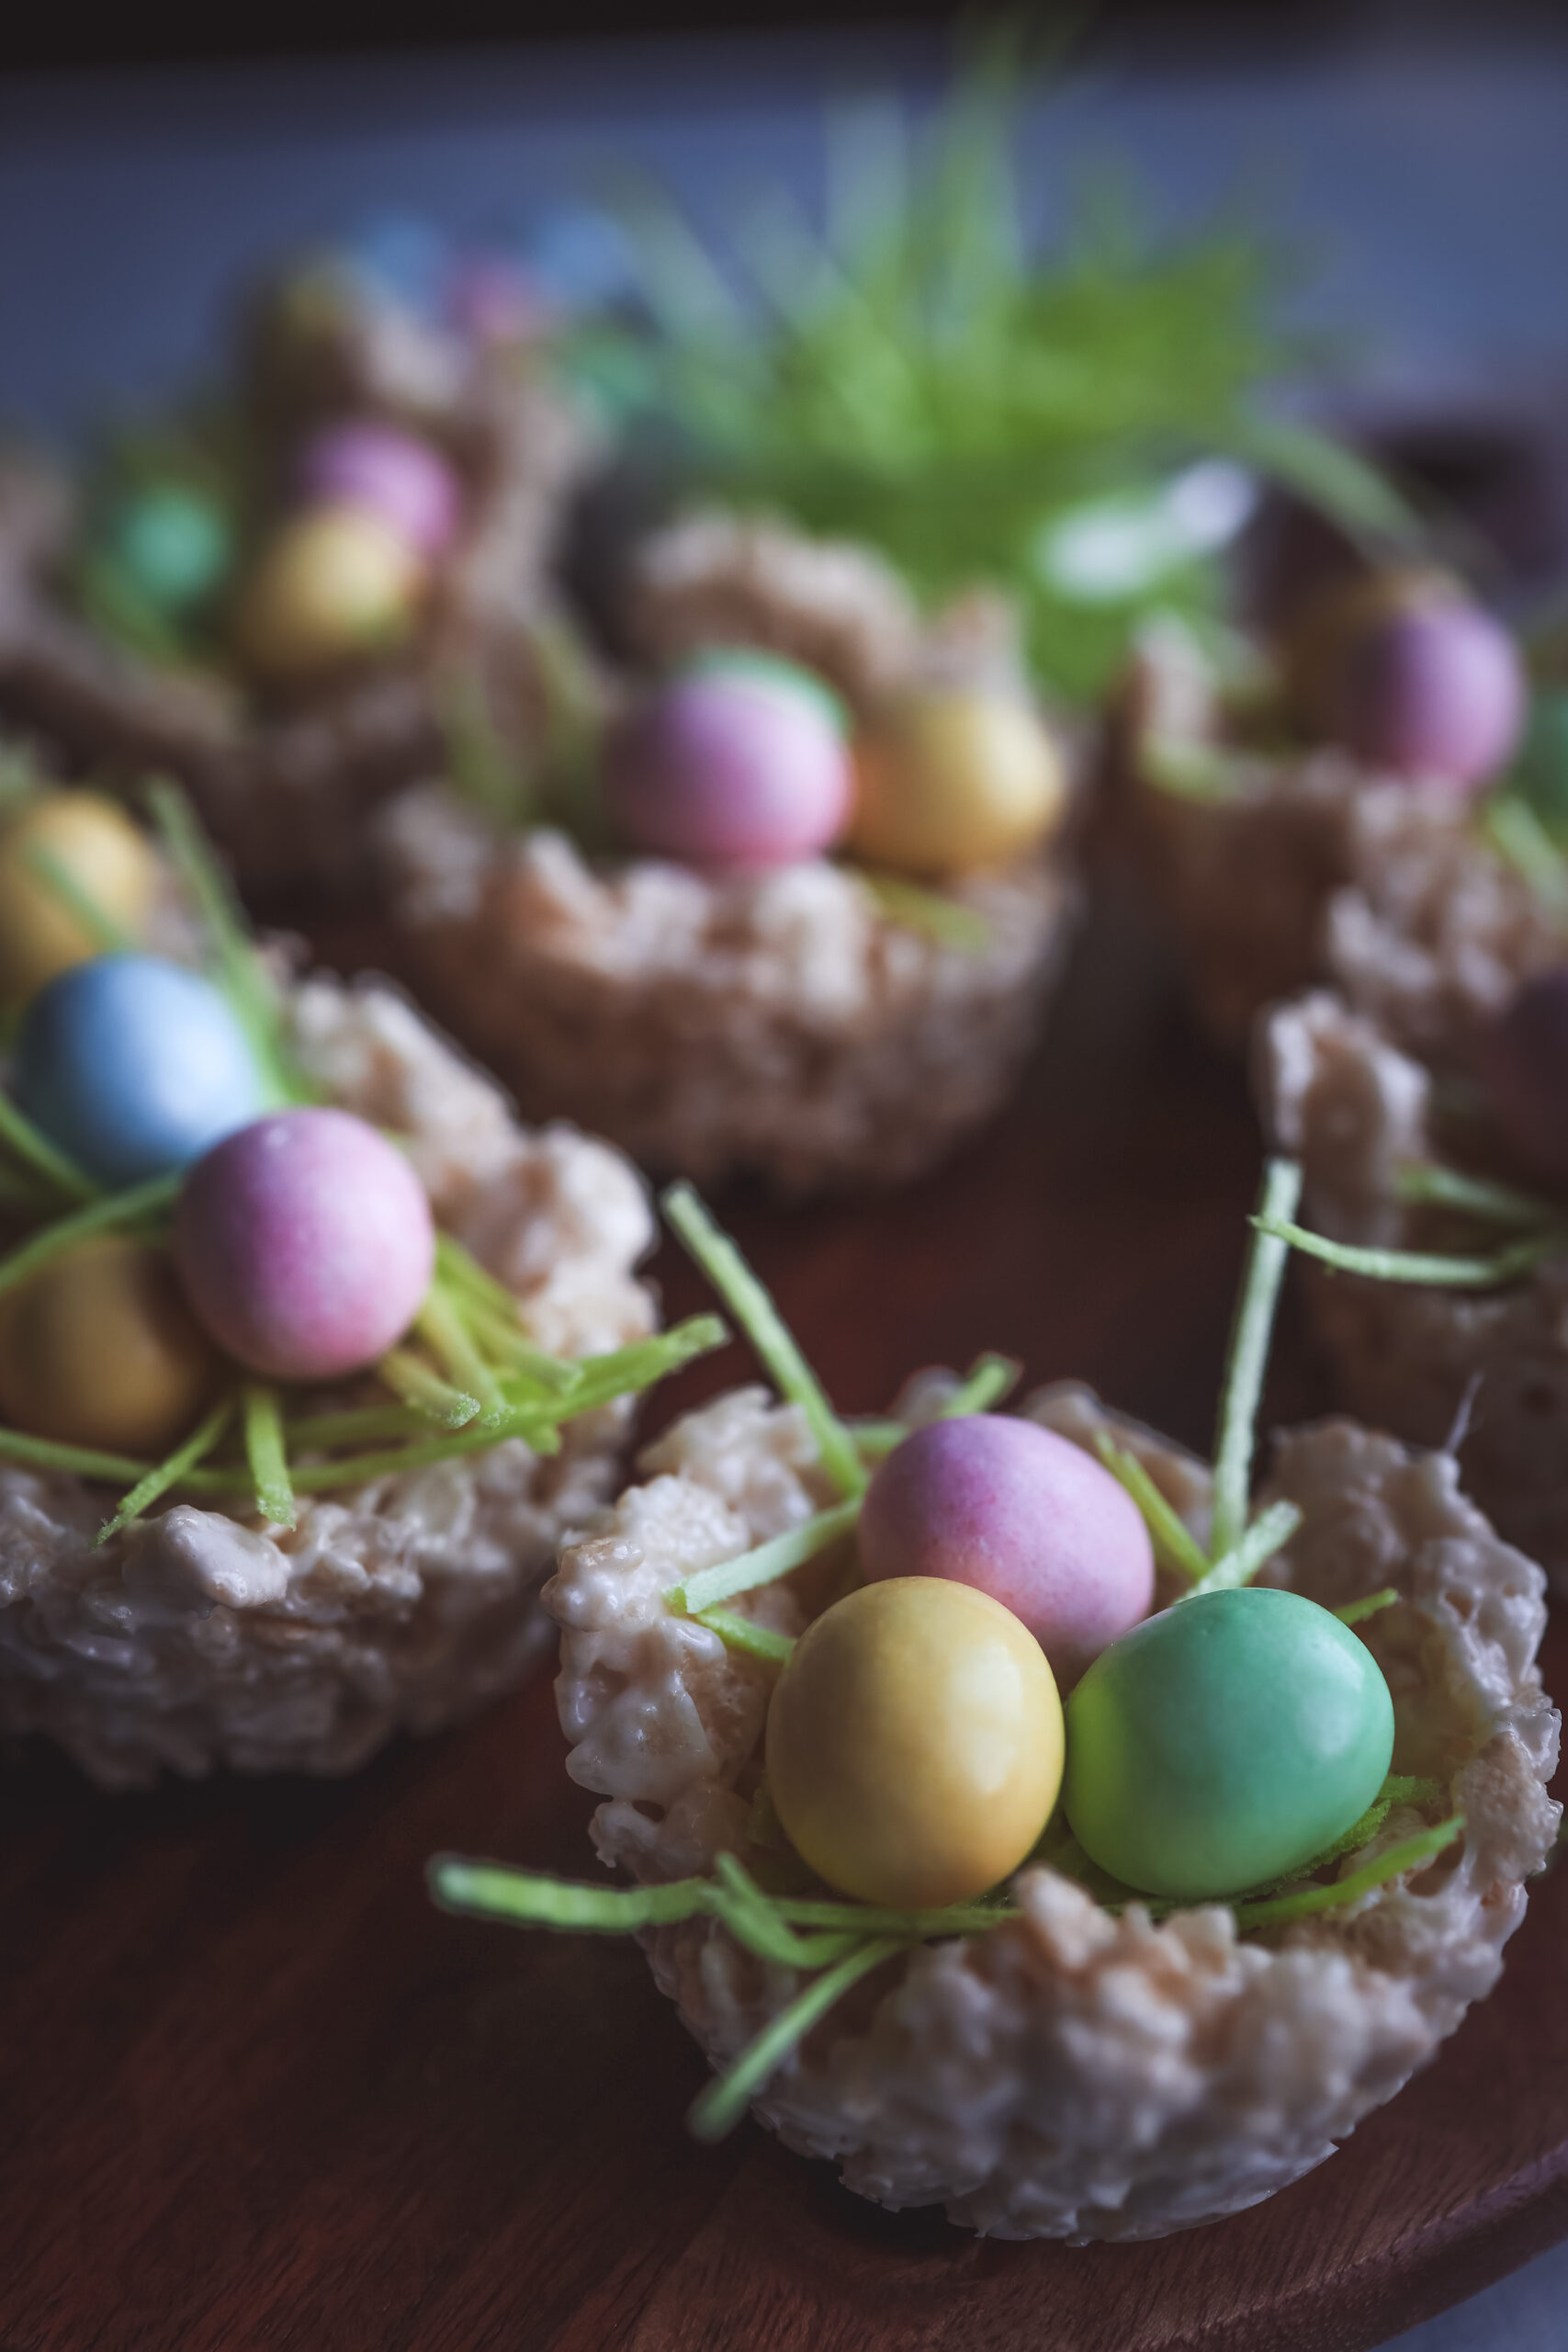
Rice Krispie Treat Bird Nests
I love these super easy and fun Spring Rice Krispie Treat Bird Nests. Great activity to get your kiddos involved in the kitchen.
Ingredients
4 tablespoons butter
6 cups Rice Krispies Cereal
1 package of large marshmallows
1/2 cup white chocolate chips
1 teaspoon pure vanilla extract
Edible grass candy, sprinkles, frosting, etc.
Chocolate eggs, jelly beans, M&Ms, etc
Instructions
- Spray a muffin tin with nonstick spray. Set aside.
- Melt the butter in a large saucepan on low heat. Once melted, add the marshmallows, white chocolate chips and vanilla. Continue to cook on low until everything is melted and smooth.
- Remove from the heat, add the Rice Krispies and stir until the cereal is well coated.
- Scoop a large spoonful of the Rice Krispie Treat mixture into the prepared muffin tin. Then you will press down the middle of the mixture to shape the mix to the cupcake tin. I find using a small square of parchment sprayed with nonstick spray to press down the mix works easiest. Set aside for 30-60 minutes for the nests to set.
- Once set, remove the nests from the cupcake tin. Sprinkle your grass into the bottom of the nest then add the candy eggs over the grass. Voila! Enjoy!
Notes