
These Spooky Eyeball Cookies are one of my favorite Halloween desserts! Soft, chewy chocolate cookies topped with silly candy eyeballs that make them look creepy and fun all at once. They come together in less than 30 minutes with simple ingredients, no fancy decorating needed!
There is nothing more spooooky than a pair of creepy eyeballs staring right at you…except maybe dozens of eyeballs staring back (like in these halloween eyeball cookies). But these eyeballs aren’t scary, they’re sweet candy surrounded by a soft, chewy chocolate cookie that easily puts you in the Halloween spirit!
If you look around, there are plenty of spooky eyeball cookie recipes out there, but most call for food coloring, frosting, or decorating that takes a bunch of time. These monster eyeball cookies skip all that work and still look (and taste) just as good if not better! The base is a rich chocolate cookie with candy eyeballs pressed on top. They’re quick to make and just spooky enough to grab everyone’s attention.
No decorating
Simple Ingredients
Kid Friendly
Great for Parties
Done in 30 Minutes
I make these every year for Halloween parties, my daughters school, and even at home in October, and they always disappear fast. Kids love the silly eyeballs, adults love the chocolatey cookies, and I love that they’re simple, fun, and come together so quickly!
Butter – As the fat portion of the cookie, butter creates a tender, chewy cookie texture with a buttery taste.
Brown and Granulated Sugar – White sugar helps the cookies spread and adds sweetness while brown sugar gives the cookies moisture and a slight caramel flavor, giving them a soft and chewy center.
Black Food Coloring (optional) – Deepens the color for extra spooky-looking cookies. Gel food coloring works best because it won’t water down the dough.
Egg – Acts as a binder to hold the ingredients together and adds richness.
Vanilla Extract – Boosts the chocolate flavor and gives the cookies a warm, bakery-style taste.
All-Purpose Flour – The structure of the cookie comes from flour which gives them stability and and a soft texture.
Unsweetened Cocoa Powder – Gives the rich chocolate flavor and dark color. Regular cocoa makes a lighter chocolate cookie, while dark cocoa powder gives an even spookier look.
Baking Soda – Helps the cookies spread and keeps the centers soft.
Salt – Balances the sweetness and makes the chocolate taste bolder.
Milk – Adds just enough moisture to keep the dough soft and easy to scoop.
Chocolate Chips – Give you melty chocolate in every bite. Semi-sweet chips work well, but you can swap in dark, milk, or even a mix for variety.
Candy Eyeballs – The fun Halloween detail! Press them gently into the dough before baking so they don’t slide off while in the oven.
Candy eyeballs have become a Halloween baking staple, so you’ll find plenty of options out there. Most grocery stores like Target and Walmart have them in the seasonal baking aisle in October, and craft stores such carry Wilton brand candy eyes year-round.
If you want the widest variety, Amazon has everything from regular size to tiny mini eyes to jumbo oversized ones, plus fun styles like bloodshot or colorful eyes if you want to make your cookies extra spooky.
Prepare for baking: Preheat the oven to 350°F and line a baking sheet with parchment paper to help prevent the cookies from sticking.
Mix the wet ingredients: In the bowl of a stand mixer or with a hand mixer, beat the softened butter, granulated sugar, and brown sugar together on medium-high speed until light and fluffy, about 2 minutes. If you’re using black food coloring, add a few drops here and mix again until fully blended. Mix in the egg and vanilla extract until smooth and combined. Scrape down the sides of the bowl to make sure everything is incorporated.
Combine the dry ingredients: In a separate bowl, whisk together the all-purpose flour, cocoa powder, baking soda, and salt. This step helps distribute the cocoa and leavening evenly throughout the dough.
Bring the dough together: Add the dry mixture to the butter mixture a little at a time, mixing on low speed until a dough forms. Pour in the milk and stir again until the dough is soft and easy to work with.
Mix in the chocolate chips: Gently fold in the chocolate chips so they’re evenly distributed.
Shape the cookies: Scoop about 2 tablespoons of dough, roll into a ball, and place onto the prepared baking sheet. Leave space between each cookie for spreading.
Add the candy eyeballs: Press candy eyeballs gently into the top of each dough ball. Don’t push too hard, just enough so they stick during baking.
Bake and cool: Bake for 10–11 minutes, or until the edges look set but the centers are still soft. Remove from the oven and let the cookies cool on the baking sheet for 5 minutes before transferring to a wire rack to cool completely. Enjoy!
Let the egg and butter come to room temperature so they blend smoothly into the dough and help create a more even texture.
Measure flour the right way by spooning it into the cup and leveling off, which keeps the cookies from turning out dense.
Chill the dough briefly if it feels sticky so it’s easier to roll into balls without making a mess on your hands.
Let the baking sheet cool between batches or your second round of cookies may spread more than the first.
Store the dough in the fridge if you’re baking in batches since room-temperature dough will spread faster than chilled dough.
Use light-colored baking sheets if you have them, since darker pans can cause the bottoms to over-brown.
Mix on low speed when adding dry ingredients to avoid overworking the flour, which can make cookies tough.
Make sure your baking soda is fresh because if it’s expired, it won’t give the cookies the right lift.
Leave cookies on a wire rack to cool completely so air circulates all around them and they set properly.
Scrape the bowl often because cocoa powder likes to stick to the bottom and sides, which can leave streaks if it’s not mixed in.
Leave space between dough balls because the cookies spread a little and need at least 2 inches to bake with nice edges.
Swap the chocolate chips for white chocolate chips to give the cookies a lighter bite and a fun contrast against the dark dough.
Use peanut butter chips instead of chocolate chips if you want a rich, Reese’s flavor.
Add Halloween sprinkles to the dough in orange, purple, or green for an extra Halloween pop of color.
Press in candy corn pieces with the eyeballs for a seasonal look (add them gently so they don’t melt too much in the oven).
Switch up the candy eyes size by using both mini and jumbo eyeballs so the cookies look extra silly and monster-like.
Add a teaspoon of espresso powder to the dough to deepen the chocolate flavor without making the cookies taste like coffee.
Turn them into sandwich cookies by spreading marshmallow fluff or buttercream between two cookies.
Try a gluten-free version by swapping in a cup-for-cup gluten-free flour blend that bakes like all-purpose flour.
Storing: Keep baked cookies in an airtight container at room temperature for up to 4–5 days. To keep their chewy texture, place a slice of bread in the container with the cookies as the bread will absorb excess moisture and keep the cookies soft. If your kitchen is very warm, you can also refrigerate them, but bring the cookies back to room temperature before serving.
Freezing: You can freeze both the baked cookies and the unbaked dough. For baked cookies, let them cool completely, then store them in a freezer-safe bag or container for up to 2 months. For dough, scoop and roll into balls, press the candy eyeballs on top, and place on a sheet pan in the freezer until solid. Once frozen, transfer to a bag or container and bake straight from frozen, just add an extra minute or two to the bake time.
Can I use premade cookie dough instead?
Yes, premade dough works if you’re short on time. Just scoop the dough, press on the candy eyeballs, and bake as directed. The cookies won’t have the same deep chocolate flavor, but they’ll still be festive and fun!
How do I keep the eyeballs from melting or sliding?
Press them gently into the top of the dough balls just before baking. If you push too far, they can sink into the cookie or warp in the oven.
Do they have to be chocolate flavored?
Not at all! Chocolate makes them dark and spooky, but you can use a sugar cookie or peanut butter cookie base. Just press the candy eyeballs on before baking to get the same effect.
Can I make the dough ahead of time?
Yes, the dough can be made up to 2 days in advance and kept covered in the fridge. Let it sit at room temperature for 10–15 minutes before scooping and baking.
Are these cookies good for school parties or bake sales?
Yes, they’re sturdy and easy to transport. You can even wrap them individually in small bags for a grab-and-go Halloween treat.
Will the cookies stay soft after baking?
Yes, these cookies stay chewy for several days if stored properly. To help keep them soft, store them in an airtight container with a slice of bread.
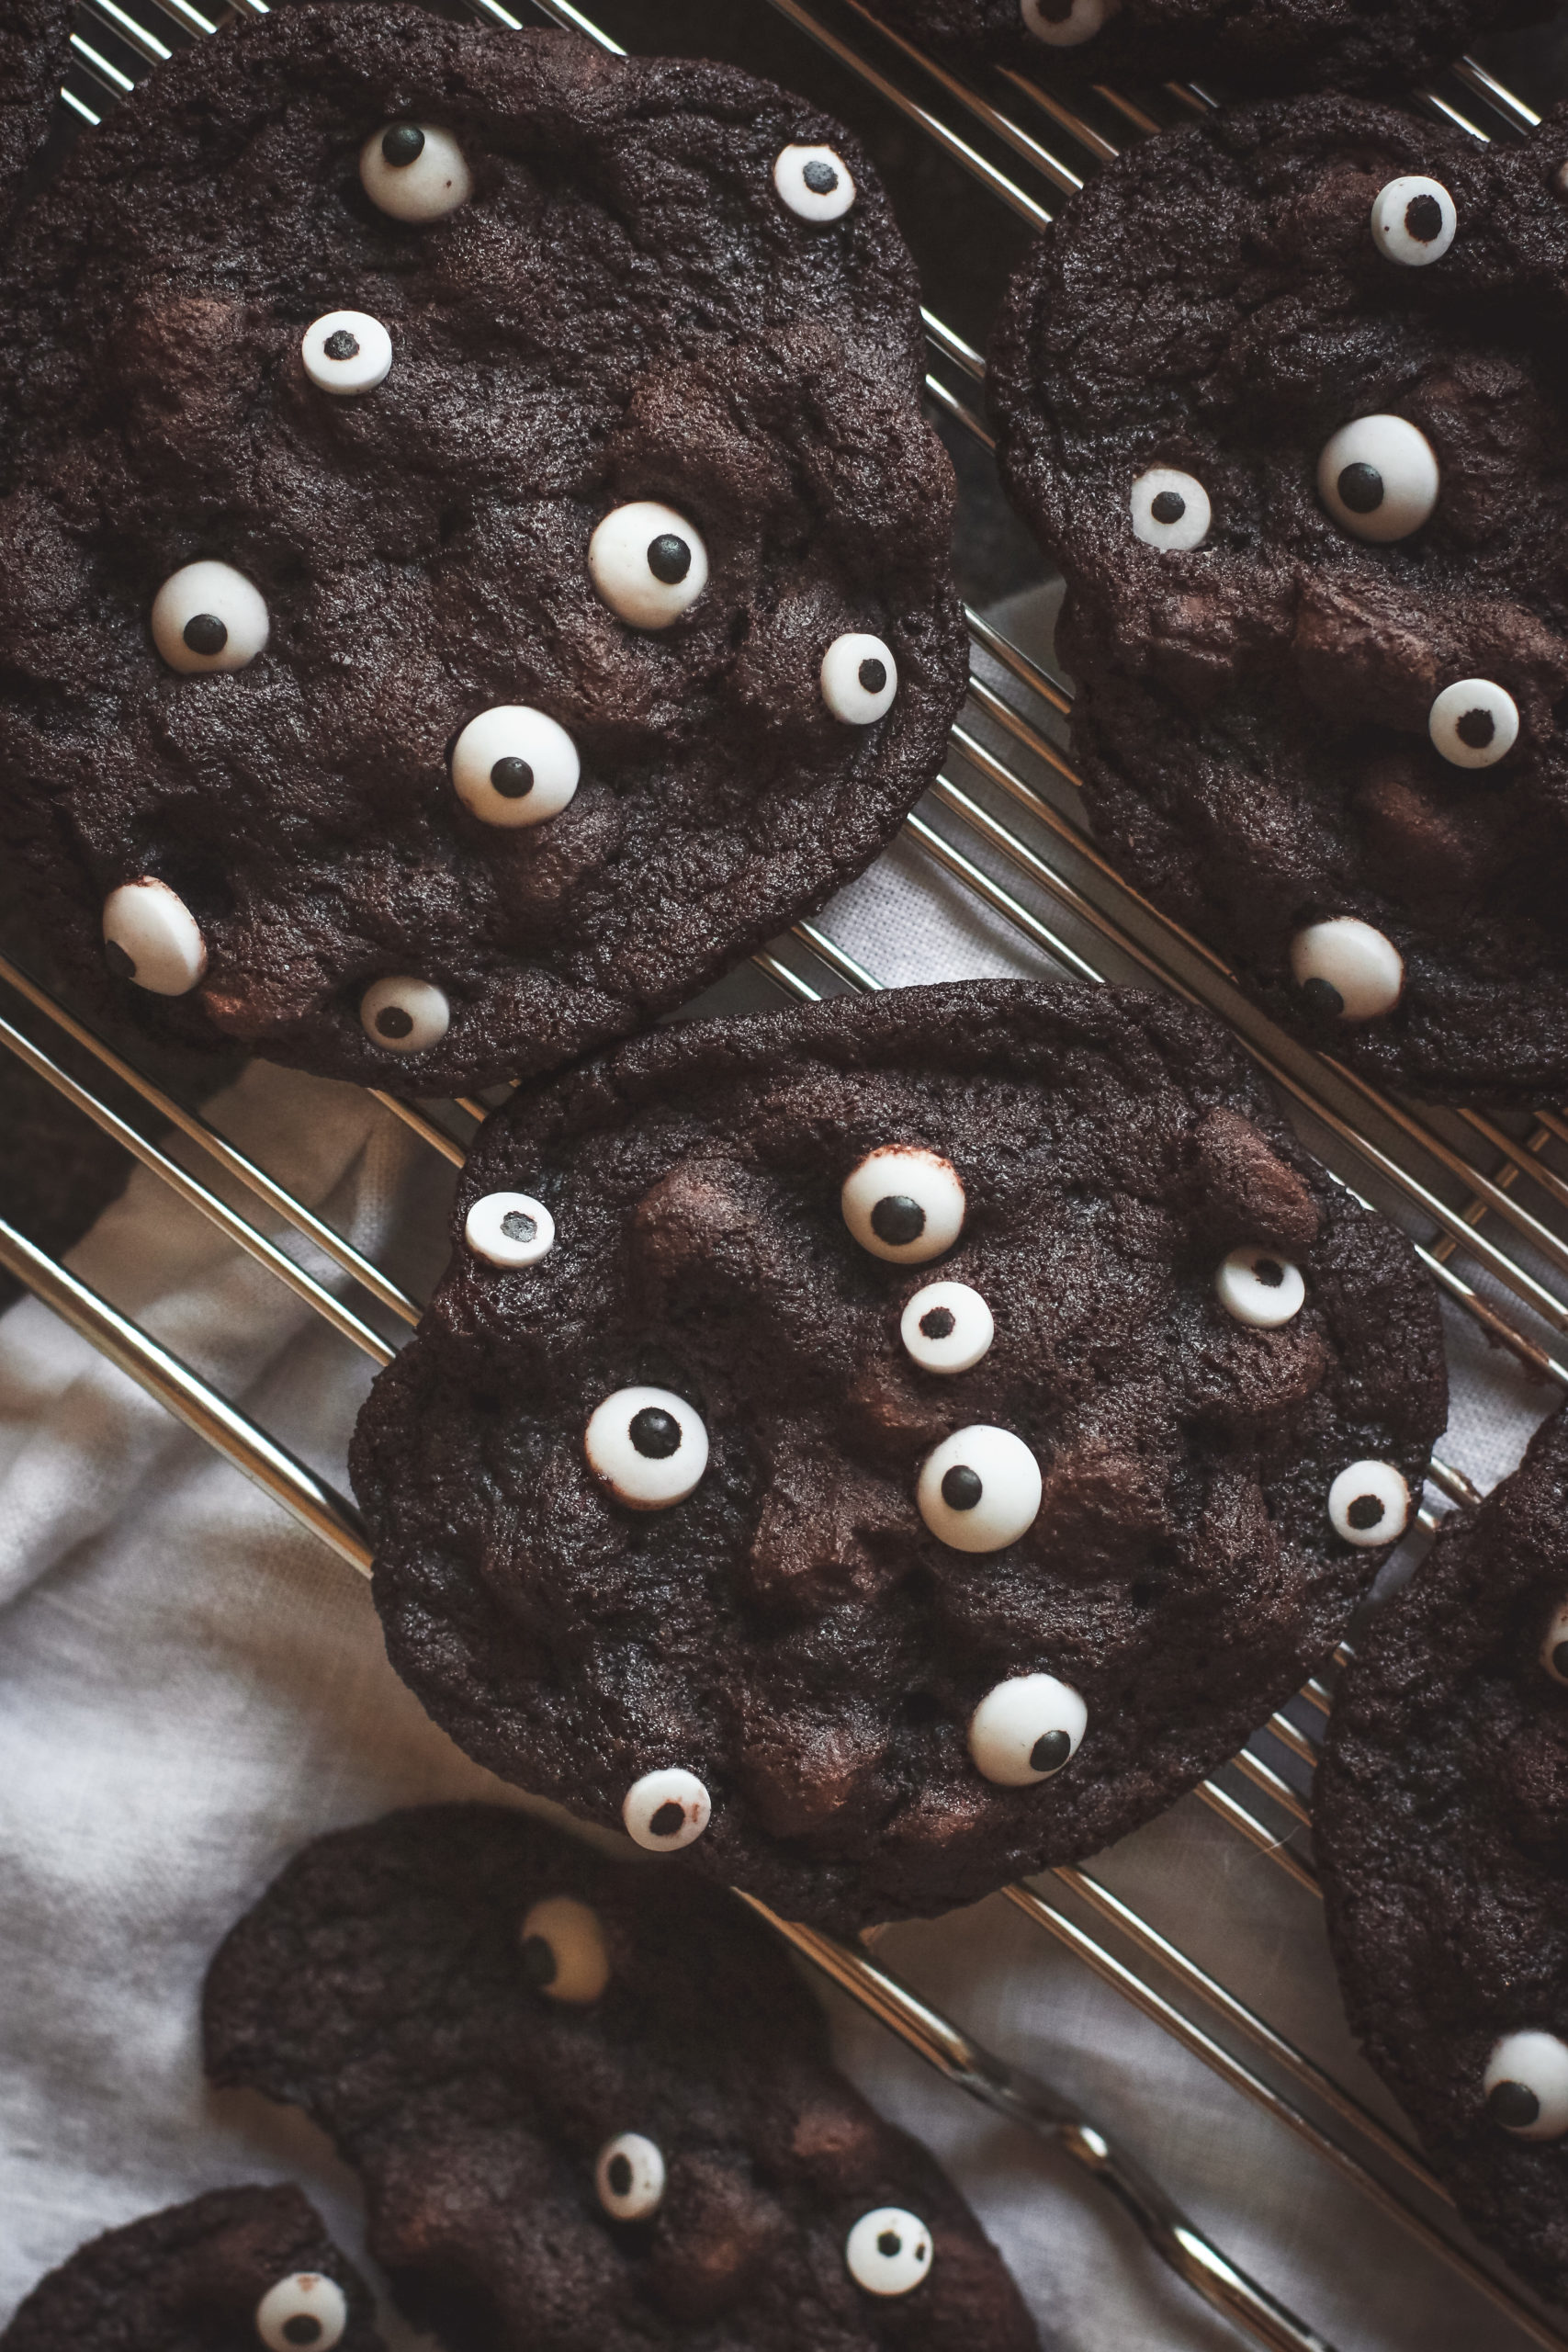
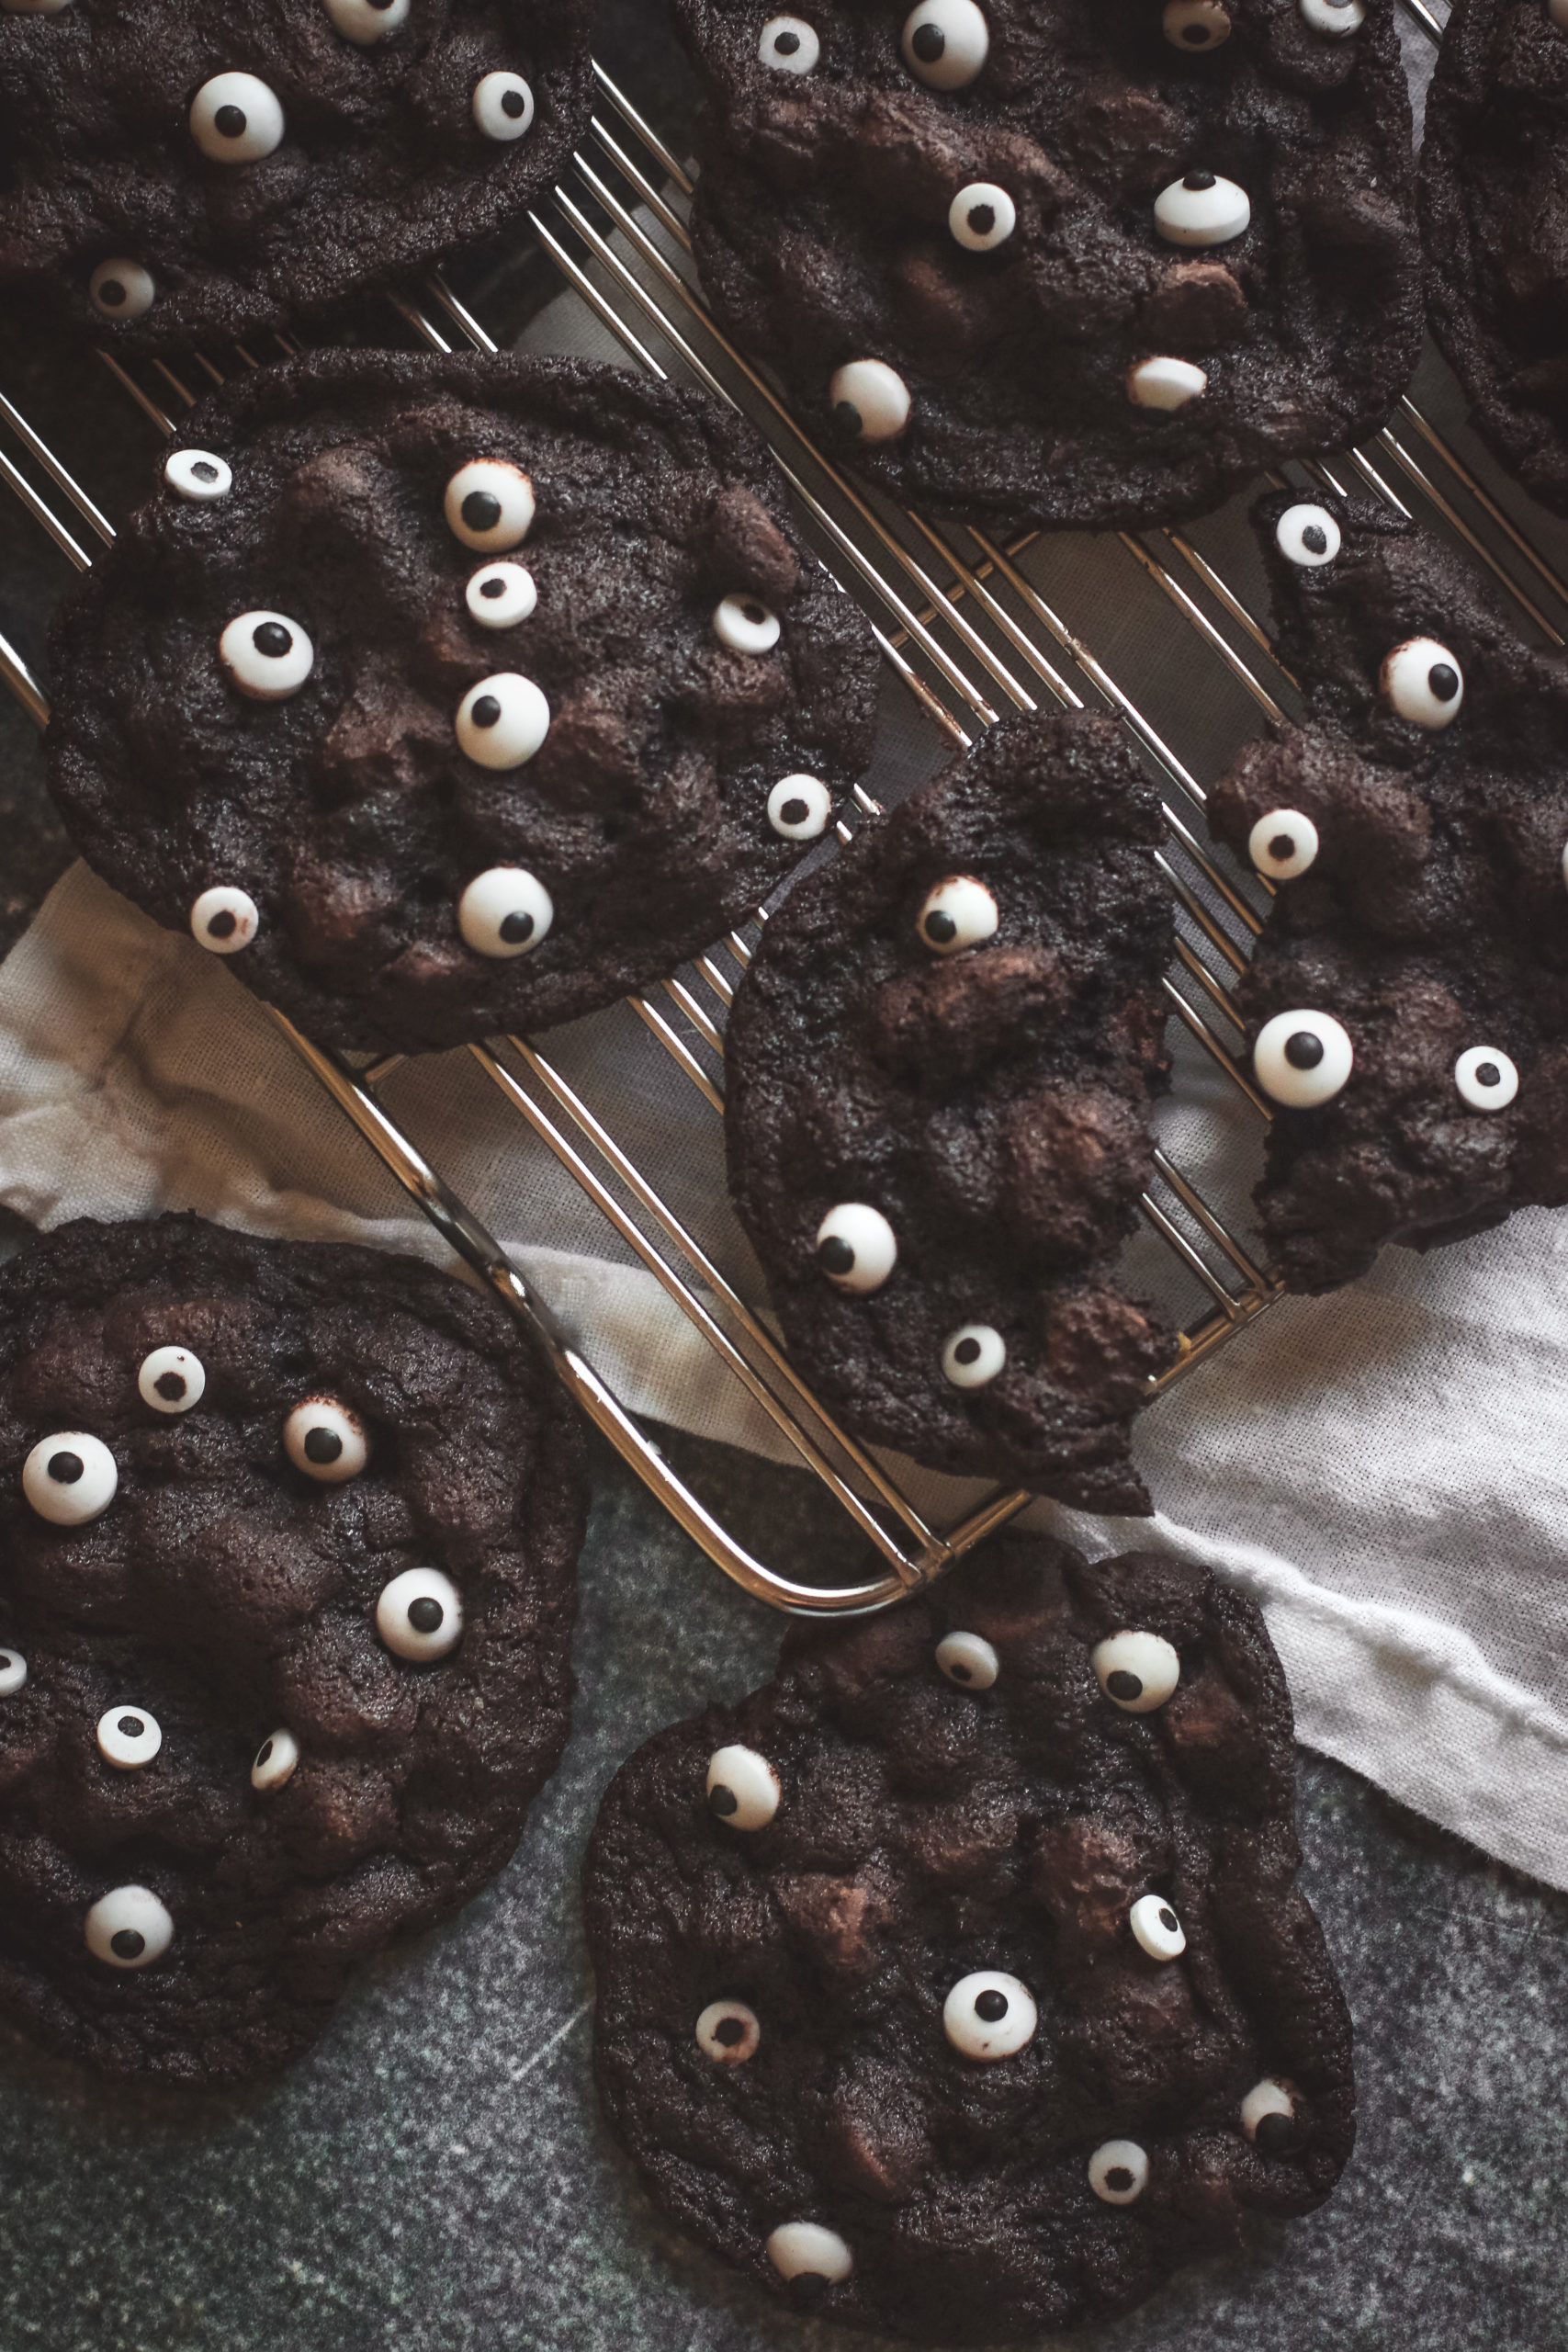
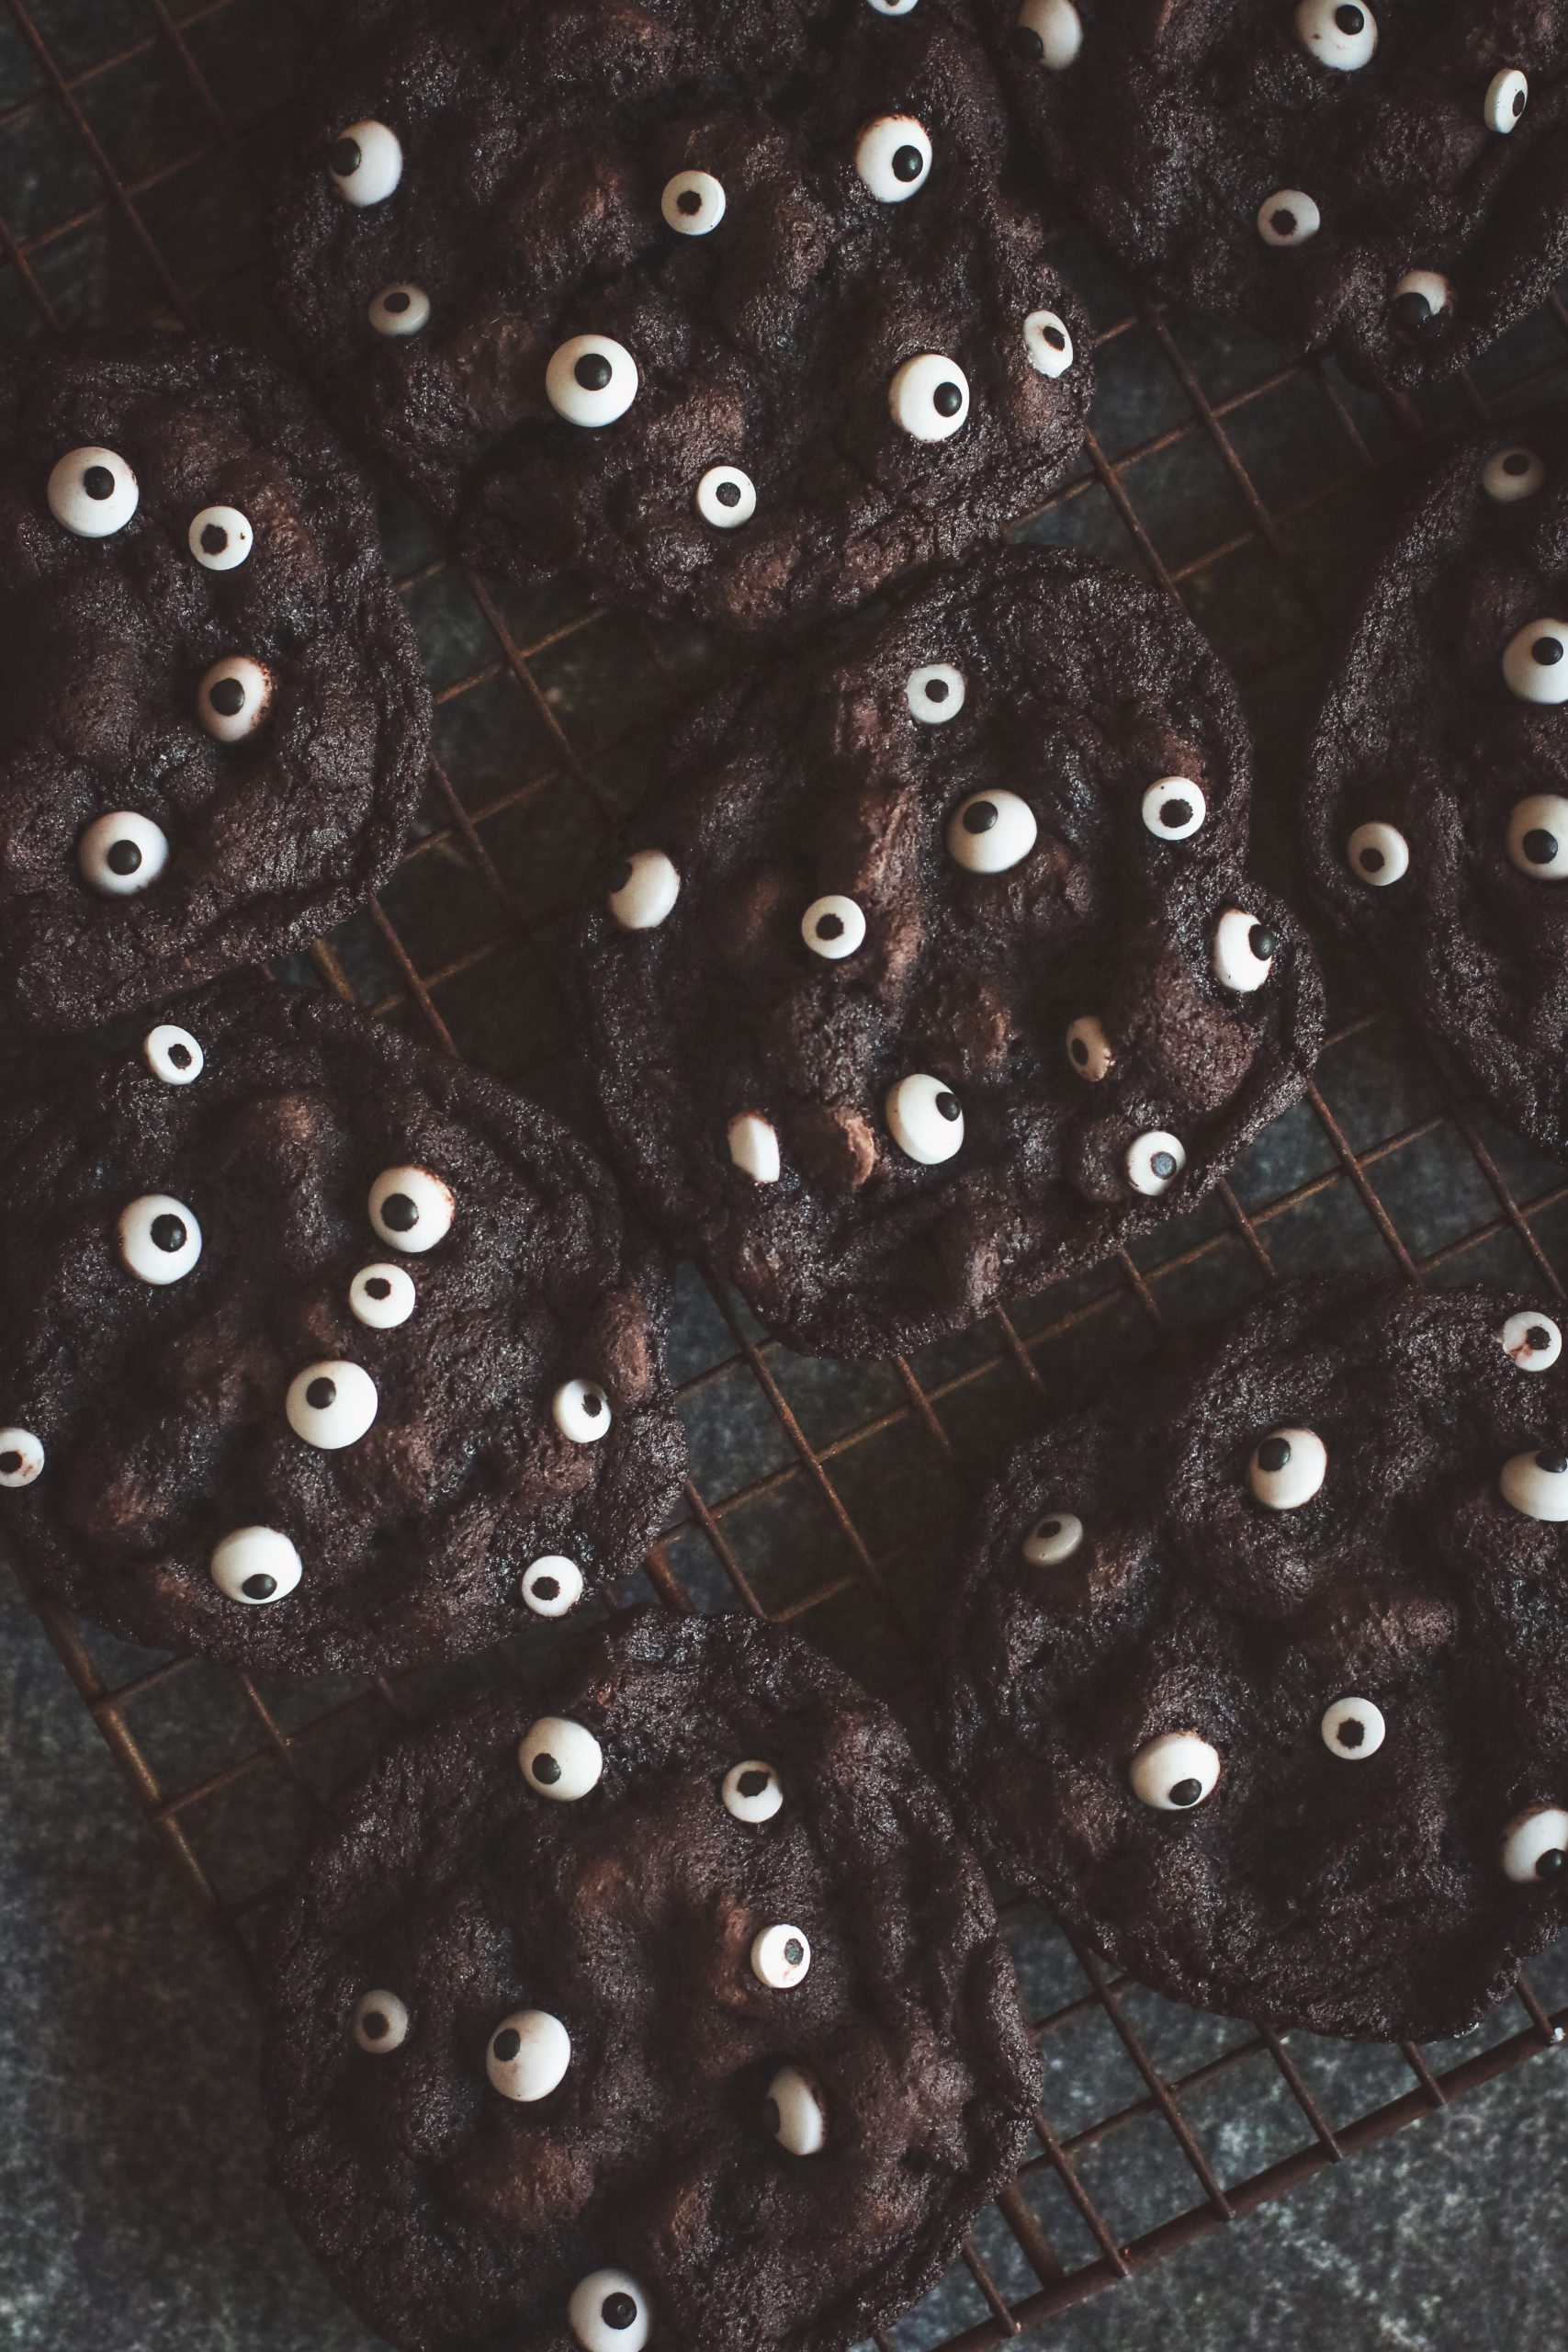
A classic chocolate cookie made spooky with candy eyeballs. Easy to make and delicious with a big and fun impact for halloween.
1 stick butter, (1/2 cup) room temp
½ cup sugar
½ cup brown sugar
black food coloring, optional
1 large egg
1 teaspoon pure vanilla extract
1 cup all-purpose flour
½ cup unsweetened cocoa powder
1 teaspoon baking soda
¼ teaspoon salt
2 Tablespoons milk
1 1/2 cups chocolate chips (I used semi-sweet)
Candy Eyeballs
1. Line a baking sheet with parchment paper and set aside. Preheat oven to 350 degrees.
2. In a large bowl or bowl of a stand mixer, cream together the butter and sugar on med/high speed for about 2 minutes. Add a few drops of black food coloring and mix again.
3. Add the egg and the vanilla and mix again for 2 minutes. Scrape down the sides of the bowl.
4. In a separate bowl add the flour, cocoa powder, baking soda, and salt. Whisk together to mix.
5. Add a little bit at a time of the flour mixture to the butter mixture and mix on low. Continue until the flour mixture is all combined.
6. Add the milk and then mix again. Add the chocolate chips and mix again.
7. Scoop about 2 Tablespoons of the dough and roll into a ball and place on a sheet pan lined with parchment paper. Take the candy eyeballs and slightly press them into the top of the dough balls.
8. Bake for about 11 minutes. Remove and let cool on the sheet pan for about 5 minutes and then transfer to a cooling rack.
Our best tips for quick and tasty recipes, ideas and more, right to your inbox.