WHAT’S FOR DINNER?
Oven Fried Chicken
COOK TIME
TOTAL TIME
SERVINGS
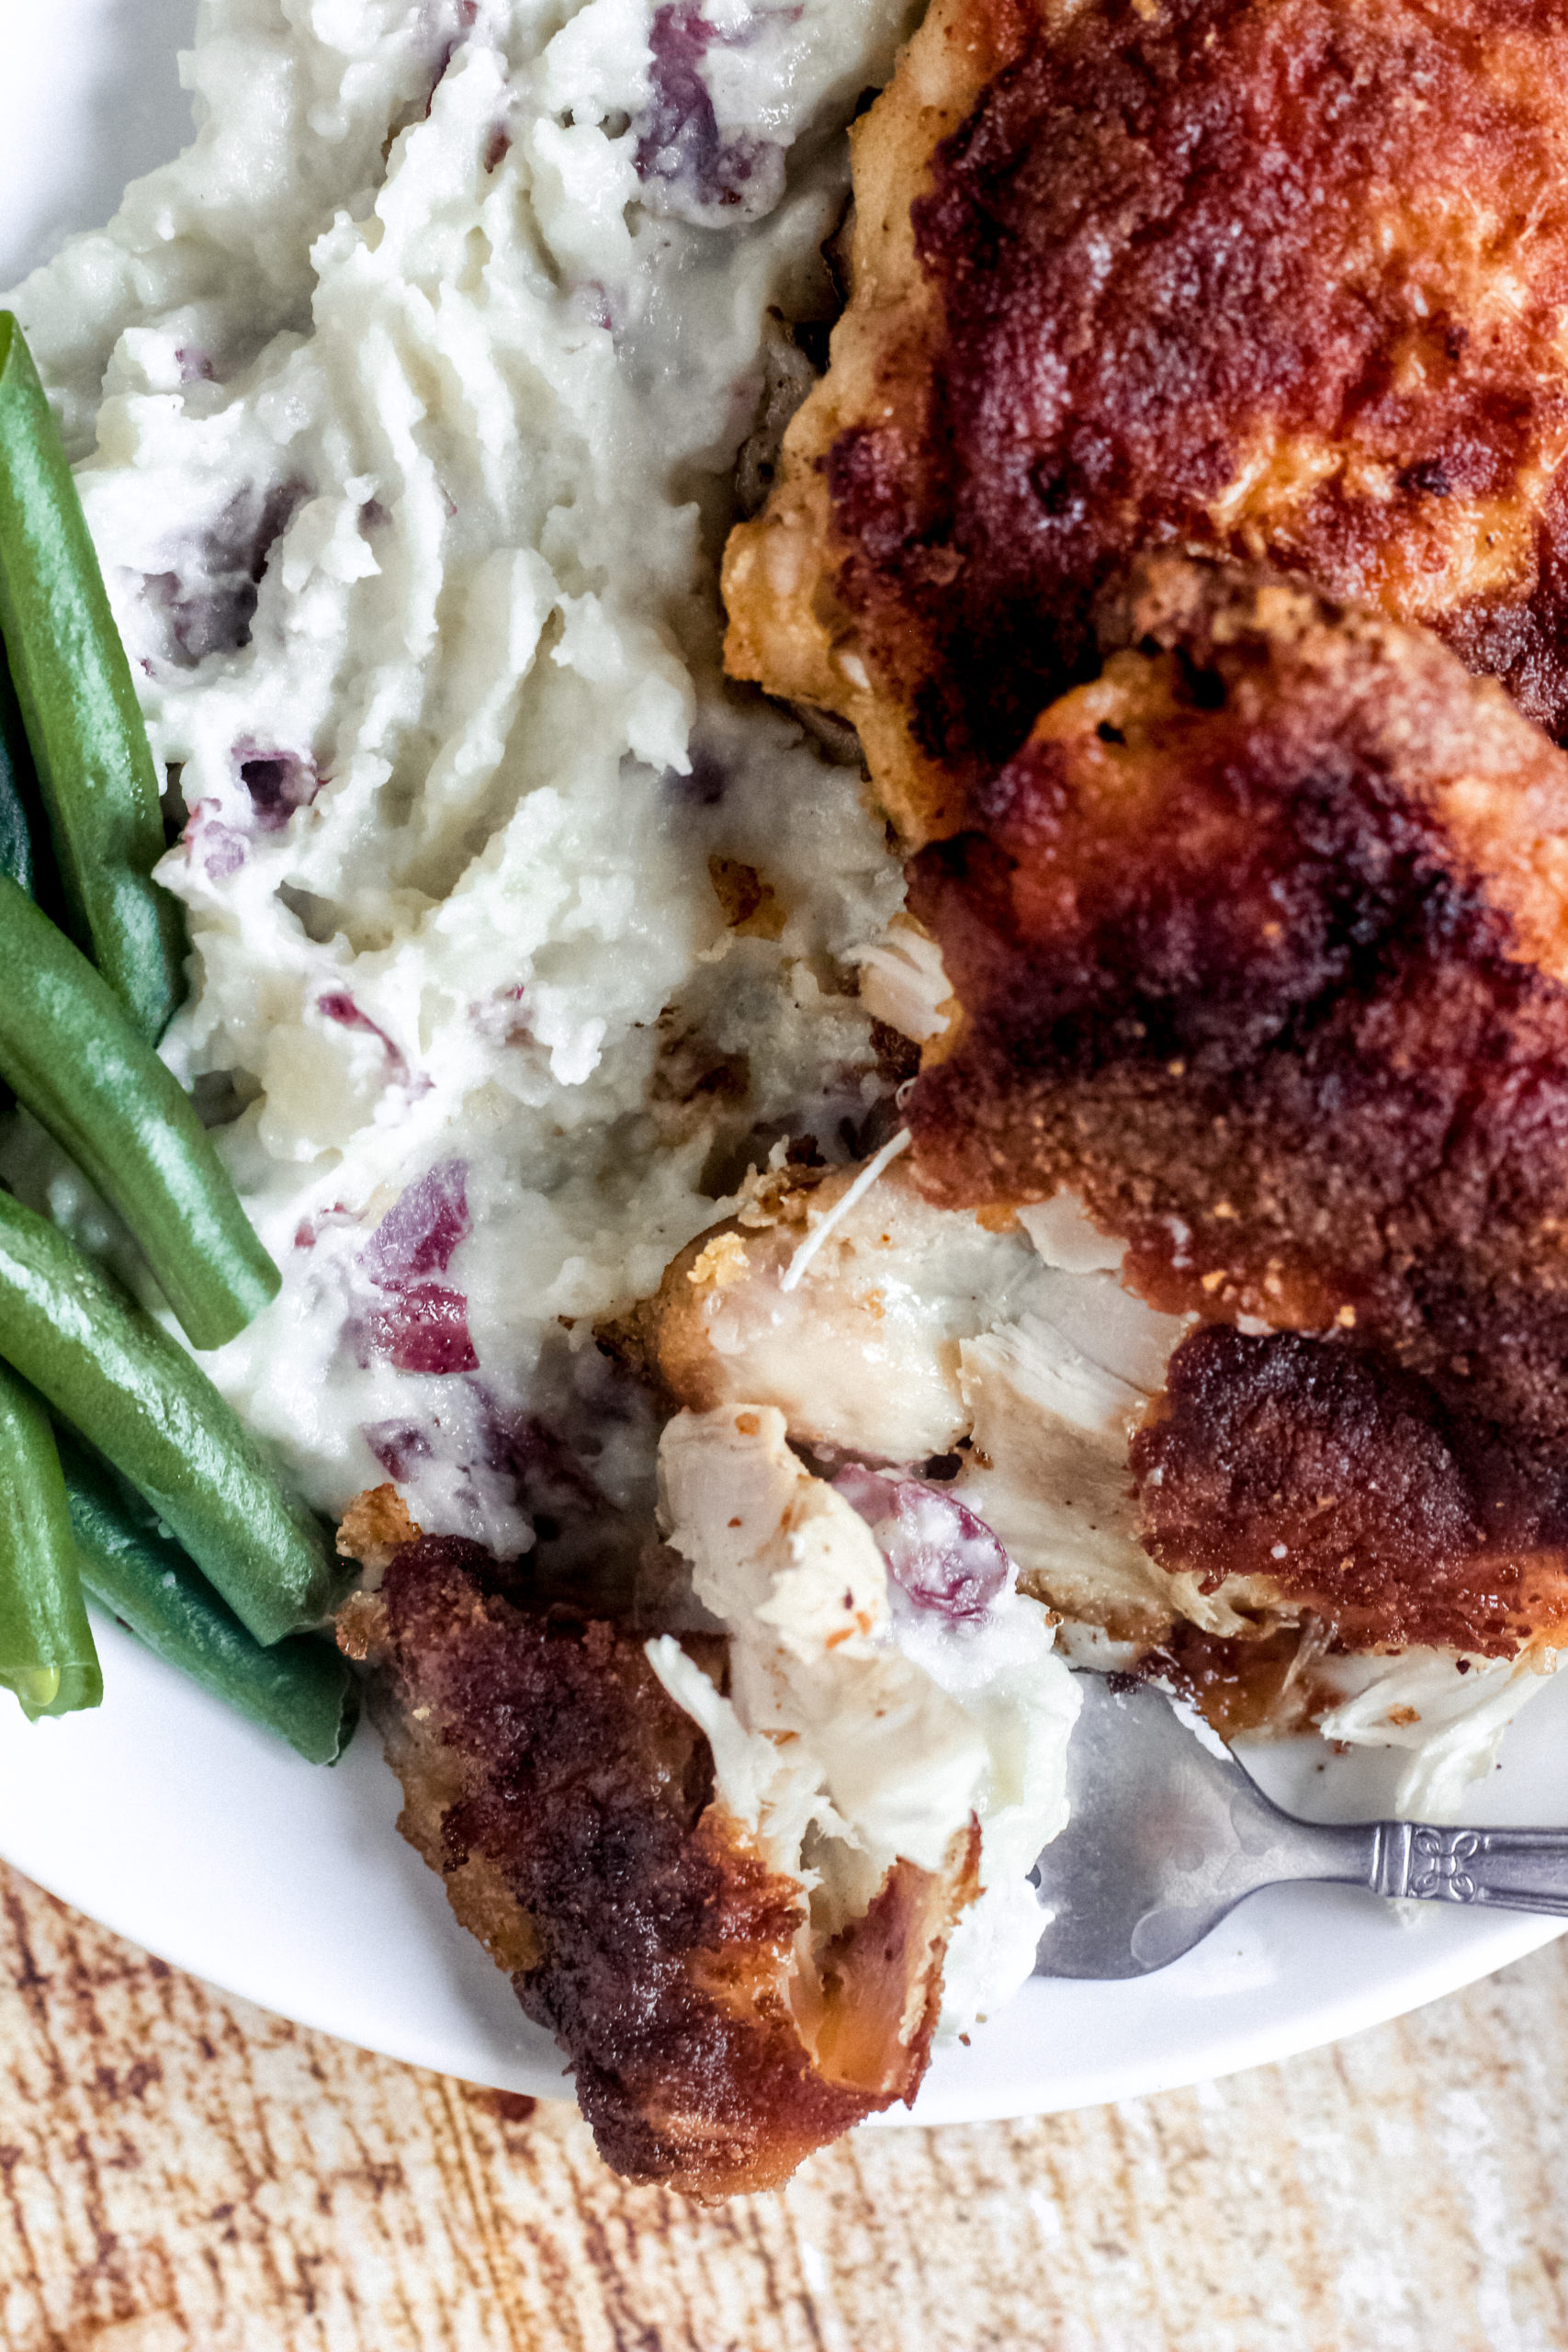
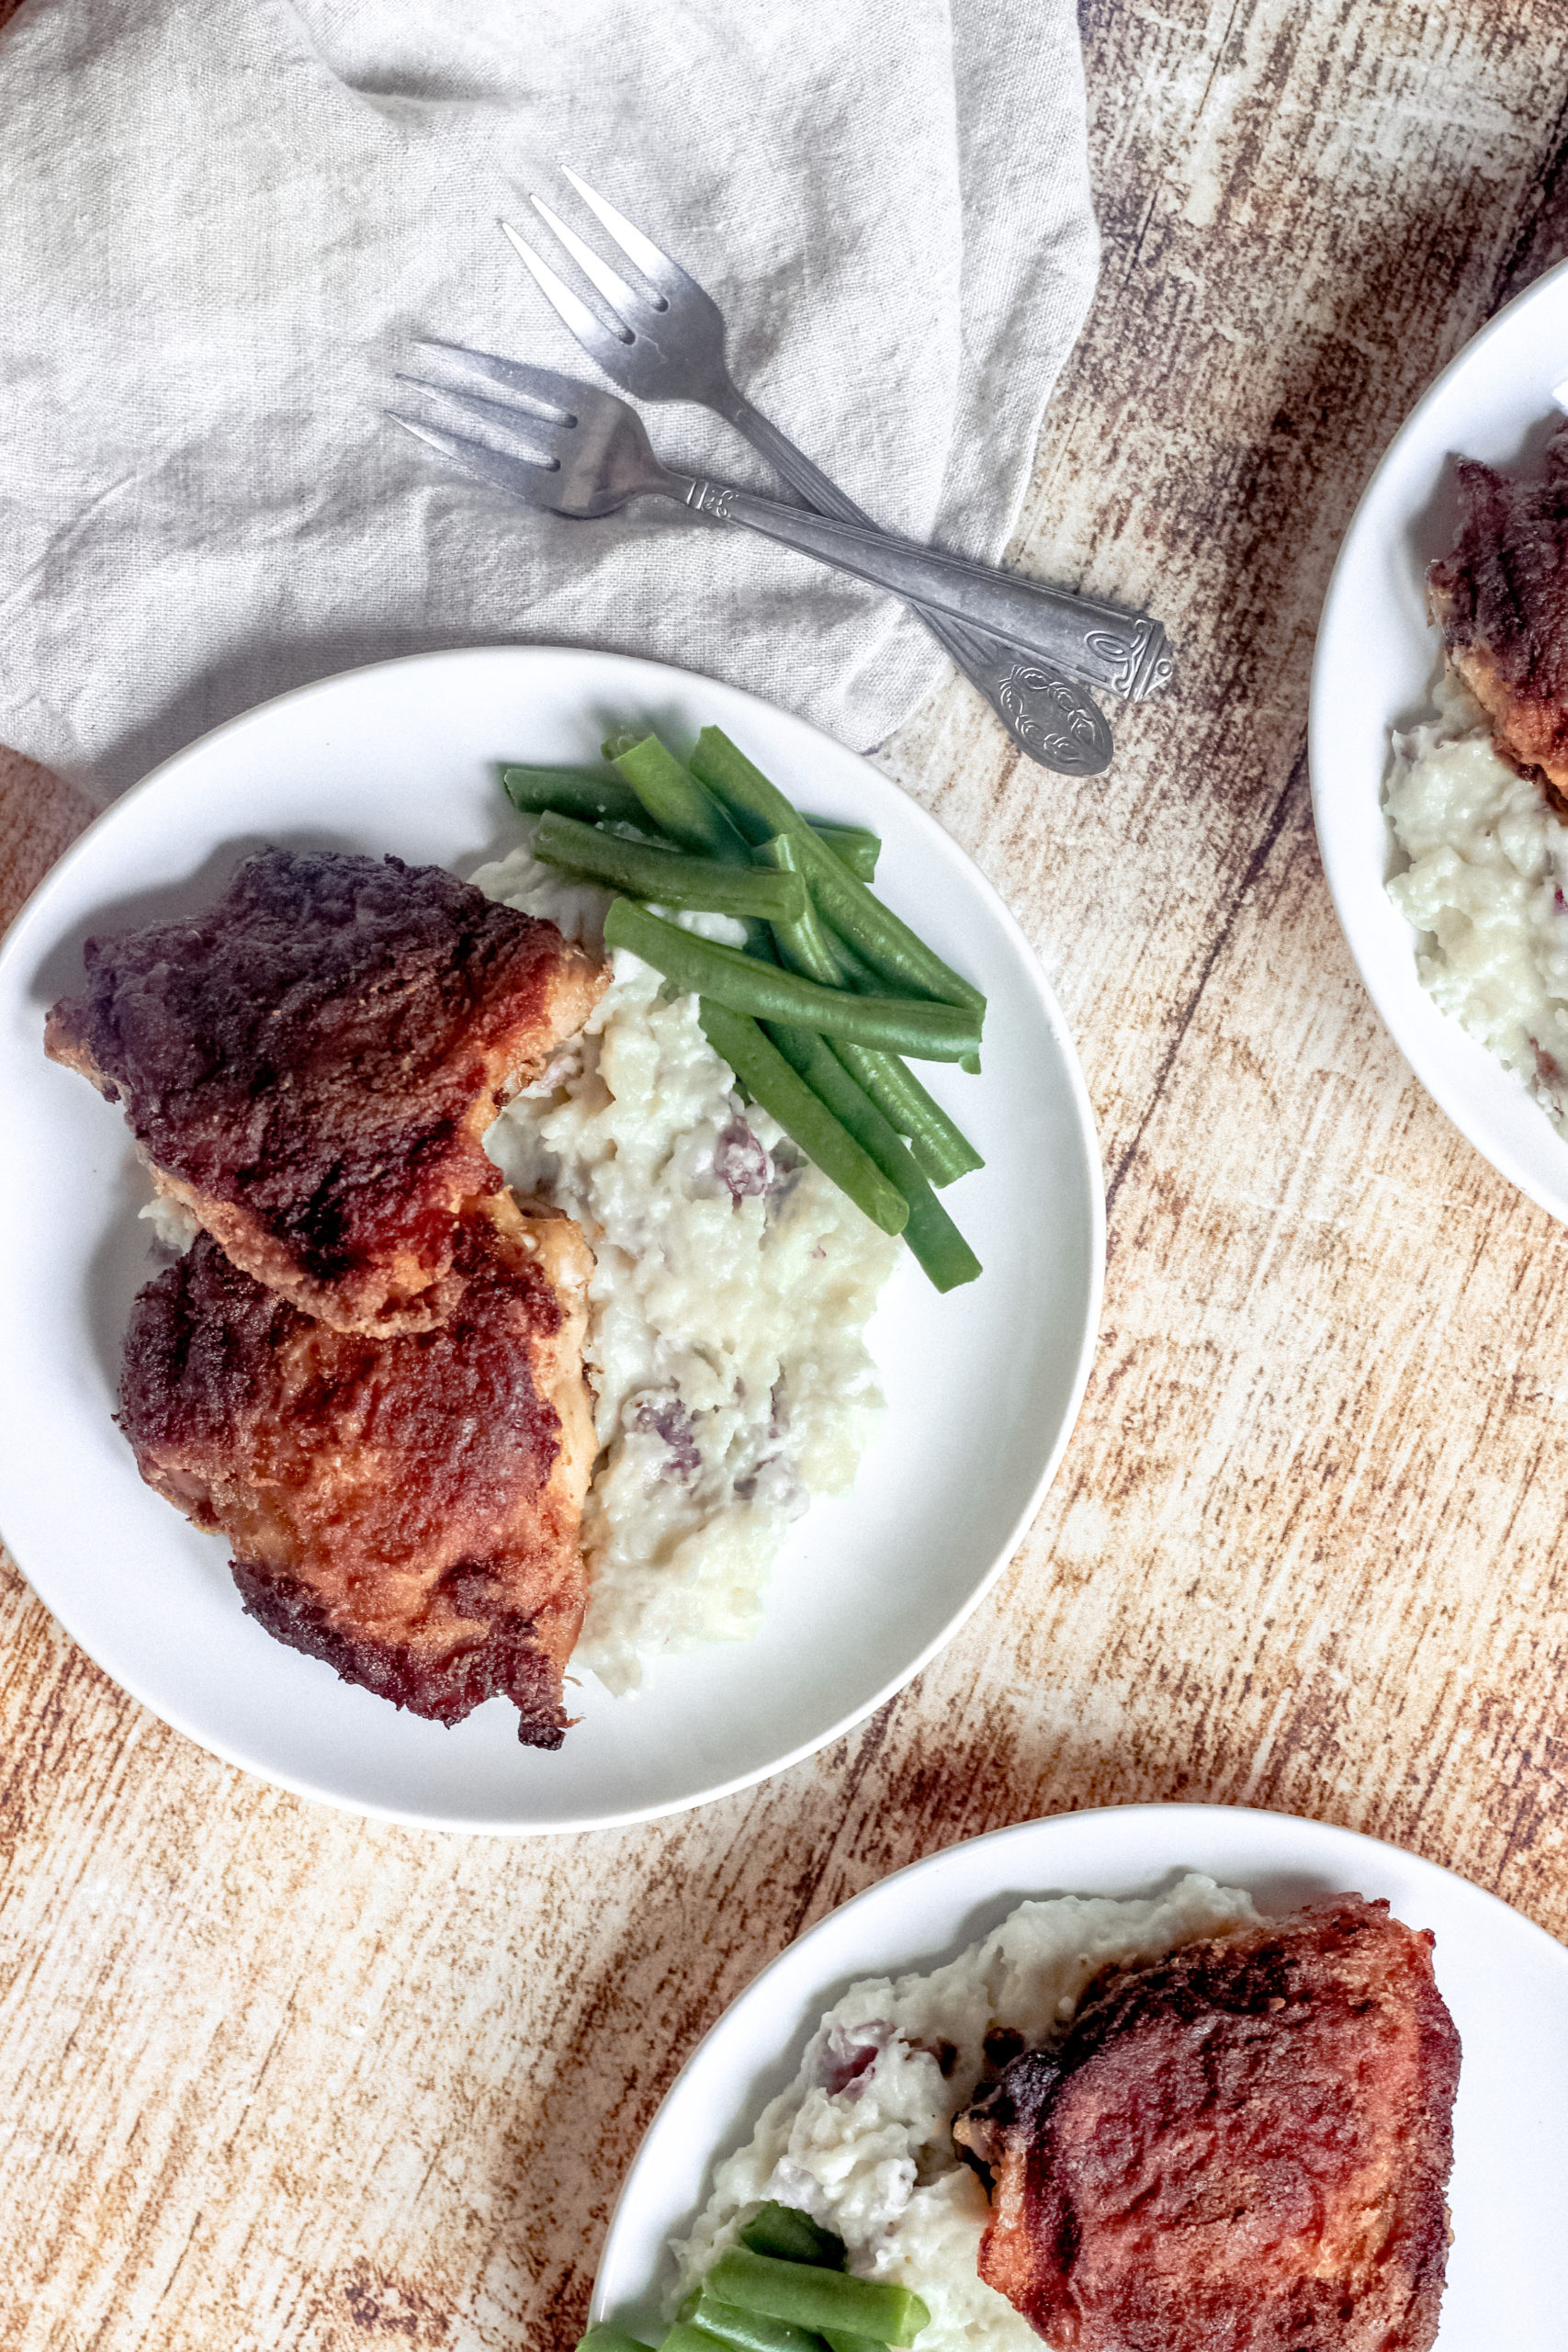
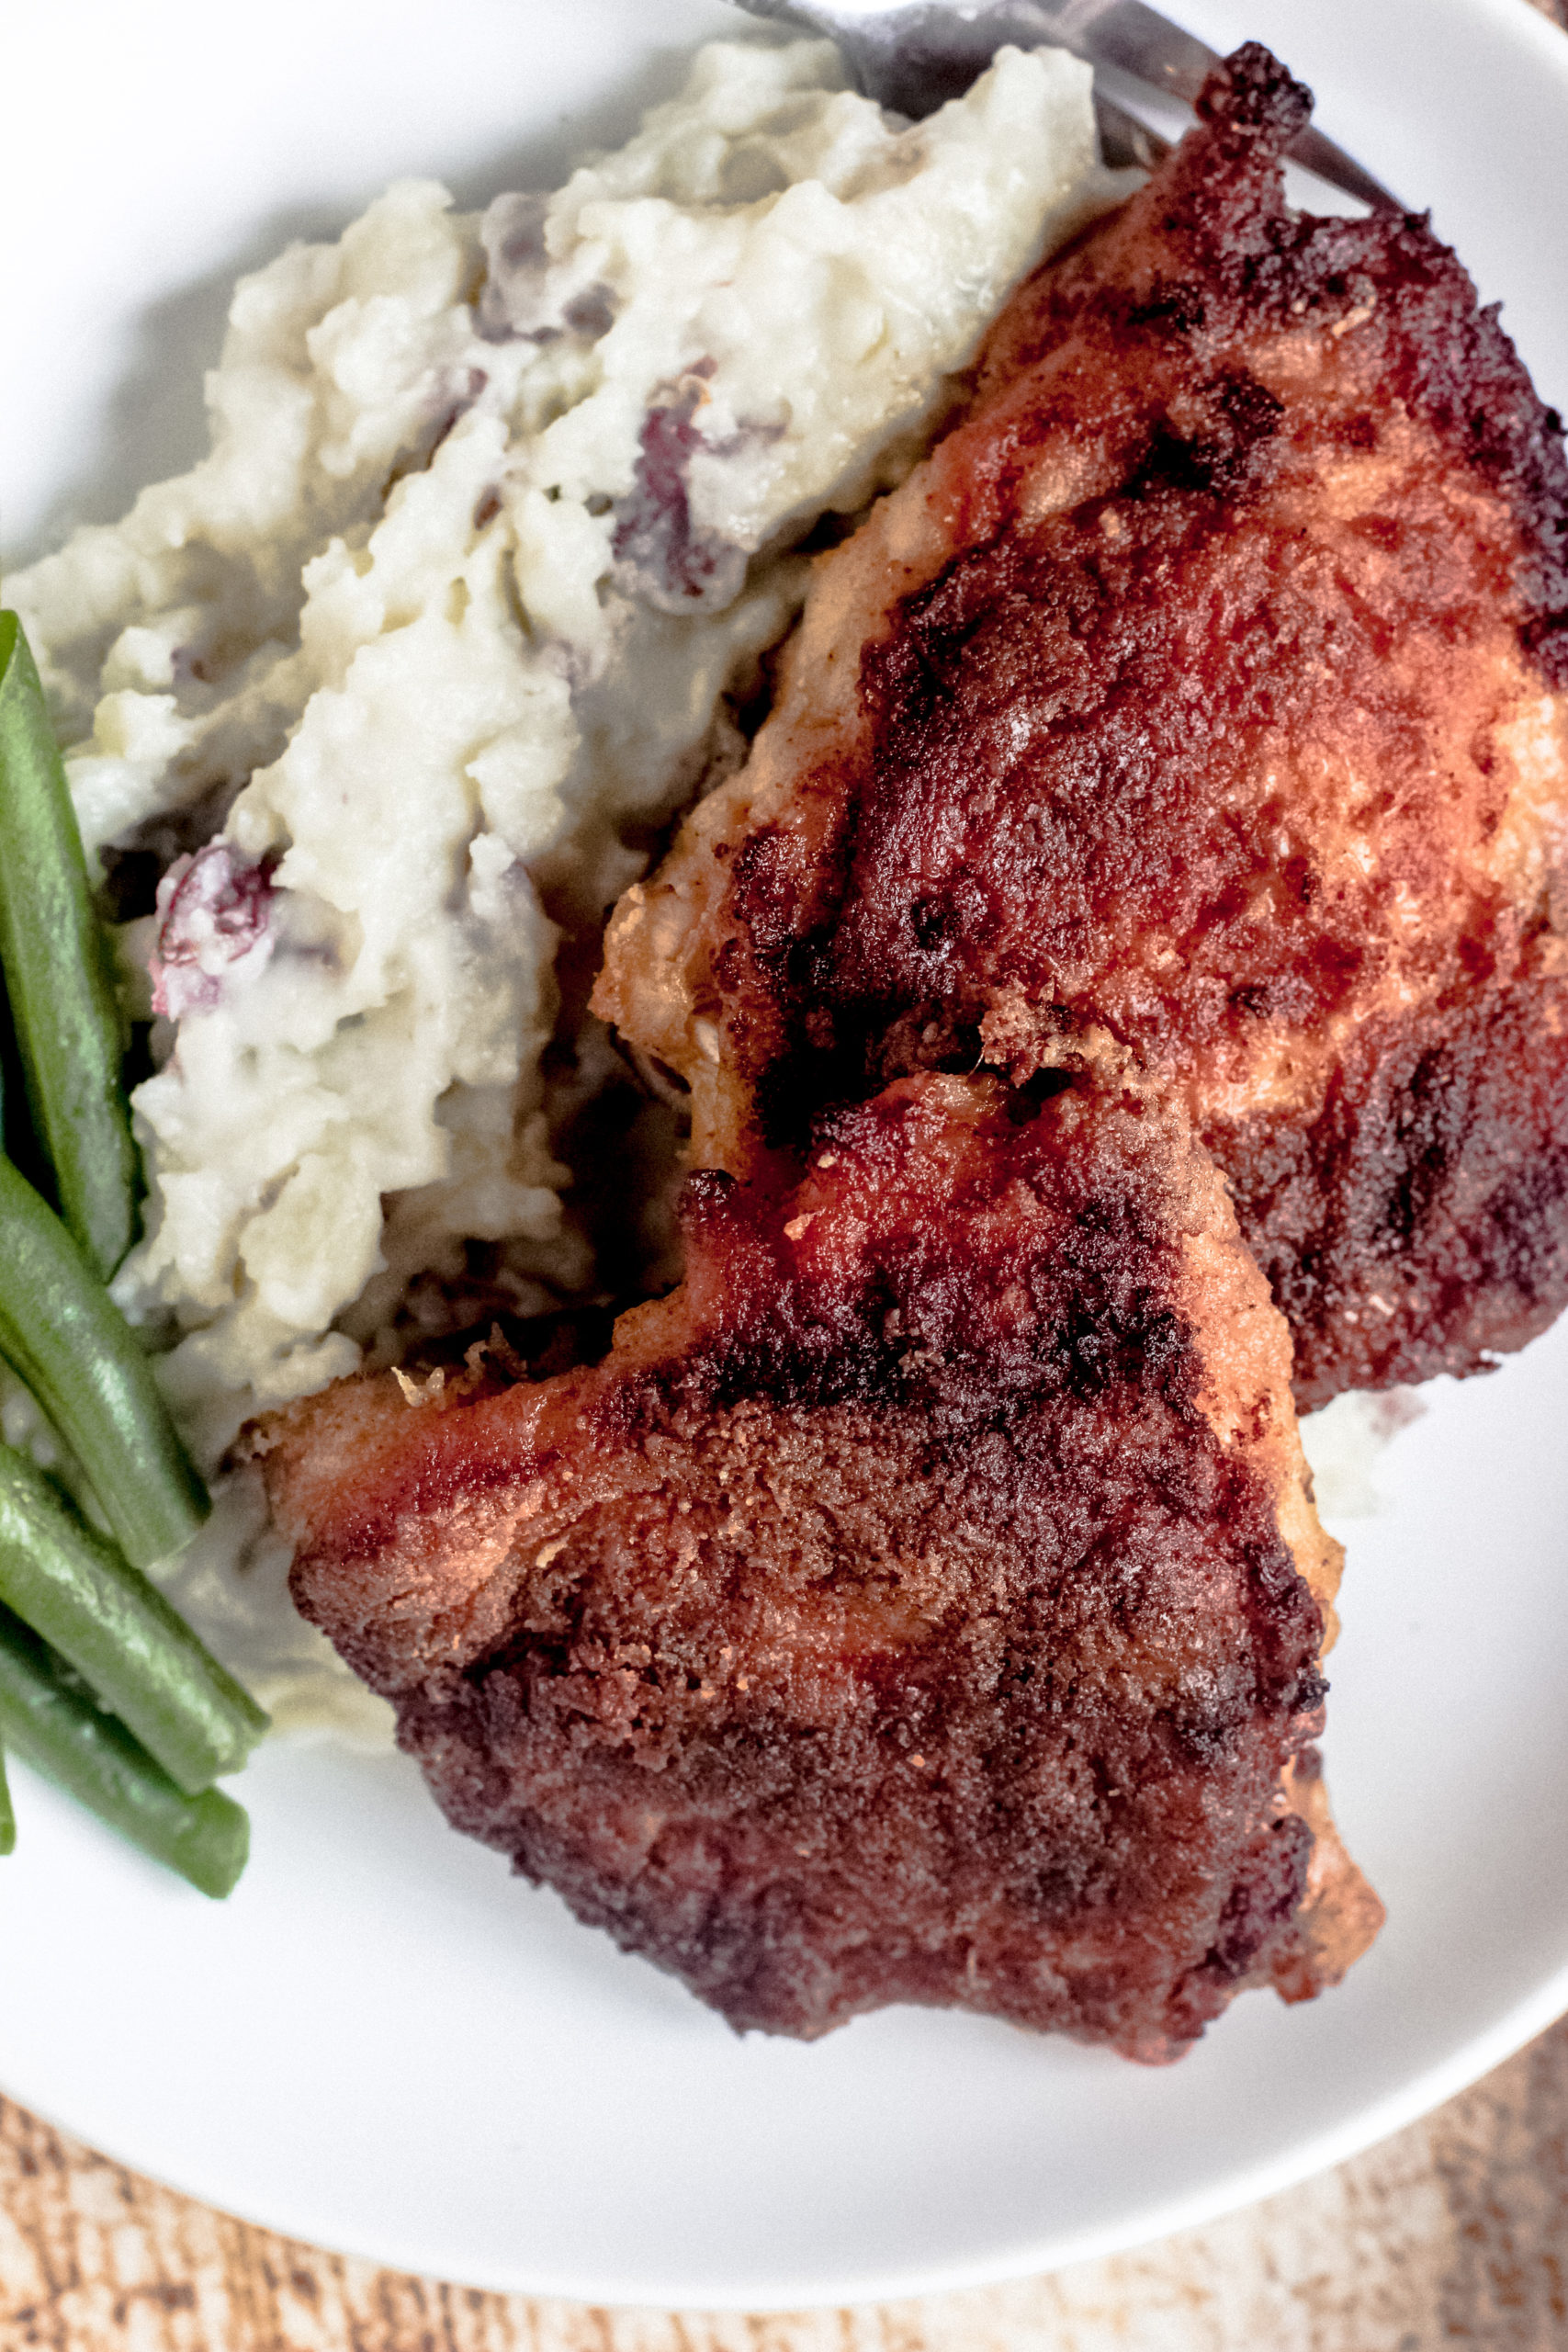
Oven Fried Chicken is the perfect recipe for anyone craving that classic crispy chicken without the mess of deep frying! It’s an easy, family-friendly protein that’s lighter but still packed with flavor and CRUNCH, making it great for busy weeknights. Enjoy comfort food with a healthier (and easier) twist!
Making chicken for dinner is something we all do, but let’s be honest, it can get a little boring if we don’t find fun ways to change it up. That’s why I love this recipe so much! it’s one of those recipes for chicken that surprises you with how simple yet flavorful it is. It’s also special to me because it’s my mom’s recipe, and I’m thrilled that it’s still a hit with our family today!
This fried chicken in the oven isn’t just any chicken, it’s crispy, moist, and still gets that classic crunchy skin without needing to deep fry. It’s made with just a few ingredients like Bisquick, butter, and some simple spices, but the result is the kind of chicken a Southern grandma would make with love.
Using Bisquick as Breading
The magic really happens in the oven, where high heat and a generous amount of butter work together to create that golden, crispy skin. The Bisquick gives the chicken a perfect breading that’s slightly sweet but not too much. Bisquick is a pre-mixed baking mix that includes flour, shortening, salt, and baking powder. The blend of these ingredients, including the slight rise with the baking soda, is what really makes a difference in the texture. While you try using other flours or mixes, I’ve found that Bisquick delivers the best results. But if you try something else, let me know in the comments!
Ingredient Notes
Butter – Melting butter on the baking sheet helps create that crispy, golden skin and adds a rich flavor to every bite.
Bisquick mix – This mix is the secret to a light, slightly sweet breading that crisps up beautifully in the oven.
Paprika – Adds a warm, subtle smokiness that enhances the flavor without overpowering the chicken while also giving it a beautiful browned color.
Kosher salt – Balances the flavors and helps bring out the natural taste of the chicken and spices.
Pepper – A touch of pepper adds just the right amount of spice to complement the other seasonings.
Chicken drumsticks or thighs – These cuts stay juicy and flavorful, and the skin crisps up perfectly, making them ideal for this recipe. Choose skin-on or off, depending on your preference!
Grab These For Your Kitchen
9×13 baking sheet
Microwave-safe bowl
Large mixing bowl
Pastry brush
Tongs
Bisquick
Step By Step Instructions
Prepare for baking: Preheat your oven to 400 F. Melt the butter in the microwave and pour it evenly onto a 9×13 baking sheet.
Make the breading mixture: In a large mixing bowl, combine the Bisquick, paprika, salt, and pepper until well combined.
Coat the chicken: Dip each chicken thigh or drumstick thoroughly in the Bisquick mixture, getting an even coat, and place them on the baking sheet with the melted butter.
Bake the chicken: Brush the chicken generously with the melted butter from the pan, bake for 30 minutes, then flip the chicken, brush with more butter if needed, and bake for an additional 15 minutes until golden and crispy.
Serve: Allow the chicken to cool slightly before serving it up with your favorite side dishes. Enjoy!
Expert Tips
Pat the chicken dry. This removes excess moisture and allows the breading to stick better, giving you that perfect crispy texture.
Don’t overcrowd the pan. Leave space between each piece of chicken so that the heat can circulate, which helps the chicken cook evenly and stay crispy.
Flip carefully. Use tongs to flip the chicken halfway through baking to keep the breading intact and prevent it from sticking to the pan.
Let the butter brown slightly. If you have time, allowing the butter to brown just a bit before adding the chicken adds a deeper, richer flavor to the final dish.
Use a meat thermometer. Check that the internal temperature reaches 165°F for perfectly cooked chicken that’s juicy and safe to eat.
Rest the chicken before serving. Letting the chicken rest for a few minutes after baking helps the juices redistribute, making each bite tender, juicy, and flavorful.
Serving Suggestions
When it comes to serving oven-fried chicken, the right side dishes can make all the difference! Here are some of my favorite tasty options that pair perfectly with the crispy, flavorful chicken.
Broccoli Pasta Salad – This fresh and creamy pasta salad adds a cool, crisp contrast to the warm, crispy chicken.
Mexican Corn Salad – The zesty, vibrant flavors of this corn salad pair beautifully with the savory, crunchy chicken. A great summer combo!
Roasted Ranch Carrots – These tender carrots, coated in ranch seasoning, add a pop of flavor and a touch of sweetness that complements the rich, buttery chicken.
Mexican Sweet Potatoes – Sweet and spicy, these sweet potatoes add a comforting warmth that balances out the savory oven-fried chicken.
Mixed Veggie Casserole – This hearty casserole packs in a variety of veggies with a creamy, cheesy finish, making it a cozy companion to the crispy chicken.
Storage Instructions
Storing: Keep any leftover chicken fresh by storing it in an airtight container in the fridge. It’ll stay good for up to 3 days. Any longer and the breading will get too soggy!
Freezing: If you want to save some chicken for later, let it cool, then pop it into a freezer-safe bag or container and store it in the freezer for up to 2 months. Thaw in the fridge overnight before reheating.
Reheating: When you’re ready to enjoy your chicken again, just reheat it in a 350°F oven for 15-20 minutes. You can also reheat it in the air fryer!
FAQ
Can I use boneless chicken for this recipe?
Yes, you can use boneless chicken, but keep in mind that it may cook faster than bone-in pieces. You’ll want to reduce the cooking time slightly and check the internal temperature to ensure it reaches 165°F.
What if I don’t have Bisquick?
If you don’t have Bisquick, you can make a homemade version using flour, baking powder, salt, and a bit of butter or shortening. The texture might be slightly different, but it’ll still give you a nice crispy coating.
How do I keep the chicken from sticking to the pan?
To prevent sticking, make sure the pan is well-coated with melted butter before placing the chicken on it. You can also line the pan with parchment paper.
Can I add other seasonings to the breading mix?
Absolutely! Feel free to add garlic powder, onion powder, or even a little cayenne pepper for a kick.
More Chicken Dinner Recipes
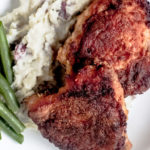
Oven Fried Chicken
Simple oven fried chicken is super moist, full of flavor and has that crispy outer layer that might be the best part. Best part is that it’s easy to make and goes with all kinds of sides.

Ingredients
6 Tablespoons butter, plus 1-2 more for brushing
3/4 cup Bisquick mix
1 1/2 teaspoon paprika
1 1/4 teaspoon kosher salt
1/4 teaspoon pepper
3 pounds chicken drumsticks or thighs (skin on of off per preference)
Instructions
1. Preheat oven to 400 degrees.
2. Melt butter in the microwave and then pour onto a 9×13 baking sheet.
3. In a large bowl, mix together the Bisquick, paprika, salt and pepper. Dip and coat each chicken thigh or drumstick into the Bisquick mix. Then place the chicken on the pan of melted butter.
4. Brush chicken with the melted butter from the pan or use more butter if needed. Bake for 30 minutes. Flip chicken, brush with more melted butter from the pan and bake another 15 minutes.
5. Remove from the oven, let cool slightly and serve with your favorite side.
Notes
- Sign me up. Sign me up. Sign me up. Sign me up. Sign me up. Sign me up.
- Sign me up. Sign me up. Sign me up. Sign me up. Sign me up. Sign me up.
- Sign me up. Sign me up. Sign me up. Sign me up. Sign me up. Sign me up.
NEED IDEAS FOR FOODS YOUR KIDS
WILL *ACTUALLY* EAT?
Our best tips for quick and tasty recipes, ideas and more, right to your inbox.
4 Responses
-
This is so easy but comes together like you spent the time frying chicken!
-
I am so happy you liked it! I love this one too! Thank you for letting me know!
-
-
I didn’t have butter so I used blue bonnet. It turned out really good, thanks a bunch!
-
Oh good! So glad you liked it!
-



4 Responses
This is so easy but comes together like you spent the time frying chicken!
I am so happy you liked it! I love this one too! Thank you for letting me know!
I didn’t have butter so I used blue bonnet. It turned out really good, thanks a bunch!
Oh good! So glad you liked it!