WHAT’S FOR DINNER?
Cheeseburger Sliders
COOK TIME
TOTAL TIME
SERVINGS
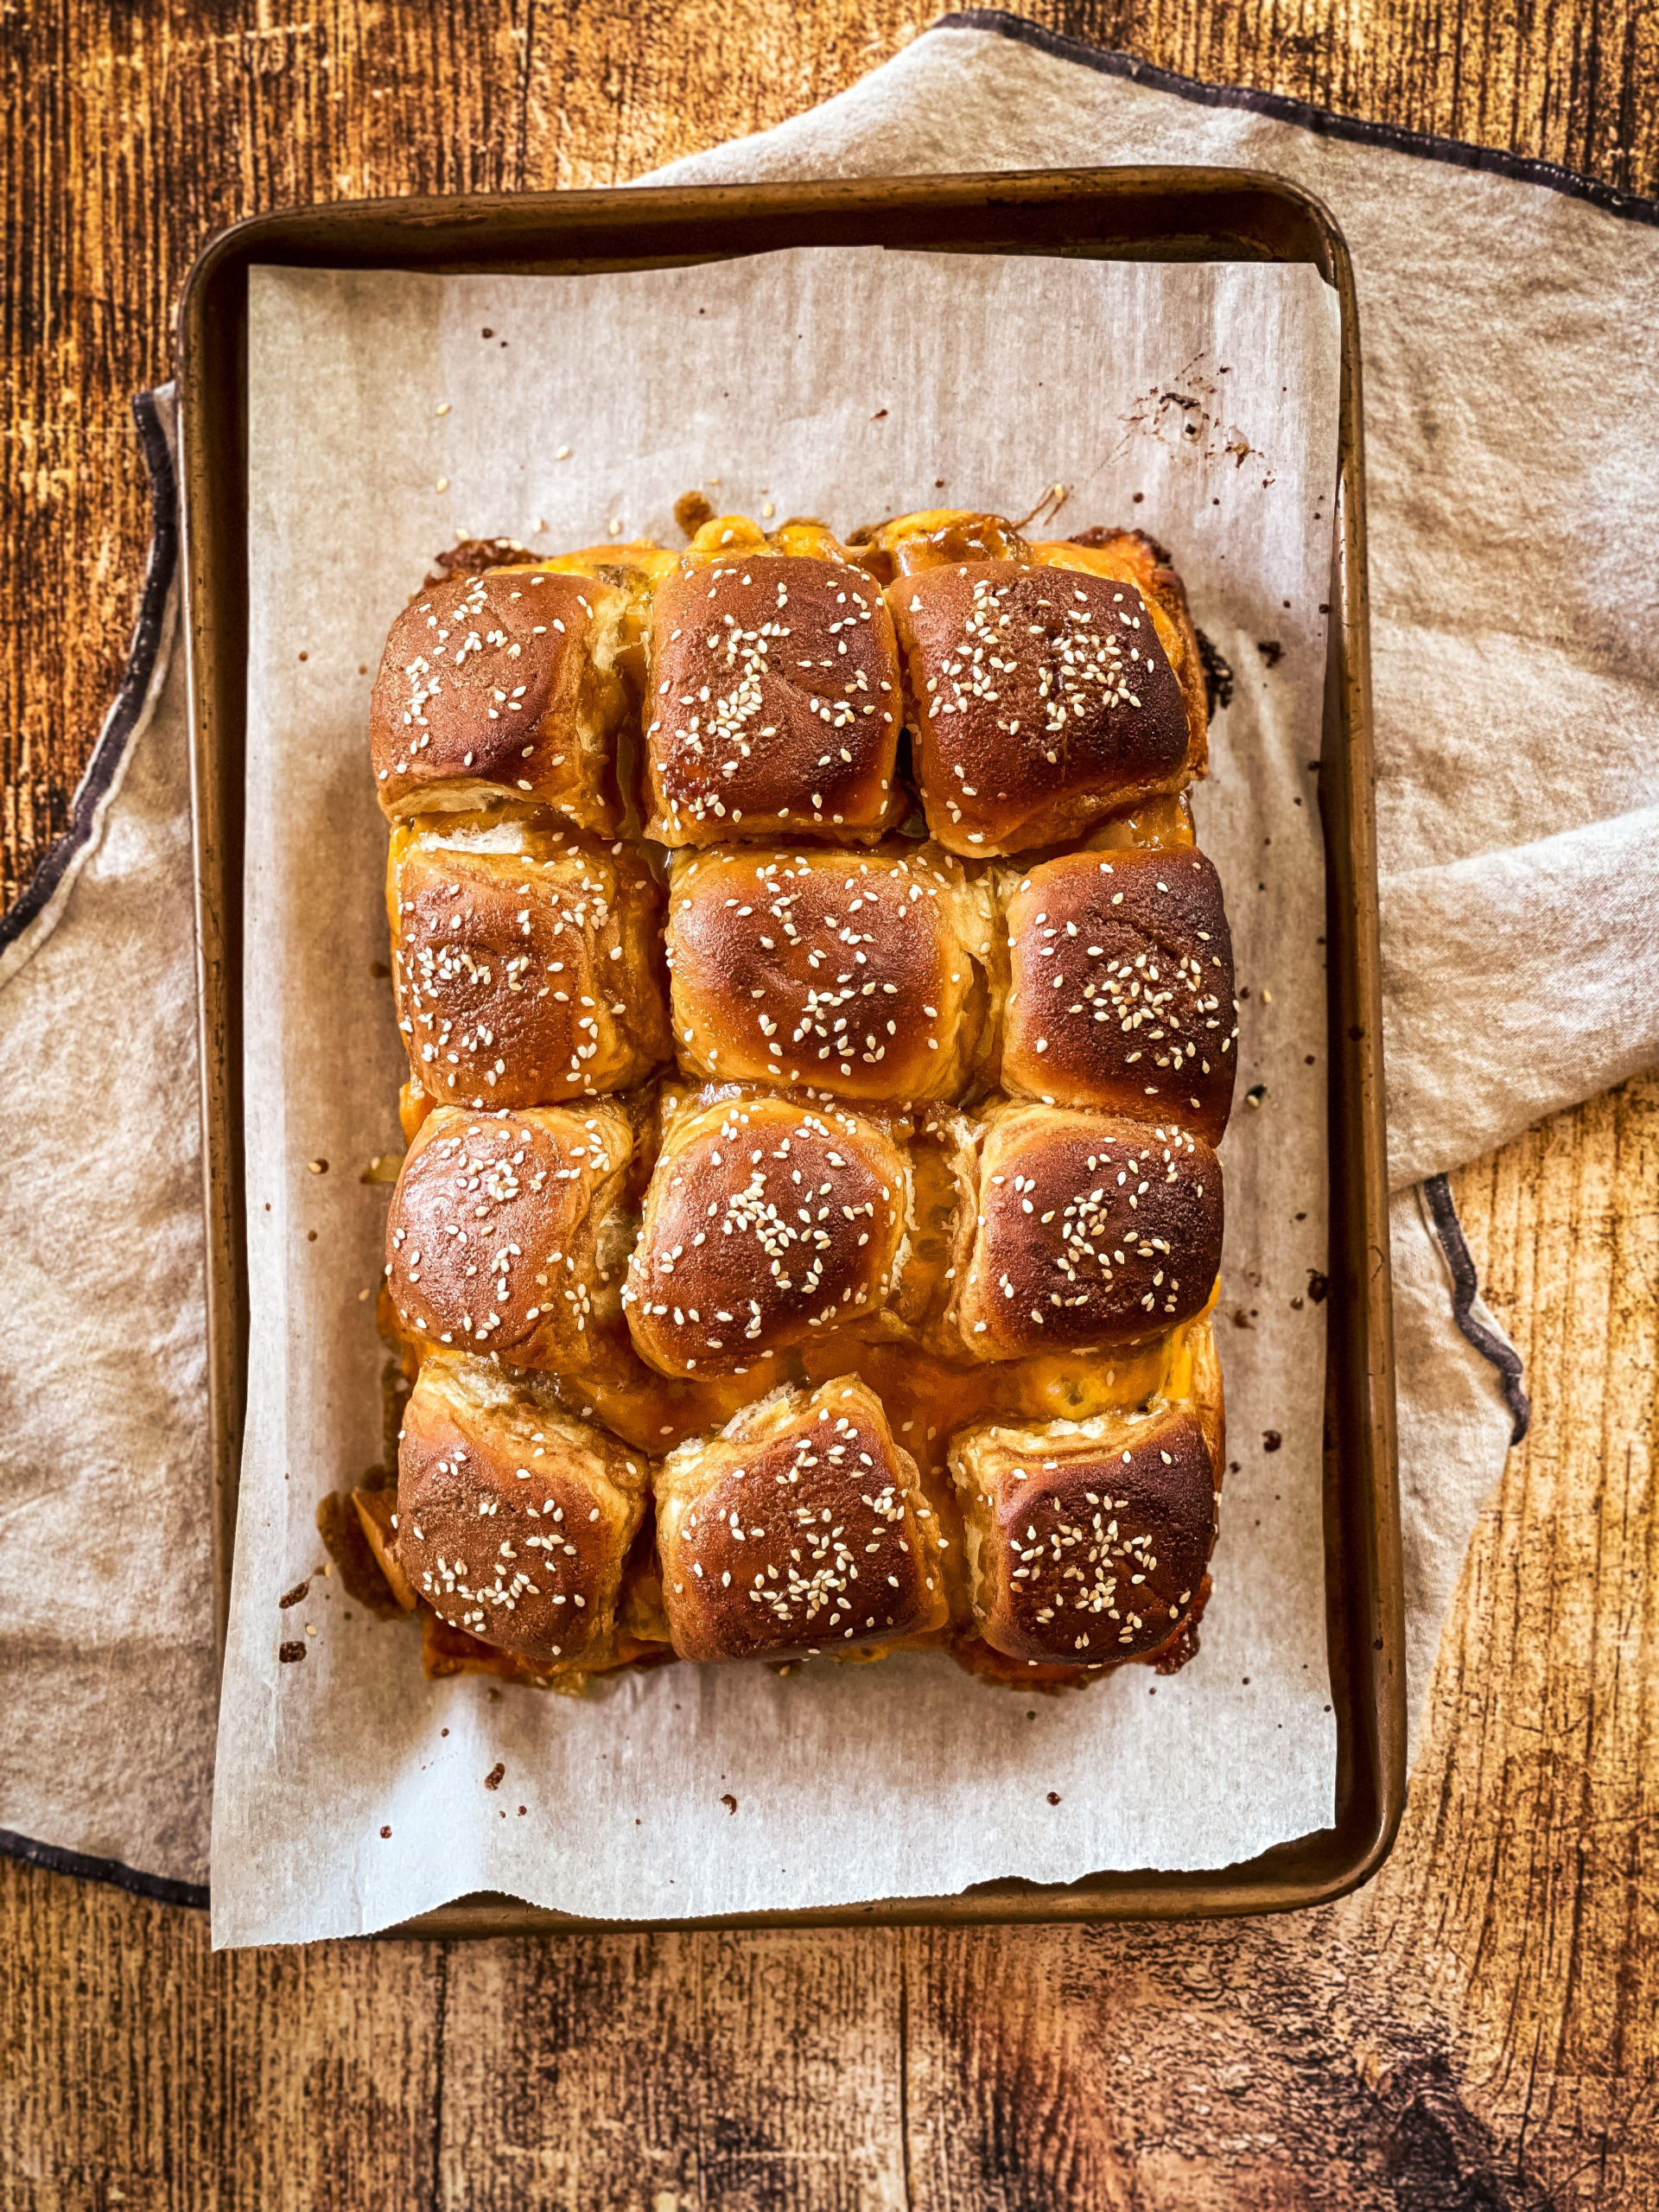
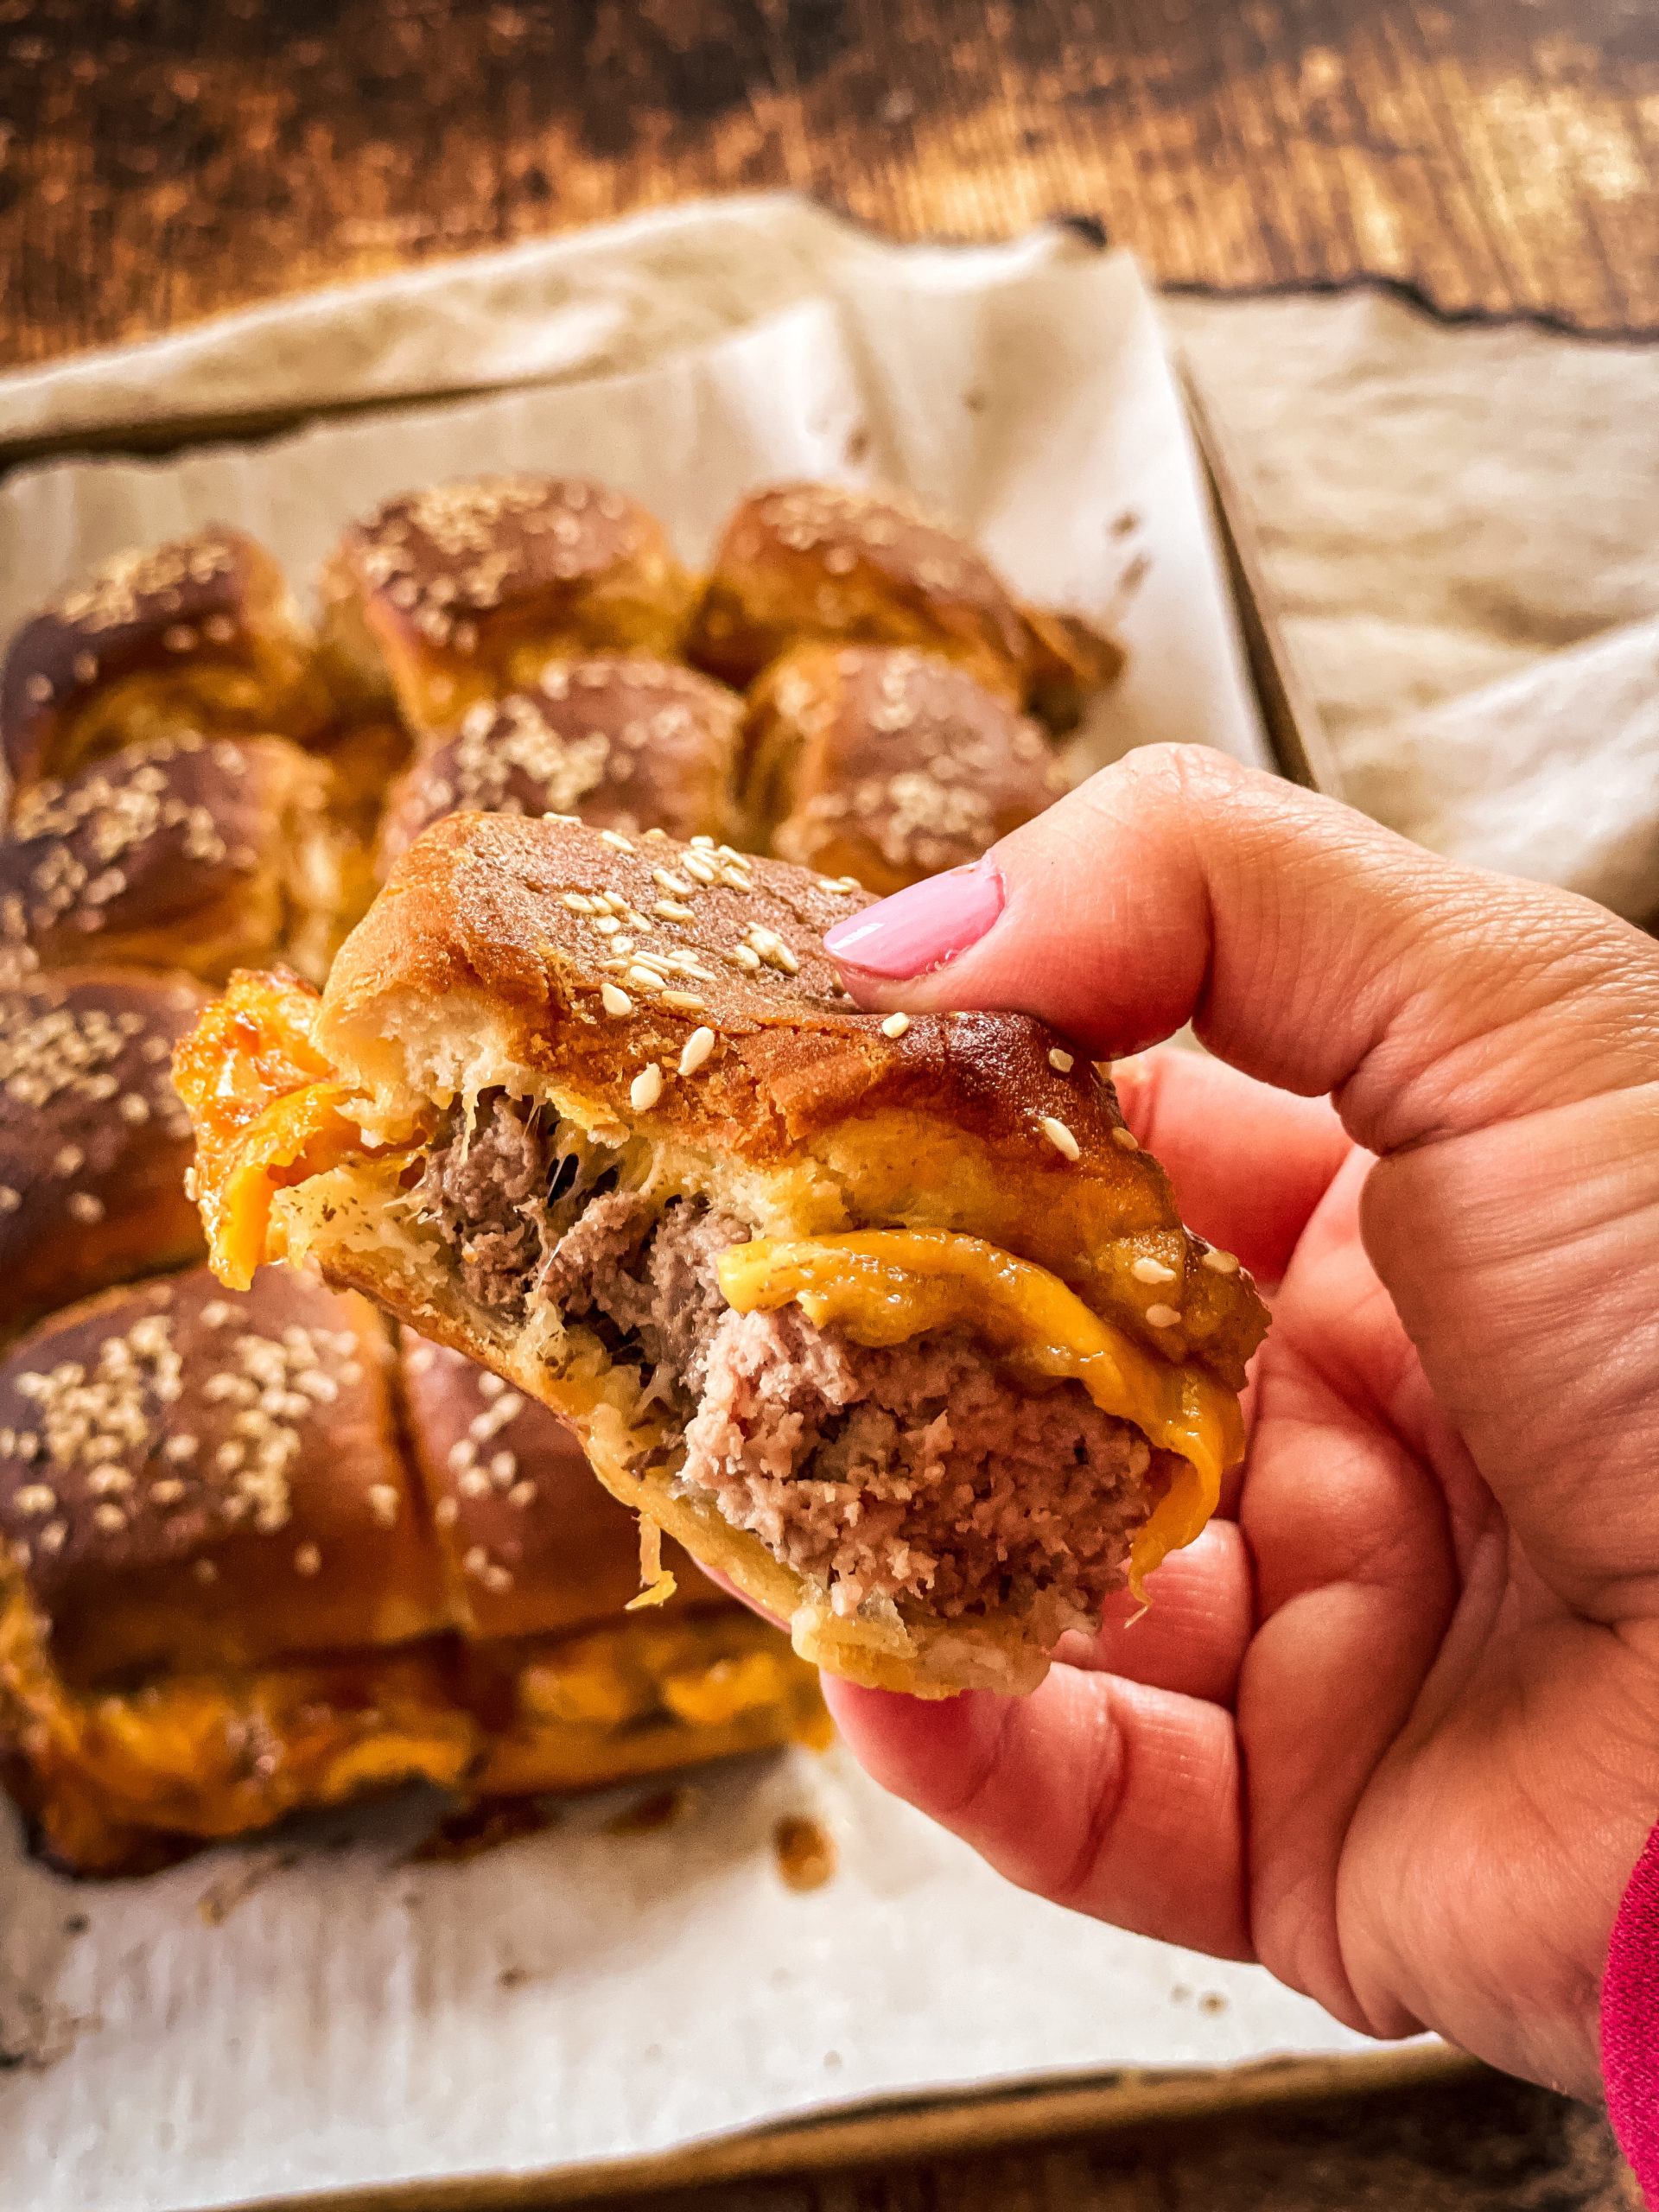
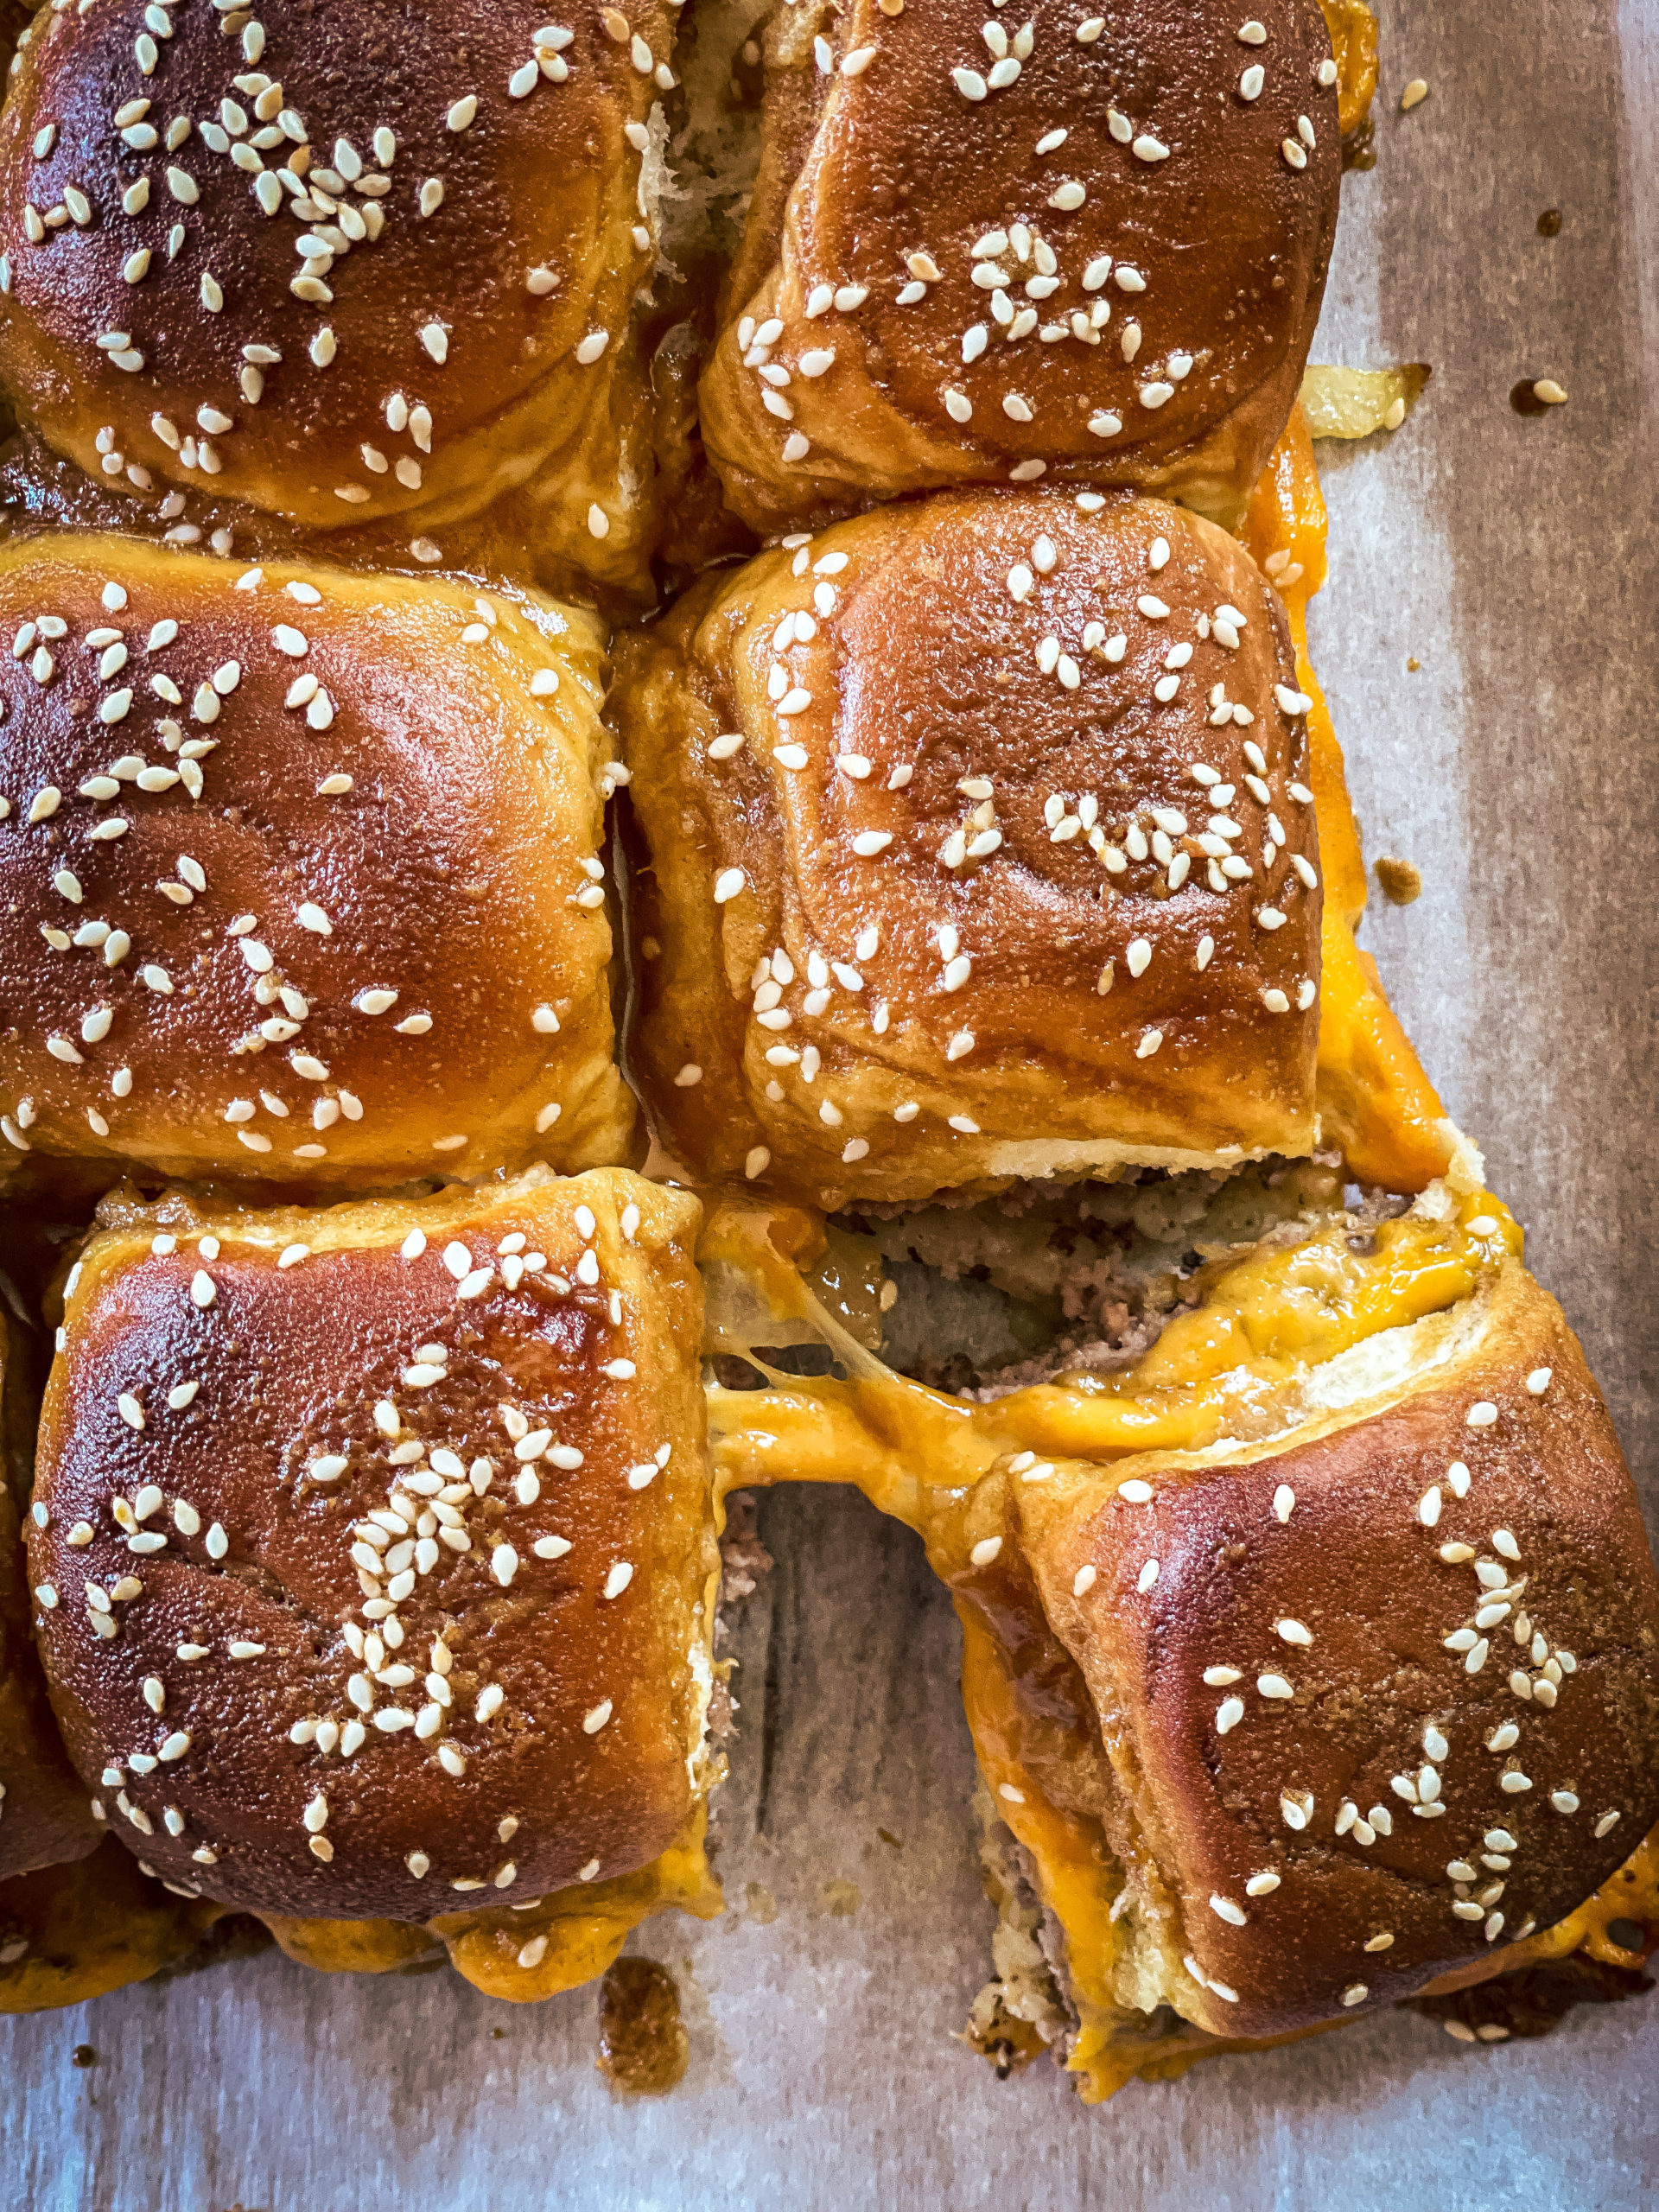
Made with juicy ground beef, melted cheddar cheese, and soft Hawaiian rolls, these mini Cheeseburger Sliders are easy to assemble and are great for a party, snack, or a weeknight dinner. The savory beef pairs perfectly with the gooey cheese, while the rolls soak up all the delicious flavors!
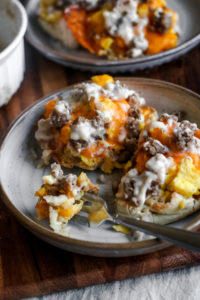
I love a slider in any form. There’s just something about a mini version of my favorite sandwiches that makes them so fun and satisfying. That’s why my French Dip Sliders and easy Breakfast Sliders are always on repeat! But these Hawaiian Roll Cheeseburger Sliders are hands down my favorite if I had to choose.
Sliders are essentially bite-sized sandwiches, made to be easy to eat and perfect for parties, snacks, or even a quick weeknight dinner. They’re super easy because you can make a whole batch at once. There is no need to stand at the grill, flipping burgers one by one. Just pop them in the oven, and you’ve got an entire tray of cheesy, juicy goodness.
This recipe combines simple ingredients with a delicious sauce on top. The juicy ground beef and melted cheddar pair perfectly with the sweet Hawaiian rolls. The sauce is a little bit savory and a little bit sweet, and when it bakes, it gets all toasty and crusty on top, which brings it all together!
Ingredient Notes
Ground Beef – Gives the burgers their classic meaty flavor and texture. I recommend 80/20 for just the right amount of richness.
Seasonings – A mix of Kosher salt, black pepper, and garlic powder add a simple seasoning to the beef that enhances the flavor without overpowering it.
Olive Oil – You’ll need a bit of oil to saute the onions so they become fragrant and flavorful.
Yellow Onion – Adds sweetness and texture to the sliders, giving them a boost of flavor that tastes just like your favorite restaurant burger.
Cheddar Cheese – Melts perfectly over the beef, adding a creamy, savory flavor. Feel free to use your favorite cheese!
Hawaiian Rolls – The sweet rolls perfectly balance the savory beef and cheese, making these sliders extra special.
Special Sauce
Butter – Helps create that toasty, golden top layer on the rolls while adding richness to the sliders.
Salt – Balances the sweetness of the brown sugar and enhances the overall flavor of the sauce.
Brown Sugar – Adds a hint of sweetness to the sauce, which pairs well with the savory beef and rolls.
Worcestershire Sauce – A tangy, umami-rich ingredient that deepens the flavor of the sauce.
Dijon Mustard – Adds a slight tang and richness to the sauce, tying all the flavors together.
Sesame Seeds – Optional, but they add a little extra texture and a classic slider look!
Step By Step Instructions
Prepare the beef: Preheat your oven to 350 degrees. In a medium-sized bowl, combine the ground beef with garlic powder, salt, and pepper. Use your hands to thoroughly mix the seasoning into the beef for even flavor. Place the seasoned ground beef into a 9×13 baking dish, pressing it down into an even layer. Bake in the preheated oven for 20 minutes until the meat is cooked through.
Cook the onions: While the beef is baking, heat a drizzle of olive oil in a small skillet over medium heat. Once the oil is hot, add the chopped onions and sauté until they’re soft and just starting to brown.
Drain the beef: When the beef is done cooking, carefully pour out the excess grease from the baking dish. This will help prevent the sliders from getting too greasy.
Prepare the rolls: Line a sheet pan with parchment paper or a silicone mat. Slice the Hawaiian Rolls in half lengthwise, keeping them attached. Place the bottom half of the rolls onto the prepared sheet pan.
Assemble the sliders: Carefully transfer the large beef patty from the baking dish and place it on top of the bottom half of the Hawaiian Rolls. Spread the sautéed onions evenly over the beef.
Add the cheese: Layer the cheese slices over the onions. Then, place the top half of the Hawaiian Rolls over the cheese layer.
Make the sauce: In a small bowl, mix together the melted butter, salt, brown sugar, Worcestershire sauce, and Dijon mustard. Brush or pour the sauce generously over the tops of the Hawaiian Rolls, making sure each roll is covered. Sprinkle sesame seeds on top if you like.
Bake the sliders: Place the assembled sliders back in the oven and bake at 350 degrees for 20 minutes. Bake until the cheese is melted and the tops of the rolls are golden and toasted. Remove from the oven, let cool slightly, then slice and serve!
Expert Tips
Press the beef firmly into an even layer in the baking dish to help it cook evenly and create a solid base for your sliders.
Don’t rush the onions! Let them cook until they’re golden and soft, which will add a delicious sweetness to your sliders.
Let the beef rest for a minute after baking before transferring to the rolls to make handling easier and to keep the juices inside.
If the tops of your sliders start to brown too quickly while baking, cover them loosely with foil to prevent burning.
For a cleaner cut when serving, let the sliders cool slightly after baking so the cheese can set and the rolls won’t tear apart.
Draining the beef of excess grease after baking keeps the sliders from becoming soggy and helps the rolls stay crisp.
Brush the tops of the rolls lightly a second time with the sauce just before serving to add an extra layer of flavor and a bit more shine!
Ways To Customize
Cheese: Switch things up with your favorite cheeses. Try Swiss, pepper jack, gouda, or mozzarella for a different flavor profile. You can even mix and match cheeses.
Toppings: Get creative with toppings! Add pickles, crispy bacon, sautéed mushrooms, or jalapeños for a little heat. You could also throw in lettuce, tomato, or even a fried egg for a breakfast twist.
Seasonings: Amp up the flavor by adding different seasonings to the beef, such as smoked paprika, onion powder, or even some crushed red pepper. You can also sprinkle some everything bagel seasoning on top of the rolls before baking for extra texture and flavor.
Storing & Freezing
Storing: Keep any leftover sliders in an airtight container in the fridge for up to 4 days.
Freezing: To freeze, wrap the sliders individually in foil or plastic wrap, then place them in a freezer-safe bag. They can be frozen for up to 3 months and are perfect for meal-prepping or last-minute dinners!
Reheating: Reheat sliders in a 350-degree oven for 10-15 minutes until warmed through and the rolls are toasty. You can also pop them in the air fryer at 350 for 5-6 minutes.
FAQ
Can I make the sliders ahead of time?
Yes. You can assemble the sliders in advance, cover them tightly, and refrigerate them for up to 24 hours before baking. When you’re ready to cook, just add a few extra minutes to the baking time.
Can I cook the beef on the stovetop instead of in the oven?
Yes. Brown the ground beef in a skillet over medium heat, breaking it up as it cooks. Once fully cooked, drain the grease and assemble the sliders as directed.
How do I keep the rolls from getting soggy?
Draining the excess grease from the beef before assembling the sliders is key. Also, toasting the bottom half of the rolls lightly before adding the beef can help prevent sogginess.
Can I use different rolls?
While Hawaiian Rolls add a sweet touch, you can use any soft dinner rolls or slider buns. Just choose ones that hold up well to the filling.
More Easy Slider Recipes

Cheeseburger Sliders
Easy and delicious Cheeseburger Sliders. Melty cheese along with a burger on a Hawaiian Roll and coated with a sweet and savory sauce.

Ingredients
2 lbs ground beef
2 teaspoons garlic powder
1 teaspoon kosher salt
1 teaspoon ground pepper
olive oil
1/2 yellow onion, chopped
6 slices Cheddar Cheese (or any cheese you prefer)
1 package (12) Hawaiian Rolls
Sauce:
1/4 cup butter (1/2 stick), melted
1/4 teaspoon salt
2 Tablespoons brown sugar
3 teaspoons Worcestershire sauce
2 Tablespoons dijon mustard
Sesame seeds, optional
Instructions
1. Preheat oven to 350 degrees. In a medium size bowl, mix the ground beef with the garlic powder, salt and pepper. Use your hands to mix the seasoning into the beef.
2. Place the ground beef into a 9×13 baking dish. Press the beef down into an even layer. Bake for 20 minutes.
3. While the beef is cooking, drizzle olive oil in a small skillet on medium heat. Once hot, add the chopped onions and cook until soft or starting to brown.
4. When the beef is done coking, pour the excess grease out of the baking dish.
5. Prepare a sheet pan with parchment paper or silicone mat. Cut the Hawaiian Rolls in half lengthwise and place the bottom half on the sheet pan.
6. Transfer the large beef patty and place it on top of the bottom layer of Hawaiian Rolls. Then cover the beef layer with the onions.
7. Layer the cheese slices over the onions and then place the tp half of the Hawaiian Rolls over the cheese.
8. For the sauce, in a small bowl mix together the melted butter, salt, brown sugar, Worcestershire sauce and dijon mustard. Brush or pour the sauce over the top of the Hawaiian Rolls and make sure all the tops are covered. Sprinkle sesame seeds over the rolls as well, if desired.
9. Bake at 350 degrees for 20 minutes until the cheese is melty and the tops of the rolls are toasted. Remove and let cool slightly. Cut and enjoy!
Notes
- Sign me up. Sign me up. Sign me up. Sign me up. Sign me up. Sign me up.
- Sign me up. Sign me up. Sign me up. Sign me up. Sign me up. Sign me up.
- Sign me up. Sign me up. Sign me up. Sign me up. Sign me up. Sign me up.
NEED IDEAS FOR FOODS YOUR KIDS
WILL *ACTUALLY* EAT?
Our best tips for quick and tasty recipes, ideas and more, right to your inbox.

