
WHAT’S FOR DESSERT?
No Churn Rainbow Ice Cream with Jello
COOK TIME
TOTAL TIME
SERVINGS
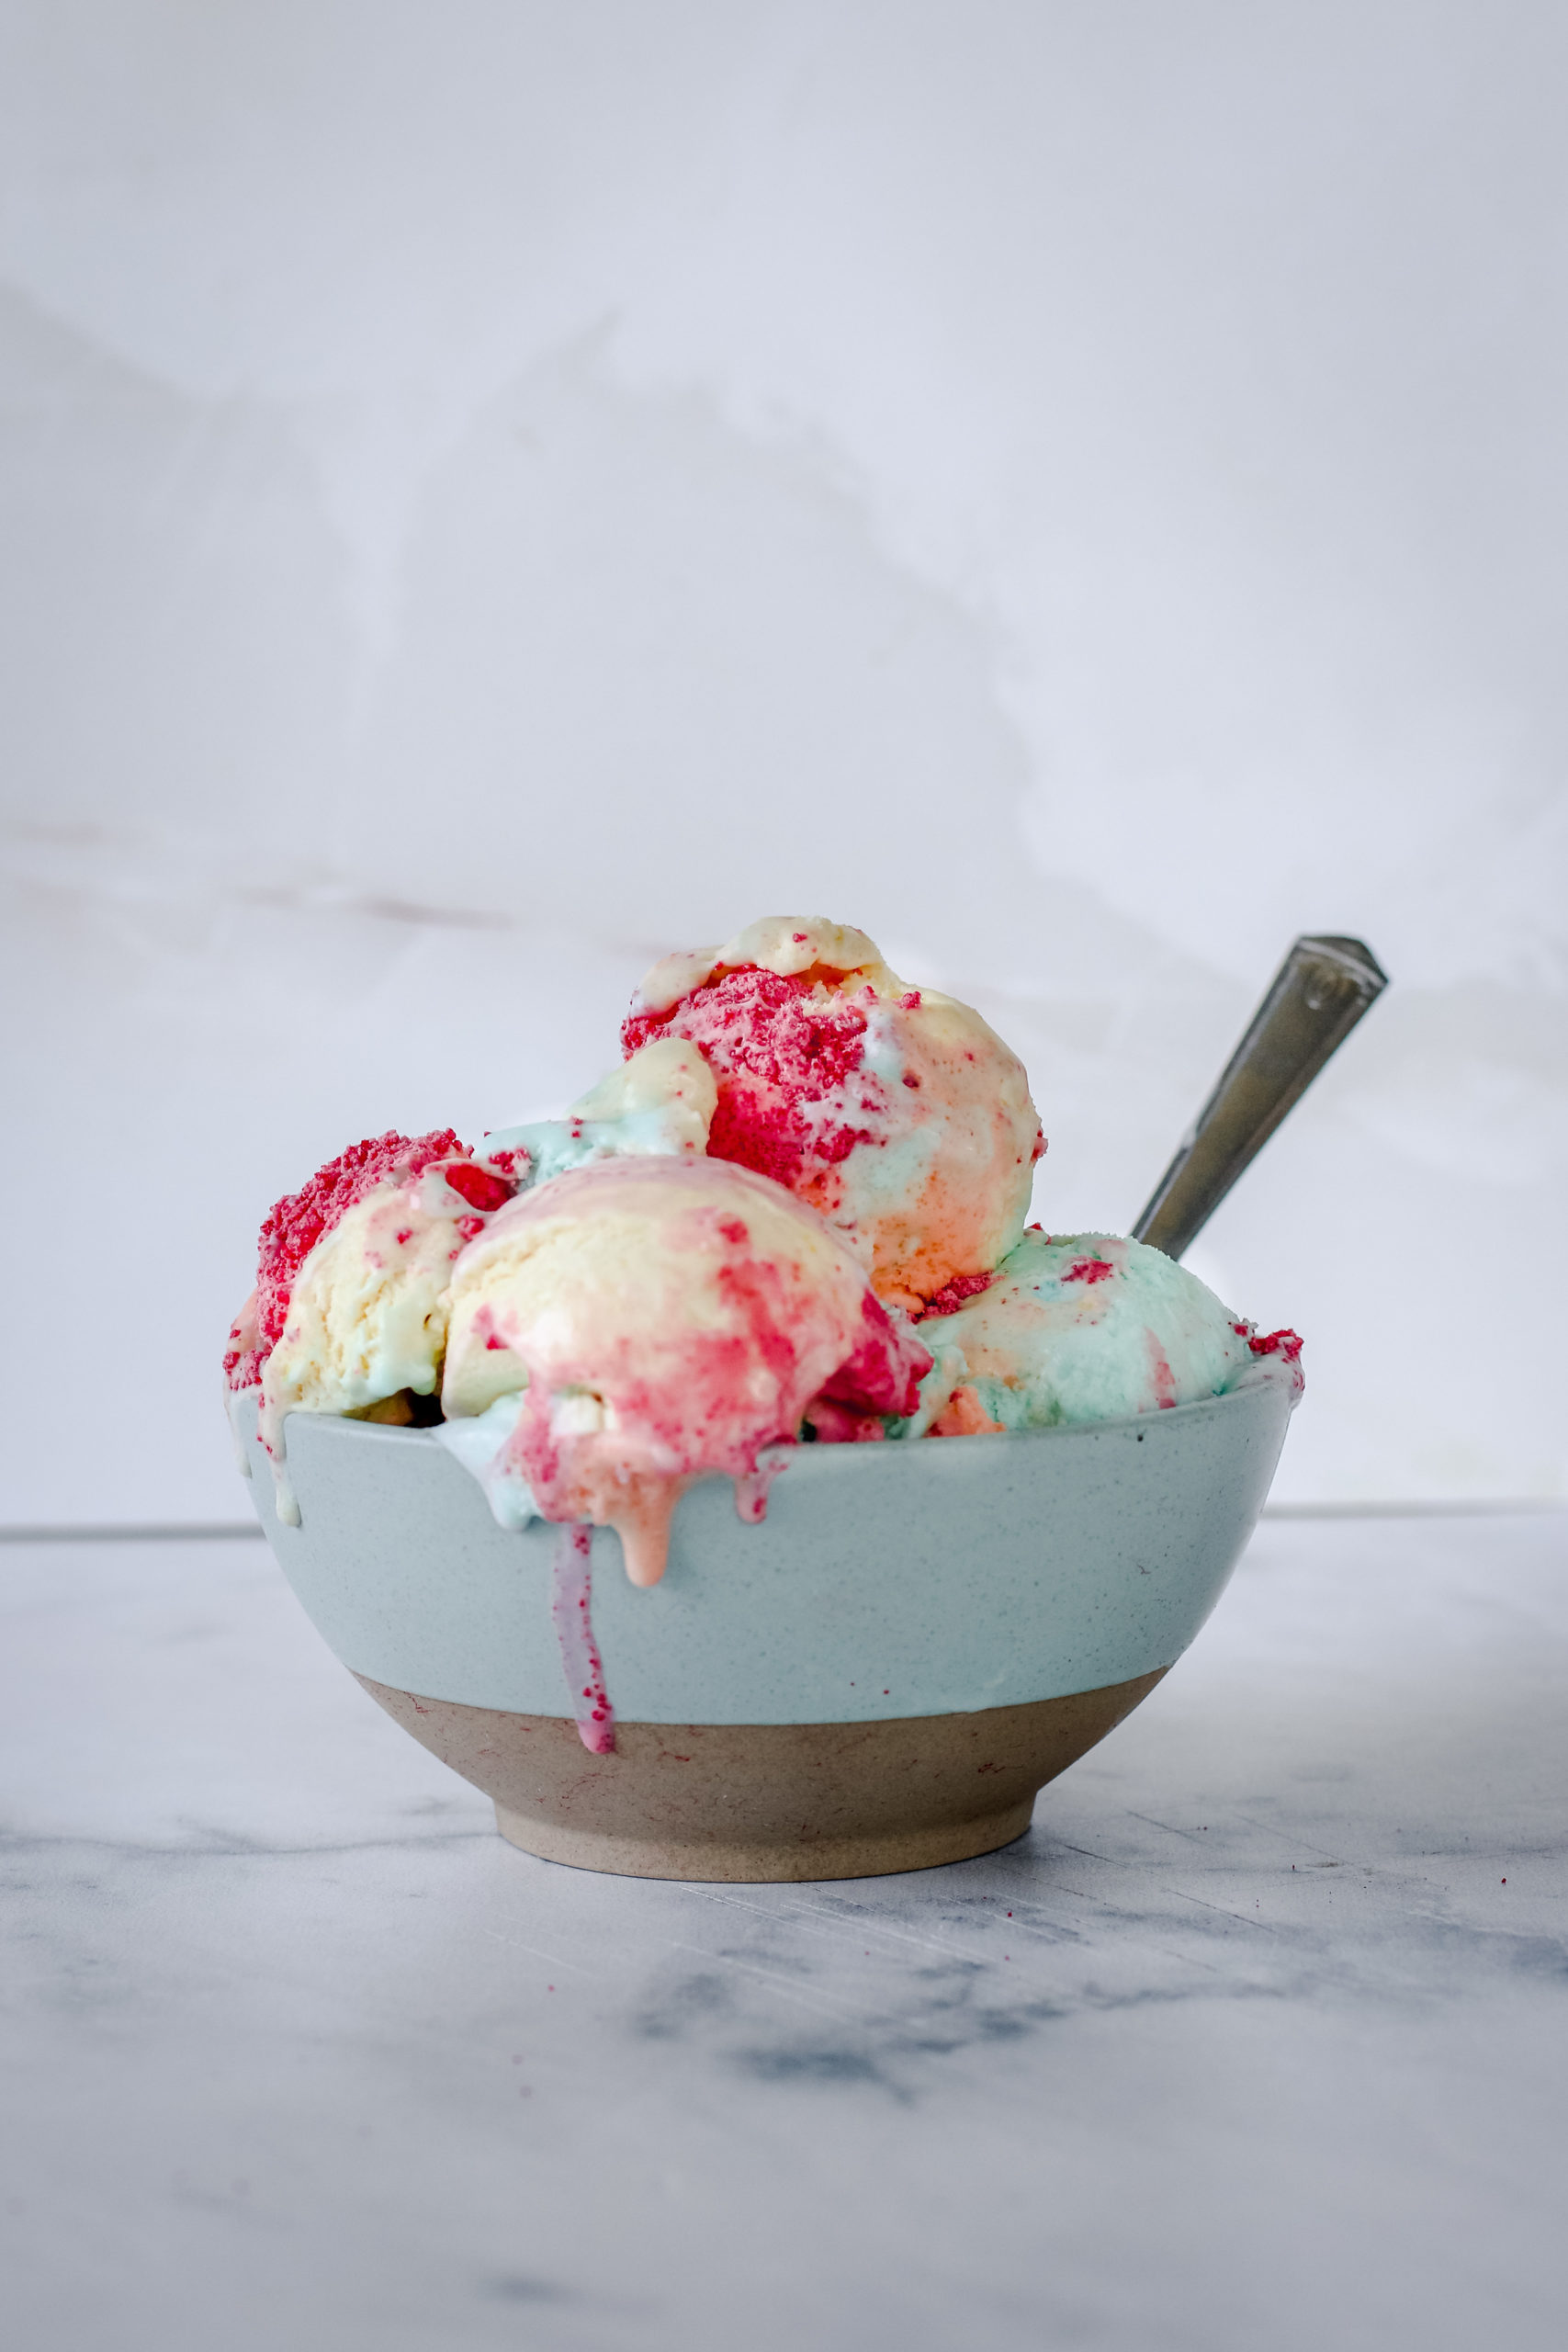
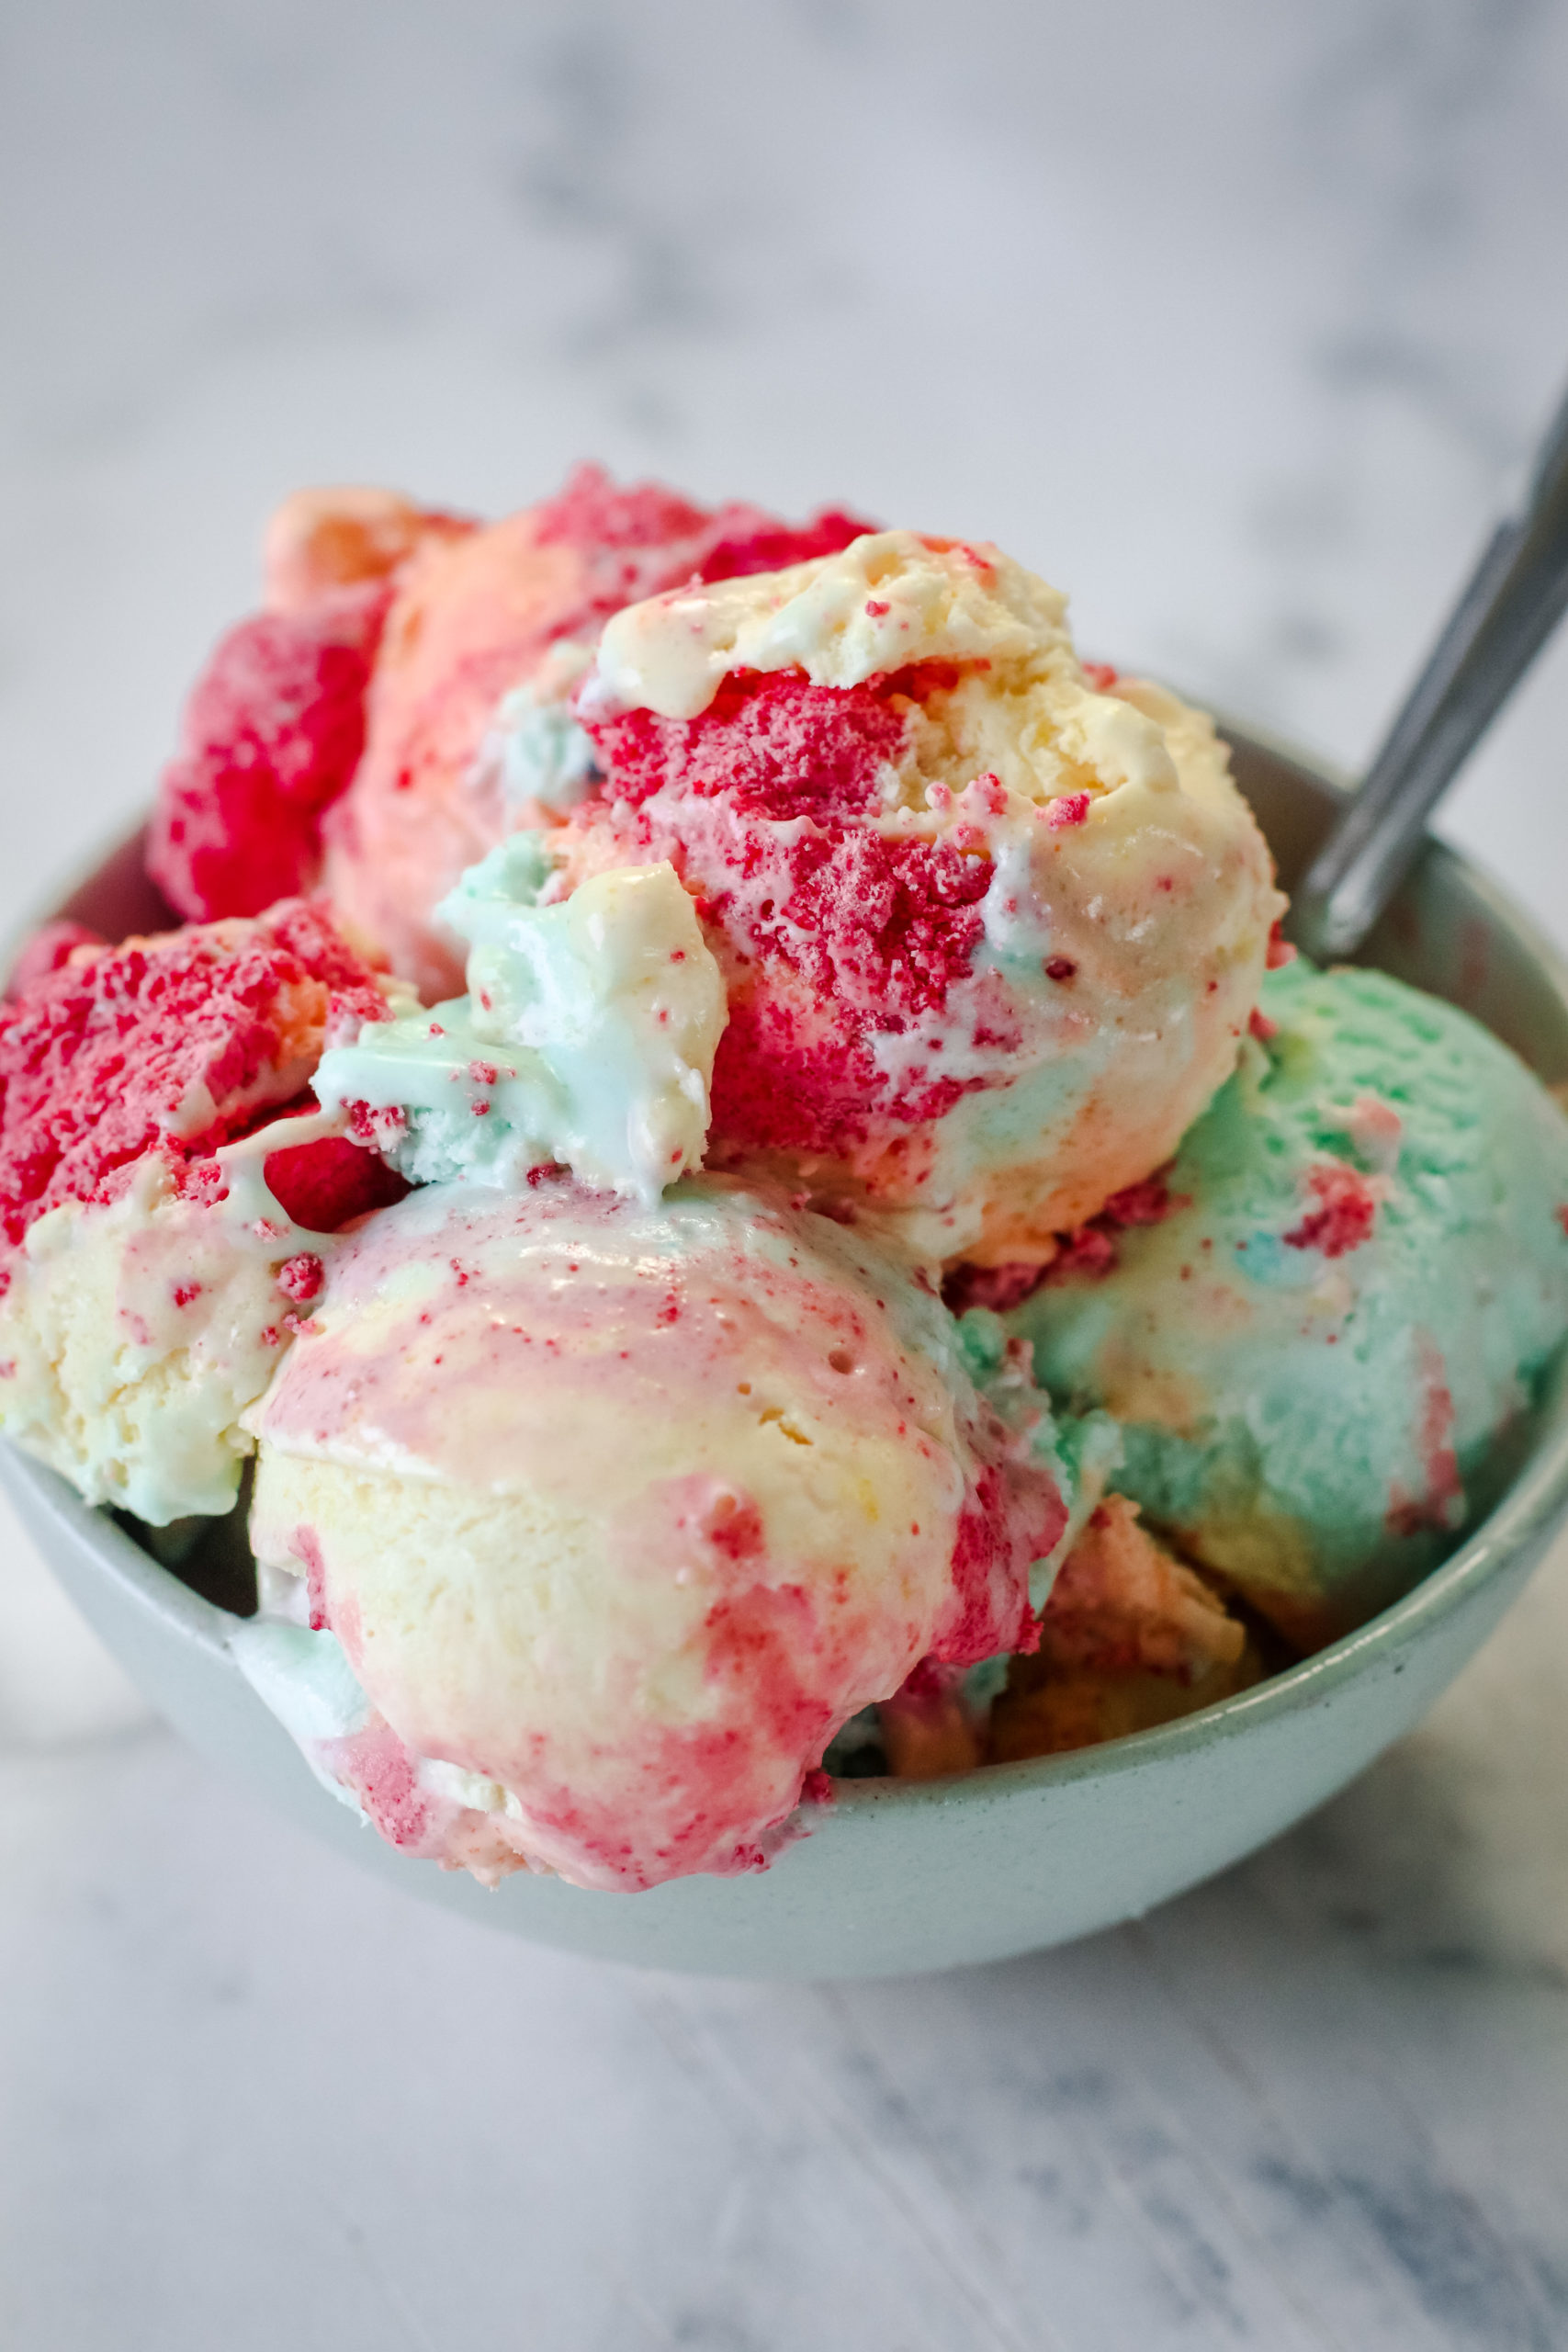
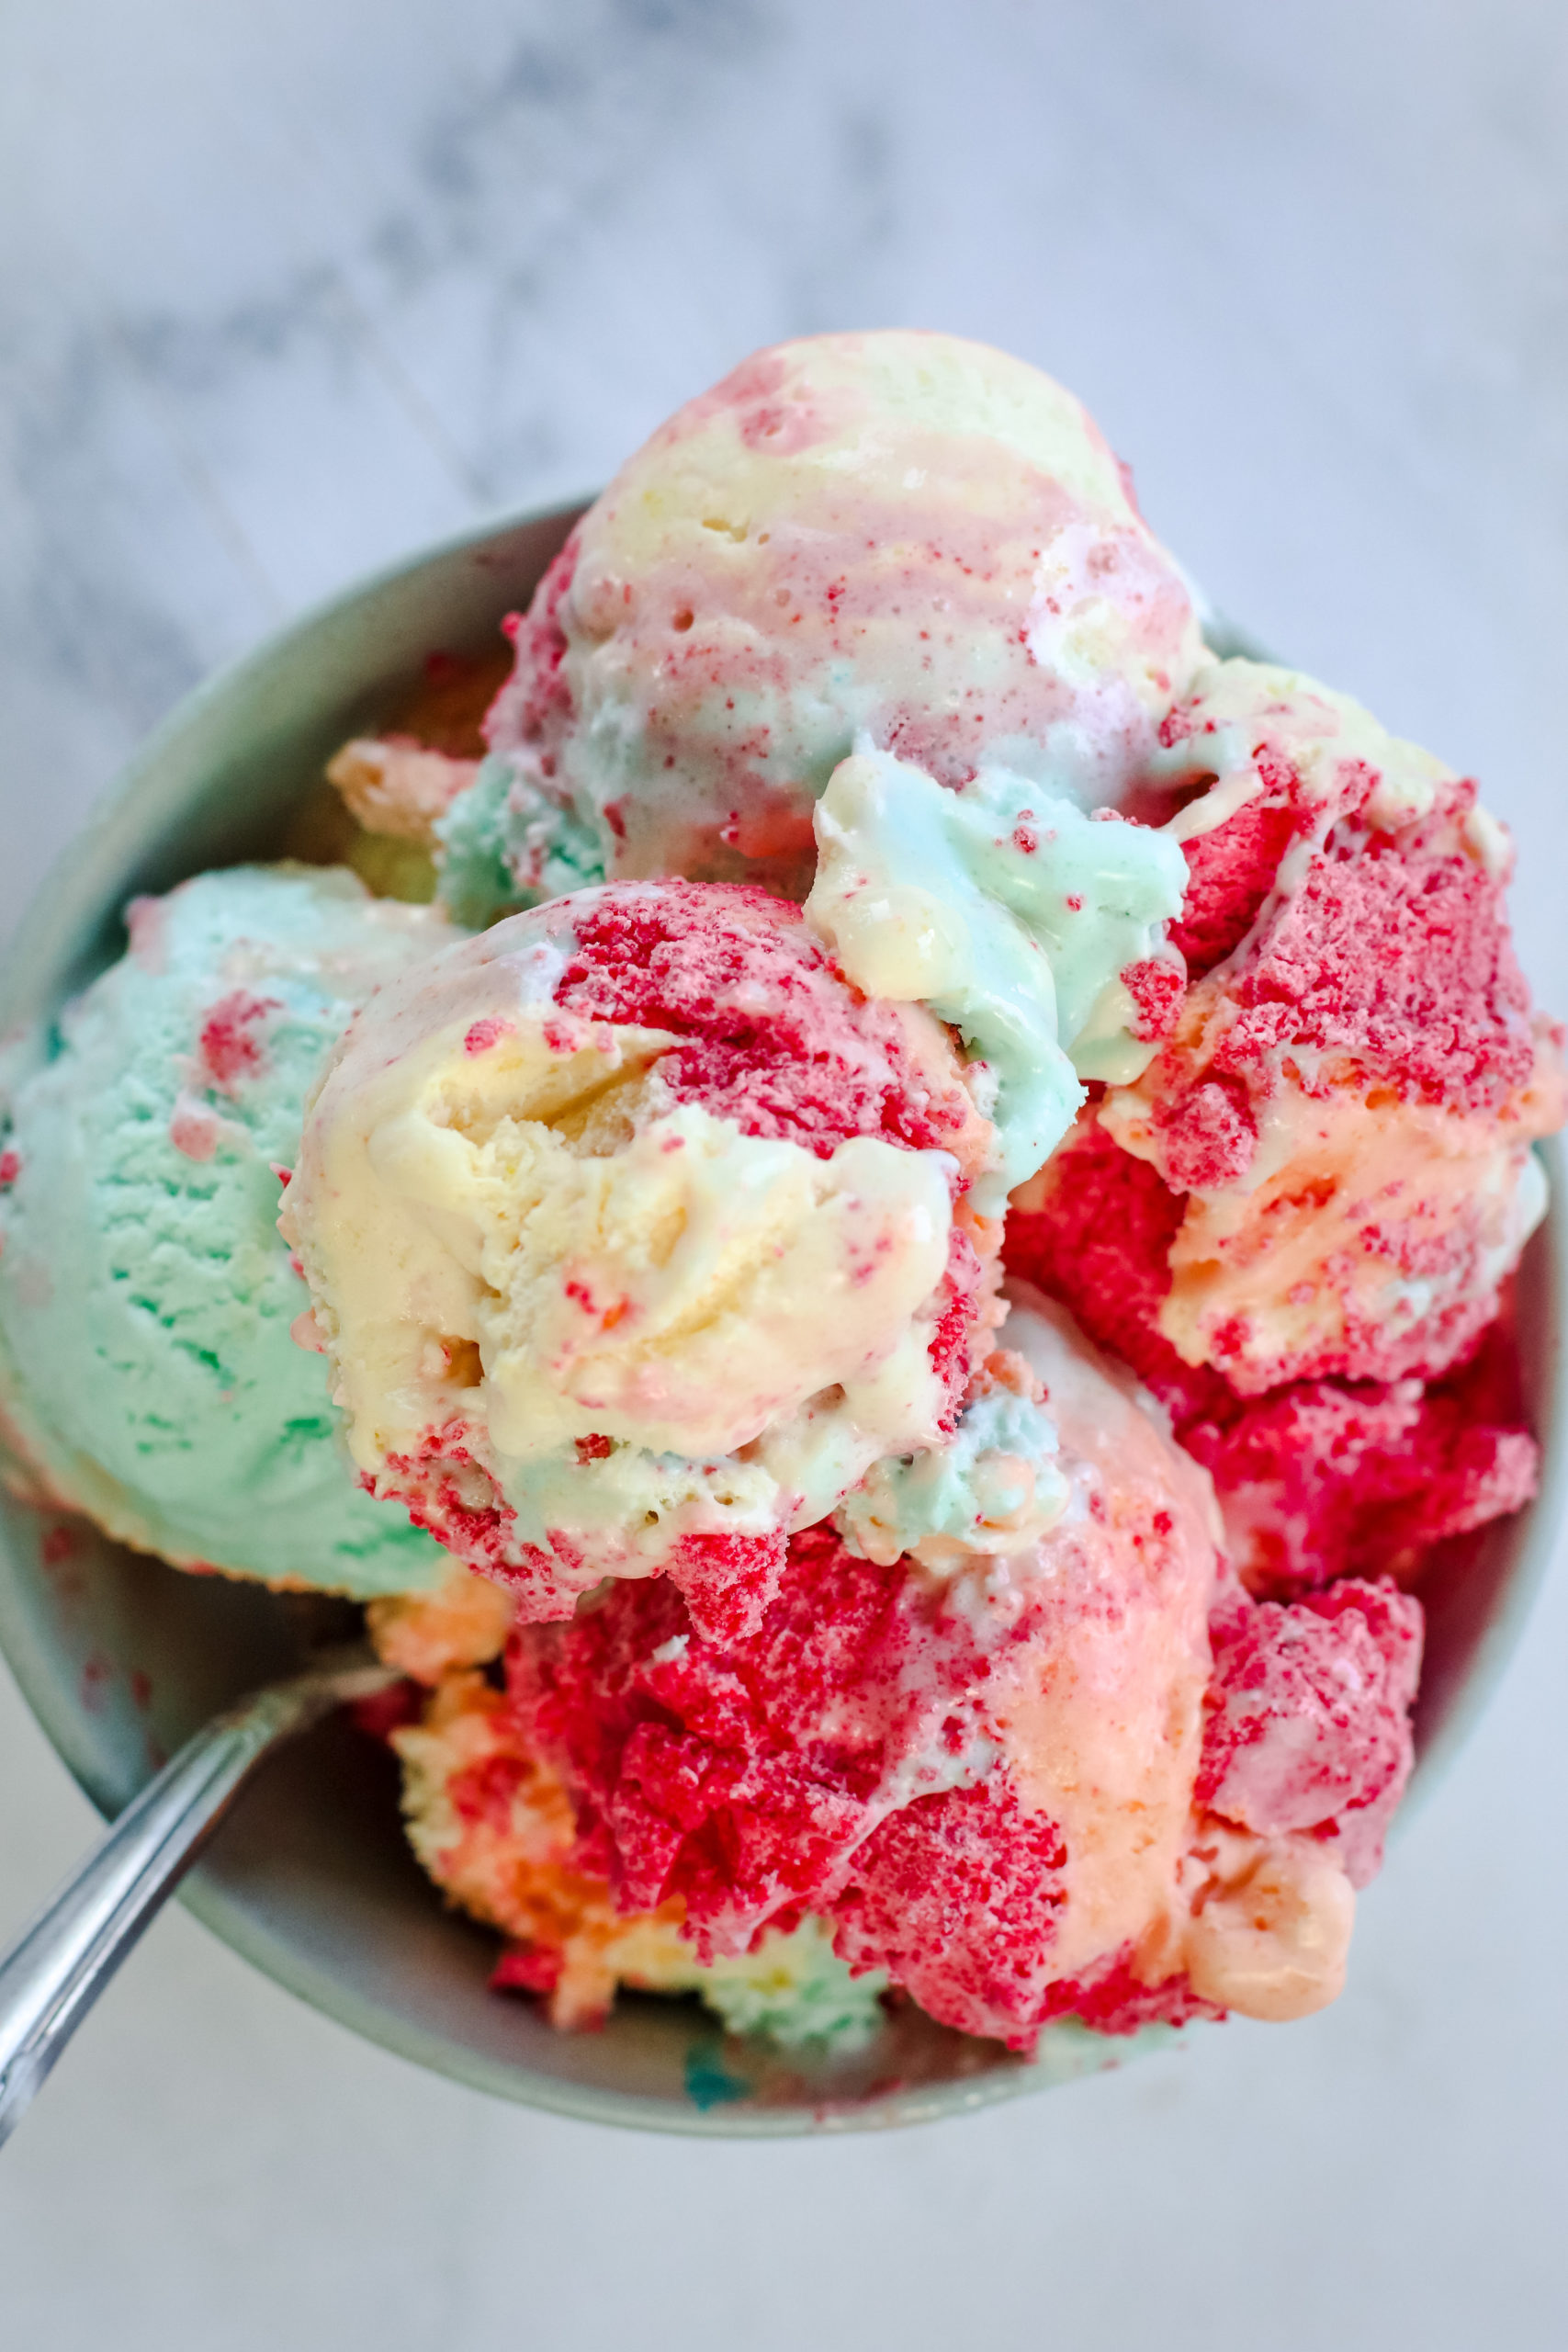
Looking for a fun and easy summer treat? Try this No Churn Rainbow Ice Cream with Jello! Just mix heavy cream, condensed milk, and your favorite Jello flavors for a colorful, creamy three-ingredient ice cream that everyone will love, with no ice cream maker required!
I could say this rainbow was for my daughter, but I would be lying. She gave me the idea, but I’m pretty sure I got just as excited. There’s just something about a colorful treat that makes people happy, and this rainbow ice cream made with jello is no exception!
It’s vibrant, fun, and incredibly easy to make. And, you don’t need an ice cream maker! With just a few simple ingredients, you can create a creamy, delicious ice cream that pops with your favorite colors and flavors for the best summertime treat or all year round!
No Ice Cream Maker Needed
No churn ice cream is a simple way to make homemade ice cream without the need for an ice cream maker. Traditional ice cream makers churn the mixture to incorporate air and prevent ice crystals from forming. No churn ice cream, on the other hand, relies on whipping heavy cream to create that creamy texture, then folding it into a sweetened condensed milk base. This method is quick, requires minimal equipment, and still delivers a rich, velvety ice cream.
You’ll start by whipping heavy cream until it forms stiff peaks, then gently fold in a can of sweetened condensed milk. Divide this creamy mixture into four bowls, adding a different Jello powder to each for fun, vibrant colors. Spoon the colored mixtures into an 8×8 baking dish in layers or swirls, cover, and freeze overnight. The next day, scoop out a bit of each color for a fun and tasty treat!
Why You’ll Love This Recipe
3 Ingredients: This recipe uses just heavy cream, sweetened condensed milk, and Jello powder, making it super simple and budget-friendly.
Customizable: Choose any Jello flavors you like, allowing you to create your favorite color and taste combinations.
No ice cream maker: You don’t need any special equipment, just a mixer and a few bowls!
Great for summer: This ice cream is a refreshing and fun treat, perfect for hot summer days.
Kid-friendly: It’s a great recipe to make with kids, letting them pick and mix their favorite colors and flavors.
Quick prep: It takes just 15 minutes to make before freezing, so you can have it ready to go in no time.
Rainbow Ice Cream Ingredients
Heavy Whipping Cream – This gives the ice cream a creamy, smooth texture and helps incorporate air into it, making it light and fluffy. Use Cool Whip as an alternative to save time.
Condensed Milk – Adds richness to the ice cream, helping to create a dense, creamy base that doesn’t require churning.
Jello Powder – Infuses the ice cream with vibrant colors and a variety of flavors, making each scoop fun and flavorful. For the best rainbow effect, use two tablespoons, each of four different colors.
Step By Step Instructions
Mix the milk and cream: Start out with cold, heavy whipping cream and pour it into a large mixing bowl. Use a handheld mixer and beat on medium high speed until stiff peaks form. With a rubber spatula or spoon, fold in the condensed milk until fully combined without deflating the mixture.
Add jello powder: Divide the milk mixture into four separate bowls. Sprinkle in two tablespoons of jello powder in each bowl and gently mix until combined. You’ll have four separate colors.
Freeze and enjoy: Spoon each color into each corner of an 8×8 baking dish or mix it up to swirl the colors together. Cover with plastic wrap and freeze for at least 6 hours or up to overnight until solid. Remove from the freezer and use an ice cream scoop to scoop out each color into a bowl. Enjoy!
Recipe Tips
Chill the mixing bowl and beaters before whipping the heavy cream to help achieve stiff peaks faster.
Whip the heavy cream until you see peaks that hold their shape for a creamy texture.
Fold the condensed milk gently into the whipped cream to maintain the light, airy texture without deflating it.
Divide the mixture evenly into four bowls for easy color distribution.
Mix the Jello powder thoroughly but gently into the cream mixture to avoid any clumps.
Cover the baking dish tightly with plastic wrap to prevent ice crystals from forming on the ice cream.
Freeze the ice cream for at least 6 hours, but overnight is best for a firm and scoopable texture.
Use a warm ice cream scoop to make serving easier; dip the scoop in hot water between scoops for smooth, even portions.
Jello Flavors
There are so many different flavors you can mix and match to make this recipe! Keep an eye out at the grocery store for your favorites.
Strawberry
Lemon
Blue Raspberry
Lime
Cherry
Orange
Grape
Watermelon
Pineapple
Peach
Black Cherry
Raspberry
Mango
Kiwi
Berry Blue
Ways To Customize
Add mini marshmallows or gummy candies to the mixture before freezing for added texture and flavor.
Substitute the condensed milk with a dairy-free alternative like coconut condensed milk for a vegan version.
Mix in crushed cookies or candy pieces for a crunchy surprise in each bite.
Add a swirl of chocolate or caramel sauce between the layers for an extra layer of flavor.
Add fresh fruit pieces like strawberries or blueberries for a fruity twist.
Blend in a tablespoon of flavored extract like mint or almond to enhance the taste.
Top the finished ice cream with sprinkles or edible glitter before serving.
Storage Instructions
Keep the ice cream in an airtight container in the freezer for up to two weeks. Cover the surface with plastic wrap before sealing the container to prevent ice crystals from forming. For best texture, let it sit at room temperature for a few minutes before scooping.
FAQ
Can I use different types of milk instead of heavy cream?
Heavy cream is essential for achieving a rich and creamy texture. Using other types of milk won’t whip properly. Instead of heavy whipping cream, you could use Cool Whip instead.
How do I prevent ice crystals from forming in the ice cream?
Cover the surface of the ice cream with plastic wrap before sealing it in an airtight container. This helps to minimize air exposure and prevents ice crystals from forming.
What if I don’t have a handheld mixer?
You can use a stand mixer or even whisk by hand, although it will take longer. The key is to whip the heavy cream until stiff peaks form for the right consistency.
More No Churn Ice Cream Recipes
No Churn Rainbow Ice Cream with Jello
A fun, colorful, easy and delicious Rainbow Ice Cream. No ice cream maker needed for this happy ice cream.

Ingredients
2 cups Heavy Cream (you can use Cool Whip too)
1 can (14oz) condensed milk
2 Tablespoons powder of four different Jello flavors/colors
Instructions
1. In a large bowl, add the heavy cream and use a handheld mixer to beat for a few minutes until you get stiff peaks. Add the can of condensed milk and fold in with a spoon or spatula.
2. In four smaller bowls, divide up the mixture evenly. Then add 2 Tablespoons of each Jello powder to the bowls to have four separate colors. Mix together until combined.
3. In an 8×8 baking dish, spoon each color into a corner or you can mix it all up as well. No wrong way to do it. Cover the baking dish with plastic wrap and place in the freezer for several hours and ideally overnight.
4. Remove from the freezer, scoop the ice cream to get a little of each color and serve! Fun, colorful and delicious!
Notes
- Sign me up. Sign me up. Sign me up. Sign me up. Sign me up. Sign me up.
- Sign me up. Sign me up. Sign me up. Sign me up. Sign me up. Sign me up.
- Sign me up. Sign me up. Sign me up. Sign me up. Sign me up. Sign me up.
NEED IDEAS FOR FOODS YOUR KIDS
WILL *ACTUALLY* EAT?
Our best tips for quick and tasty recipes, ideas and more, right to your inbox.



2 Responses
We made this last night and it is so easy and delicious. I can’t wait to make it again and try it new flavors!
SO happy you guys liked it! It’s such a fun one to make.