

WHAT’S FOR DINNER?

Ultimate Mac and Cheese

Rated 0 out of 5
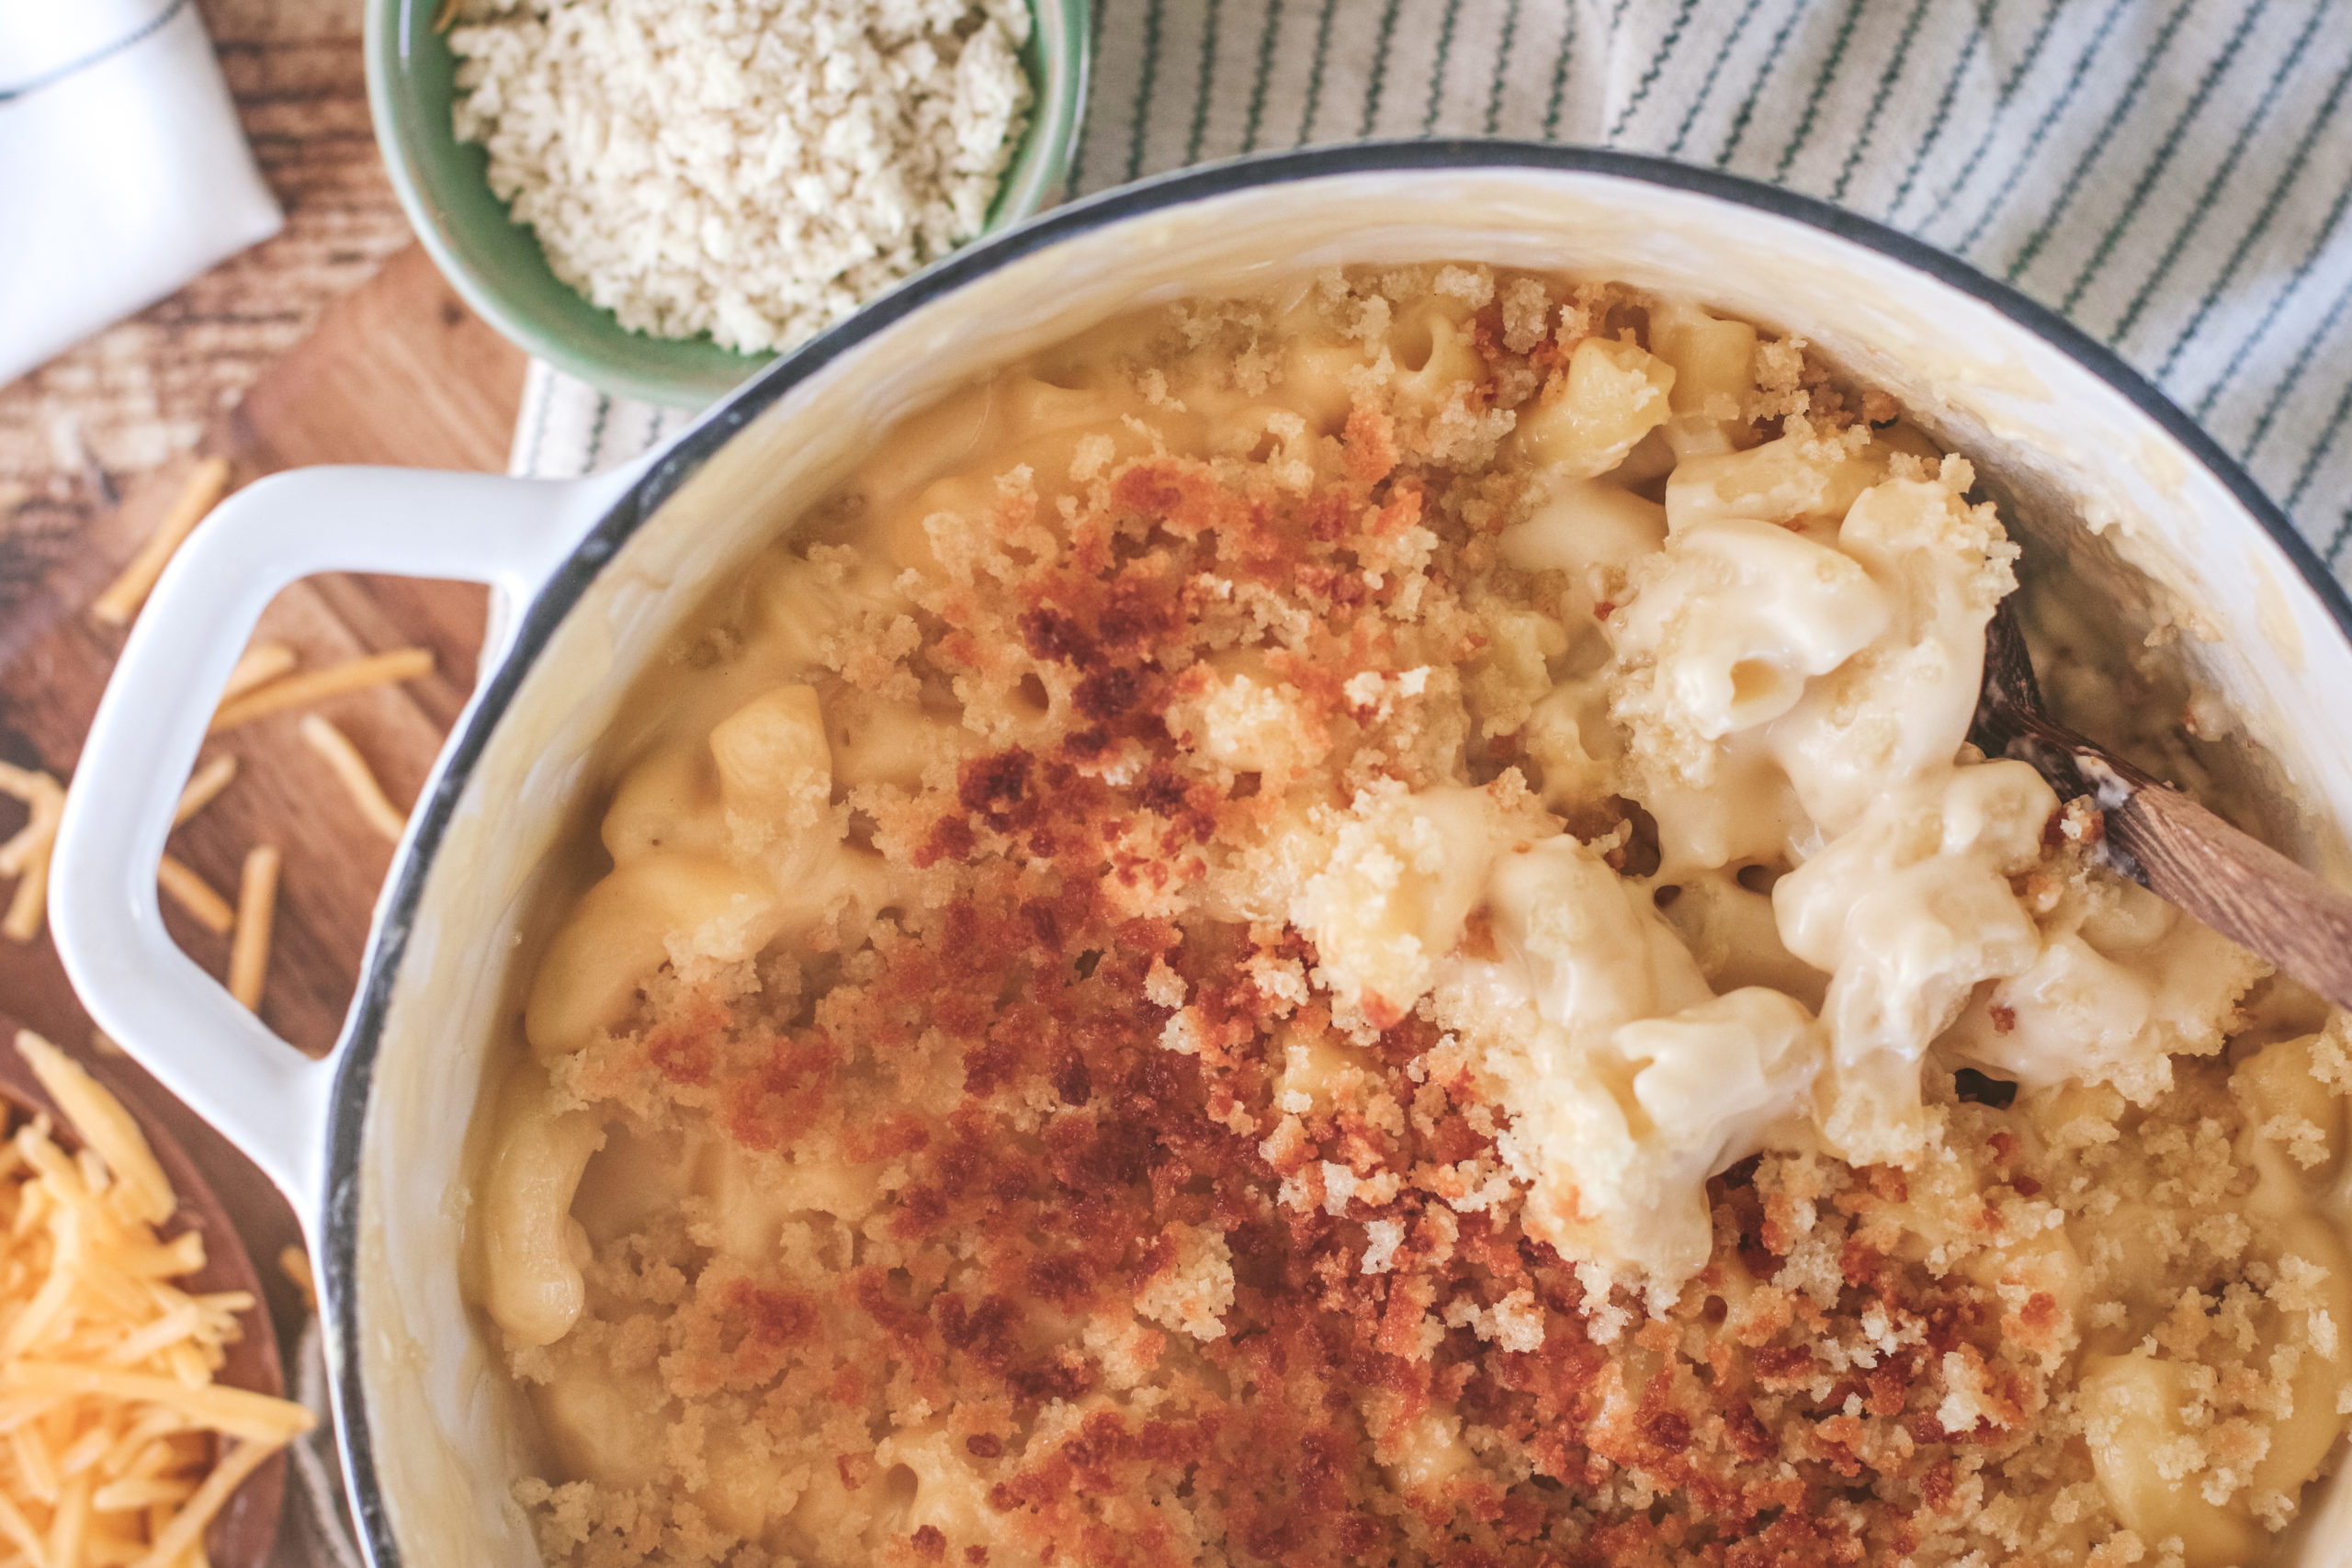
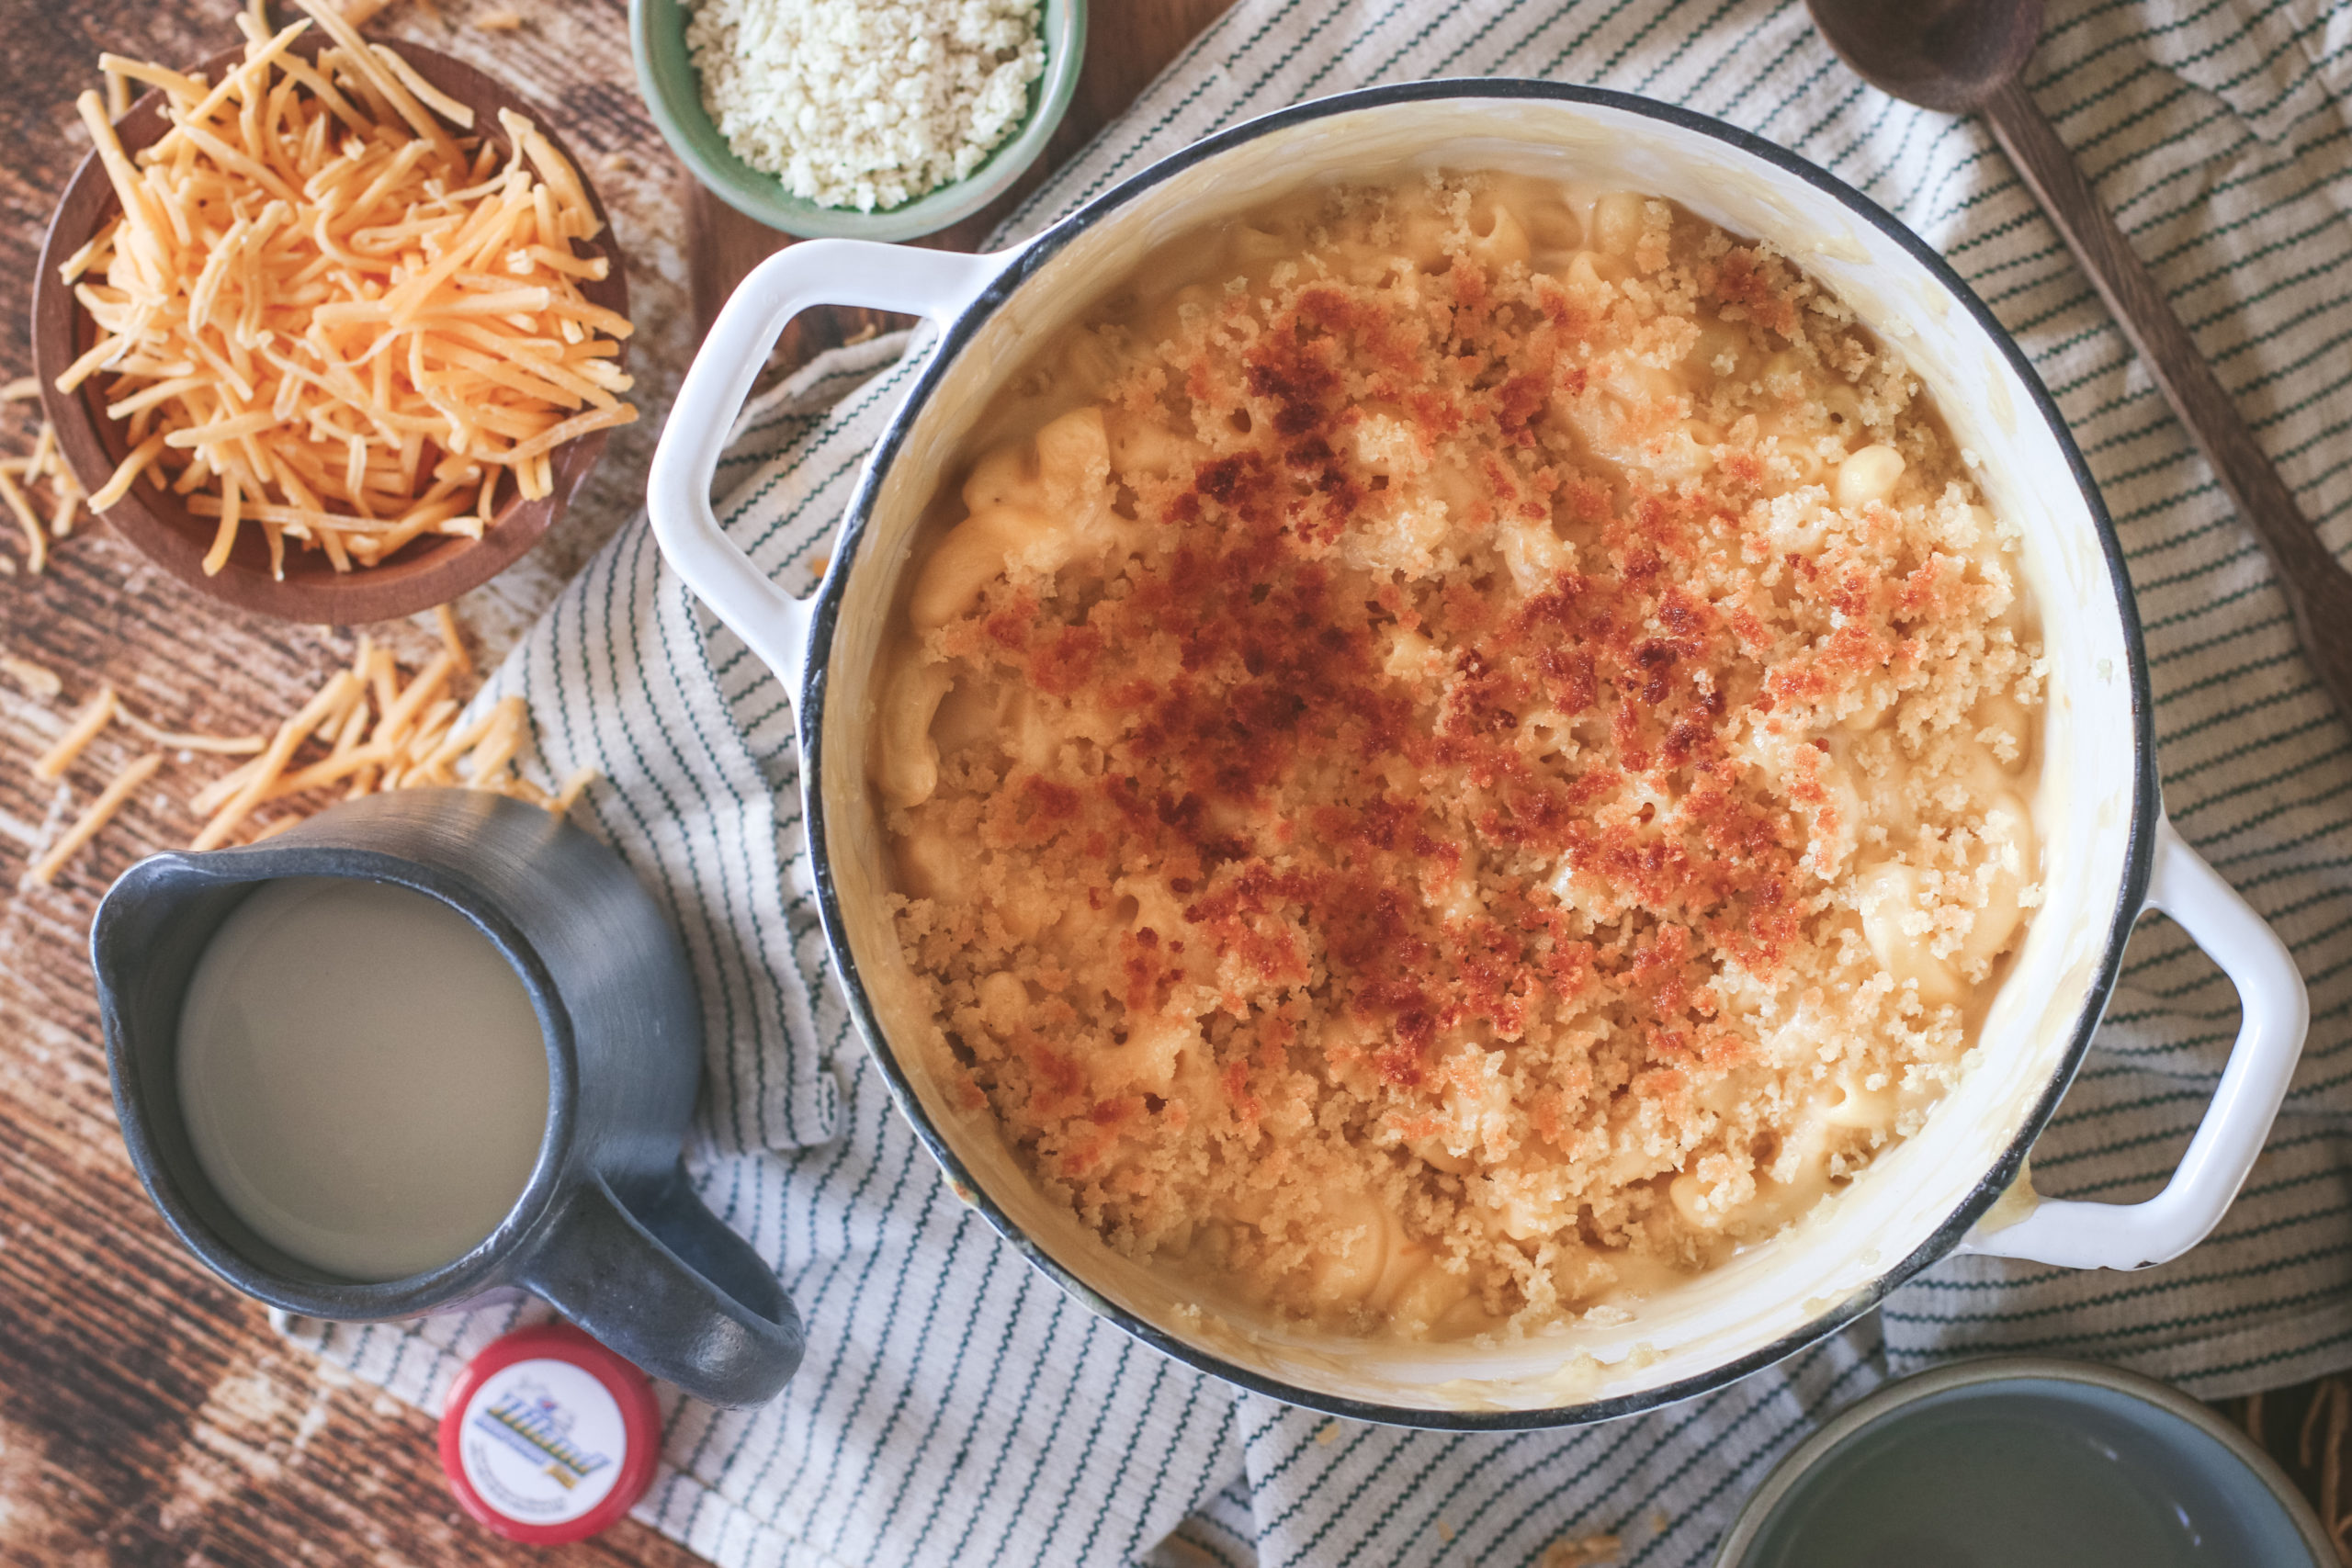
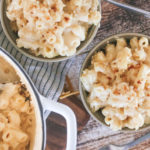
overhead view of a pot of creamy mac and cheese
COOK TIME
10 min
TOTAL TIME
30 min
SERVINGS
6-8 servings
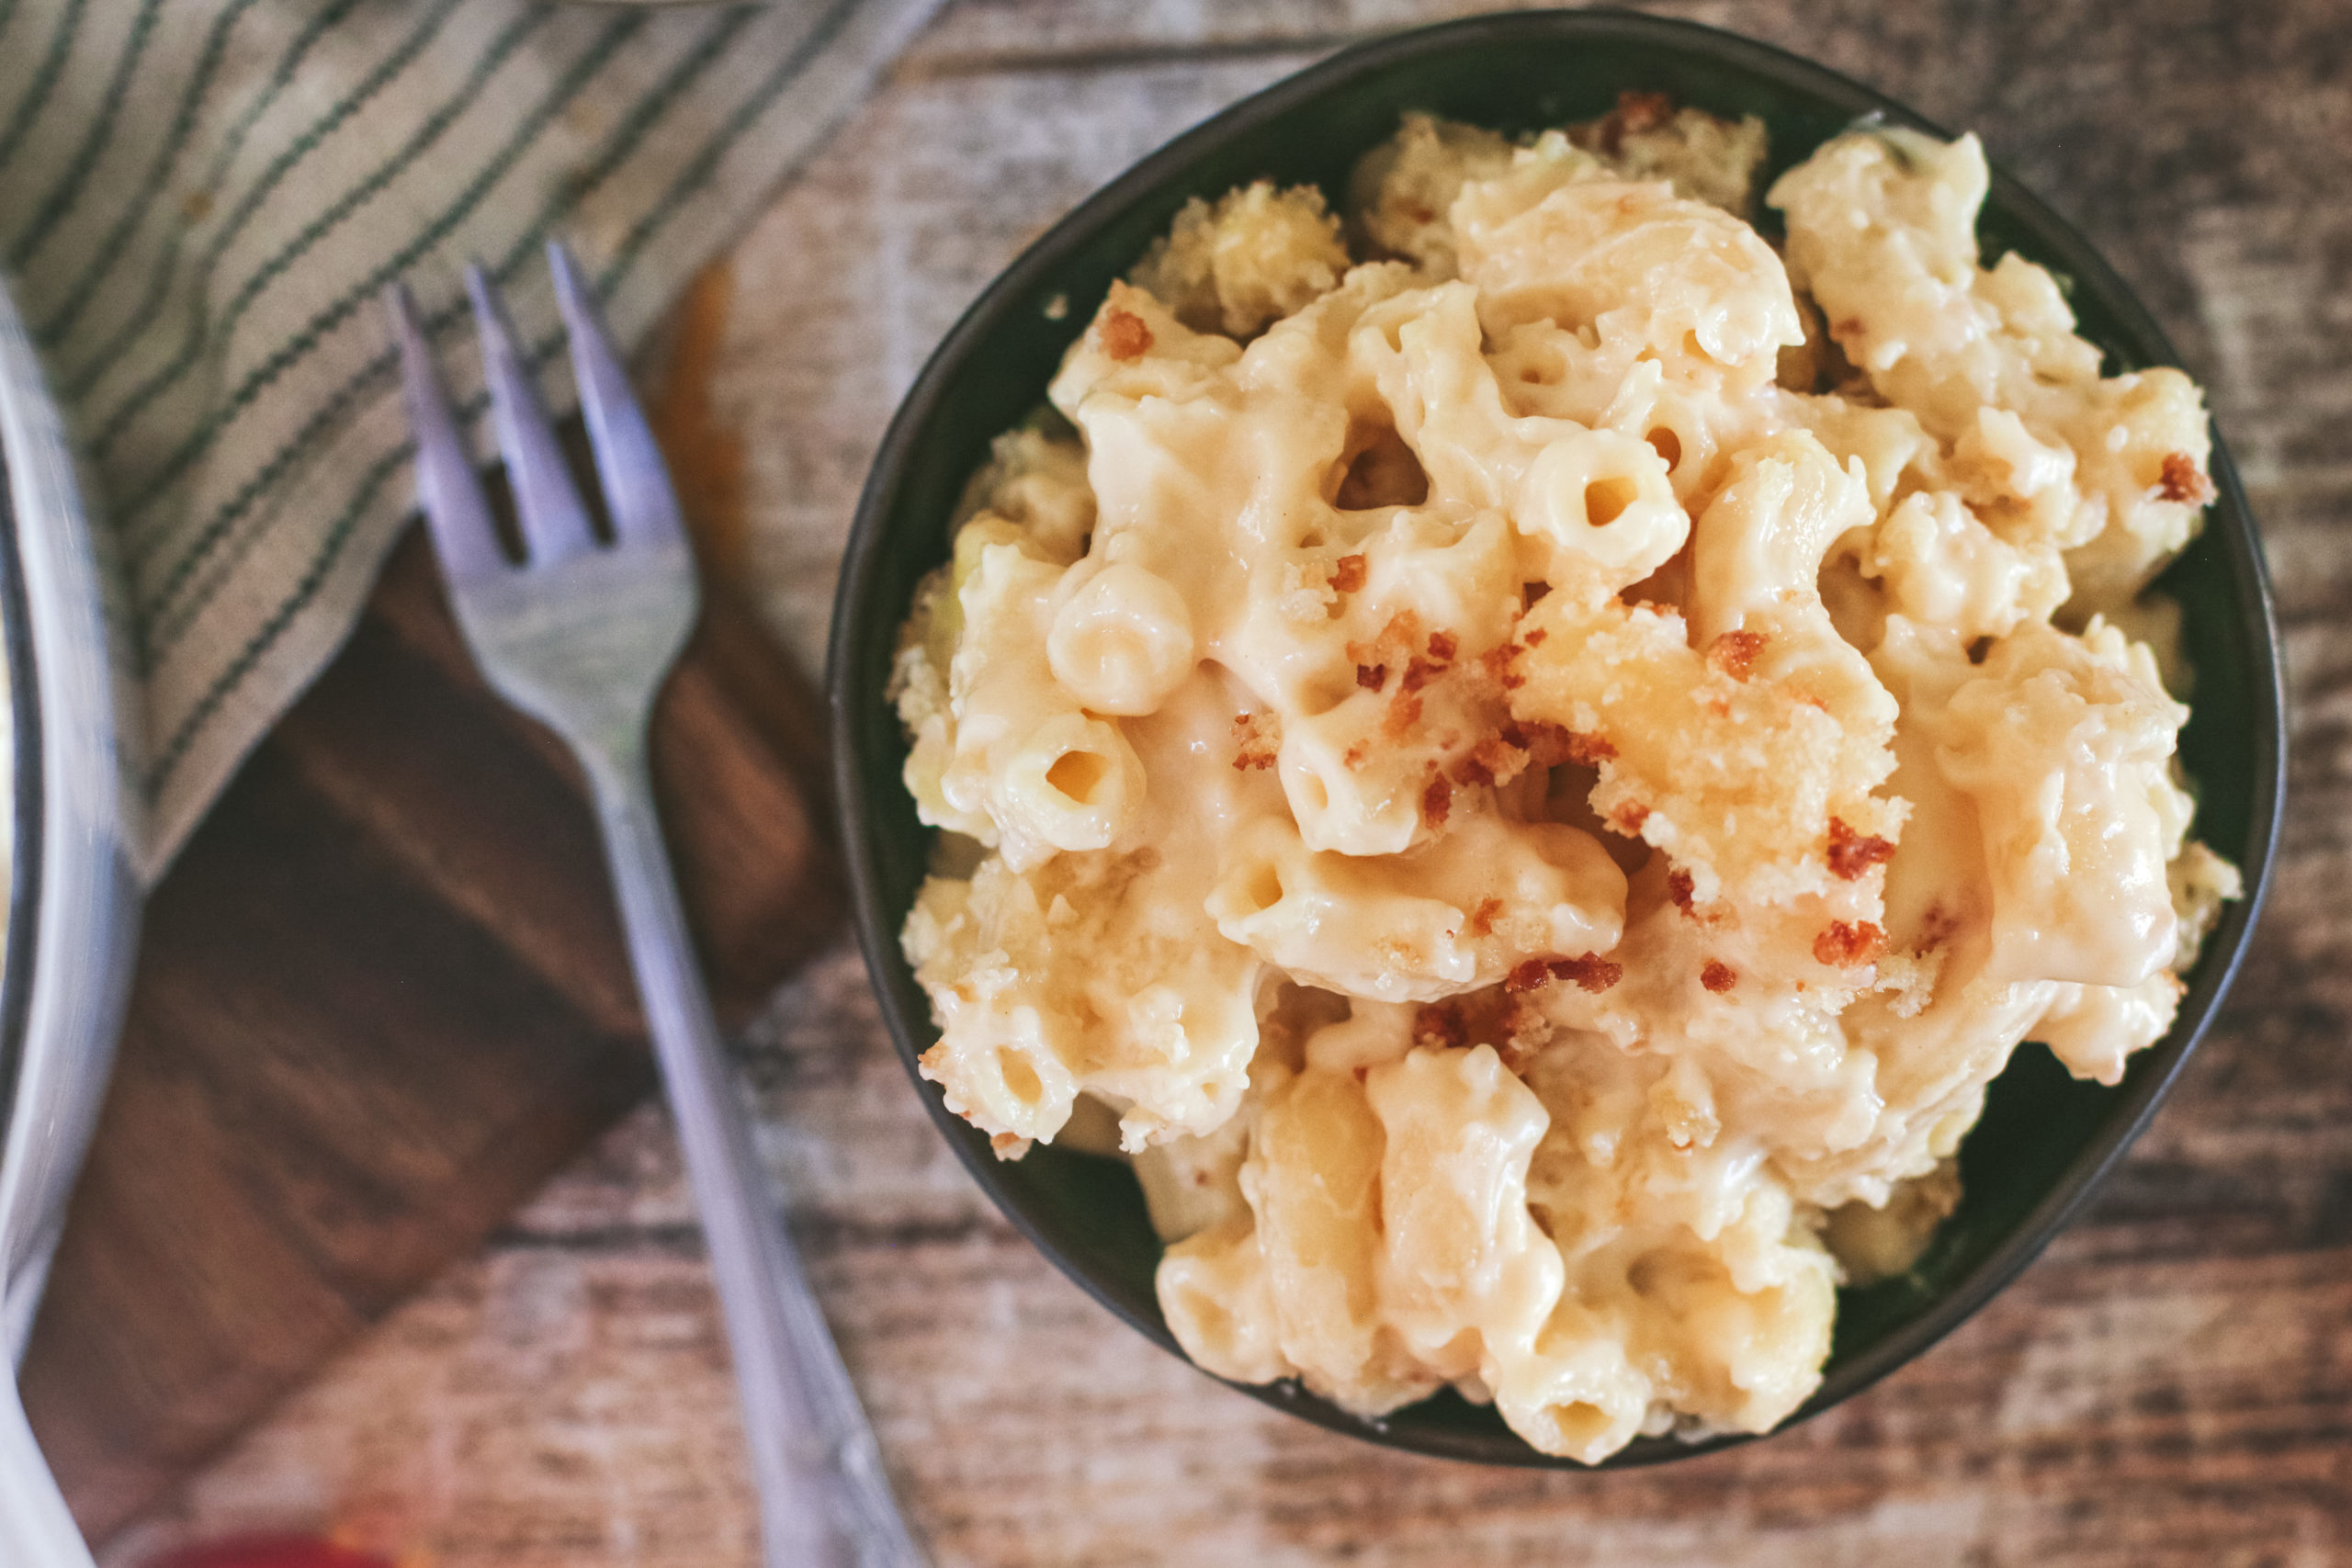
Overhead view of a bowl of creamy and cheesy mac and cheese
overhead view of a pot of creamy mac and cheese

On nights when a big bowl of comforting mac and cheese is all that matters, this recipe does everything you need! Ultimate Mac and Cheese is extra creamy and loaded with cheddar, parmesan, and is topped with a buttery golden panko crunch layer. Perfect for a satisfying family dinner or bringing it to any occasion.

It’s dinner time and not just any dinner. We’re talking homemade mac and cheese. The kind that’s creamy, cheesy, buttery, and somehow makes everyone wander into the kitchen. Mac and cheese truly never goes out of style which is why my grandmother was so good at making us not forget it. 


My grandma made a mac and cheese that everyone looked forward to. It wasn’t fancy. Just butter, heavy cream, and good old Velveeta, and somehow it was always perfect. This version is my little spin on it. It keeps all of the comfort I remember growing up but adds a few extra layers of cheesy goodness that make it feel just a little more special.

What Makes This the ULTIMATE Mac and Cheese?

There are a lot of mac and cheese recipes out there, but this one is a little extra in the best way which is why it earns the title ULTIMATE. It all starts with a simple homemade cheese sauce made with butter, flour, and whole milk. The butter and flour create the base, while the milk turns it into that smooth, creamy sauce that coats every single noodle instead of drying out after a few bites. 


Then comes the best part, the cheese! Sharp cheddar gives you that classic cheesy flavor everyone expects from mac and cheese, while Parmesan adds a little salty, nutty flavor that makes the whole dish taste even richer. And because every great mac and cheese needs a little texture, it’s finished with buttery panko breadcrumbs that bake up golden and crispy on top. Every ingredient has a purpose, and together they make a mac and cheese that’s creamy, cheesy, and packed with flavor.

Ingredients You’ll Need


  • Butter – This recipe uses two sticks, and each one has an important job. One creates the rich base for the cheese sauce, while the other gets tossed with the panko to make the golden, crispy topping.

  • All Purpose Flour – Mixed with the melted butter, this creates a roux that thickens the sauce and gives it that smooth, velvety texture. It only takes a couple of minutes to cook!

  • Kosher Salt – A little goes a long way to season the pasta and bring out all the flavors. If you’re using table salt instead, cut the amount back a bit since it’s more concentrated.

  • Whole Milk – This is what keeps the sauce creamy, silky, and perfect for coating every noodle. Whole milk gives the best texture here, so I wouldn’t swap it for a lower fat option if you can help it.

  • Large Elbow Macaroni – Those bigger elbows are made for catching every bit of cheese. Cook them just until al dente because they’ll finish cooking once everything goes into the oven.

  • Sharp Cheddar Cheese – This is where that classic mac and cheese flavor comes from. Shredding it yourself is worth the extra couple of minutes because it melts much smoother than the bagged kind.

  • Parmesan Cheese – Adds a salty, savory flavor that makes the cheese sauce taste a little more grown up without taking away from the comfort food vibes. 

  • Panko Breadcrumbs – The light, crispy topping is what takes this from really good to “I’ll have another scoop.”

How To Make Baked Mac and Cheese

Prepare for baking: Preheat the oven to 400F. Bring a large pot of generously salted water to a boil.

Cook the pasta: Add the elbow macaroni to the boiling water and cook until al dente, about 6 minutes or according to package instructions. The pasta will continue cooking in the oven, so avoid overcooking it. Drain well and set aside.

Make the roux: In a large Dutch oven or heavy bottom pot over medium heat, melt the butter. Sprinkle in the flour and whisk constantly for about 2 minutes until the mixture is smooth and lightly cooked. 

Add the milk: Slowly pour in the whole milk, about 1 cup at a time, whisking well after each addition to keep the sauce smooth. Continue cooking and whisking for another 3 minutes until the mixture begins to thicken.

Melt in the cheese: Add the shredded sharp cheddar and Parmesan cheese, stirring until both cheeses are completely melted and the sauce is smooth and creamy with no lumps.

Combine with the pasta: Add the cooked macaroni to the cheese sauce and gently stir until every noodle is evenly coated. 

Prepare the topping: In a small bowl, stir together the melted butter and panko breadcrumbs until all of the breadcrumbs are lightly coated.

Bake until golden: Sprinkle the buttery panko mixture evenly over the mac and cheese. Transfer the Dutch oven to the preheated oven and bake for 5 to 10 minutes, or until the topping is lightly golden and crisp.


Serve and enjoy: Remove the mac and cheese from the oven and let it rest for a couple of minutes before serving. This gives the sauce a chance to thicken slightly. Enjoy!

Tips For Making A Roux

This recipe for mac and cheese uses a roux but don’t let that deter you! It’s super easy to do and makes all the difference when it comes to making a hearty mac and cheese. 


  • Use equal parts butter and flour. A classic roux starts with the same amount of butter and flour by volume. This creates the right consistency to thicken the sauce without making it too heavy.

  • Cook the flour before adding the milk. Whisk the butter and flour together for about 2 minutes to cook out the raw flour taste. The mixture should look smooth and smell slightly nutty but shouldn’t brown for a cheese sauce like this.

  • Add the milk gradually. Instead of pouring it all in at once, add it about a cup at a time while whisking constantly. This helps prevent lumps and creates a silky smooth sauce.

  • Keep whisking until it thickens. Don’t stop whisking once the milk is added. As the sauce heats, it will gradually thicken into a creamy base that’s ready for the cheese.

  • Use medium heat and be patient. High heat can scorch the butter or cause the sauce to thicken too quickly. Keeping the heat at medium gives you more control and results in a smooth, velvety roux every time.

Expert Tips


  • Bring the cheese closer to room temperature. Cold cheese takes longer to melt and can cool the sauce too quickly, so letting it sit on the counter for 15 to 20 minutes helps everything come together more easily.

  • Salt the pasta water generously. The noodles are your first opportunity to build flavor, and well seasoned pasta makes the finished dish taste more balanced.

  • Save a splash of pasta water before draining. If the cheese sauce feels a little thicker than you’d like after mixing in the pasta, a tablespoon or two of the starchy cooking water helps loosen it while keeping the sauce silky.

  • Use a heavy bottom pot or Dutch oven. The thicker bottom distributes heat more evenly, making it much less likely that the cheese sauce will scorch while you’re stirring.

  • Spread the breadcrumb topping all the way to the edges. Those crispy golden bits around the outside of the pan are some of the best bites!

  • Watch the topping closely during the last few minutes. Panko can go from perfectly golden to over browned pretty quickly, especially if your oven runs hot.

  • Let the mac and cheese rest for 5 minutes before serving. The sauce thickens slightly as it cools, making it easier to scoop while staying extra creamy instead of running across the plate.

  • Bake and serve in the same Dutch oven if possible. It keeps the mac and cheese hot longer at the table while letting it set.

Ways To Customize


  • Swap the sharp cheddar for extra sharp cheddar if you love a bolder cheese flavor.

  • Mix in shredded Gruyère, fontina, or smoked gouda with the cheddar for an extra creamy sauce with more depth.

  • Stir cooked, crumbled bacon into the pasta before baking for a smoky, savory flavor.

  • Fold in chopped steamed broccoli or roasted cauliflower to add vegetables.

  • Add shredded rotisserie chicken or diced grilled chicken to turn this side dish into a main course with protein.

  • Replace the elbow macaroni with cavatappi, shells, or corkscrew pasta, which all do a great job of holding onto the creamy cheese sauce.

  • Swap the panko breadcrumbs for crushed buttery crackers or crushed pretzels to give the topping a different texture.

  • Add a few dashes of hot sauce, Dijon mustard, or Worcestershire sauce to the cheese sauce for a boost of flavor that makes the cheese taste even richer without overpowering.

Storing & Freezing

Storing: Let the mac and cheese cool to room temperature before transferring it to an airtight container. Store it in the refrigerator for up to 4 days. The sauce will thicken as it chills, but it becomes creamy again once it’s reheated.

Freezing: Allow the mac and cheese to cool completely, then transfer it to a freezer safe container or wrap the baking dish tightly with a layer of plastic wrap followed by aluminum foil. Freeze for up to 2 months. Thaw overnight in the refrigerator before reheating for the best texture which will be a bit more dry and crumbly.


Reheating: Cover with foil and reheat in a 350F oven for about 20 to 25 minutes, removing the foil during the last few minutes if you’d like to crisp the topping again. Add a splash of milk if the sauce seems too thick to help bring back its creamy consistency.

FAQ

Why is my mac and cheese grainy instead of smooth?

A grainy cheese sauce is usually the result of the cheese getting too hot. Once your sauce has thickened, lower the heat before stirring in the cheese and mix just until it’s melted. Freshly shredded cheese also melts much more smoothly than pre shredded cheese. 


Why does the sauce look a little thin before it goes into the oven?

That’s exactly how it should look. The pasta absorbs some of the sauce as it bakes and rests, leaving you with a creamy mac and cheese instead of one that’s dry. 


Can I use pre shredded cheese?

You can, but freshly shredded cheese will give you the smoothest sauce. Packaged shredded cheese is coated with anti caking agents that can keep it from melting smoothly. 


Can I make this in a baking dish instead of a Dutch oven?

Yes. Prepare the cheese sauce in a large pot, stir in the cooked pasta, then transfer everything to a greased 9×13-inch baking dish before adding the breadcrumb topping and baking as directed. 


How do I know when the mac and cheese is finished baking?


The pasta and cheese sauce are already cooked before the dish goes into the oven, so you’re really just heating everything through and crisping the topping. It’s ready when the breadcrumbs are lightly golden and the sauce is bubbling around the edges.


More Easy Mac and Cheese Recipes

Print
Overhead view of a bowl of creamy and cheesy mac and cheese

Ultimate Mac and Cheese

Mac and Cheese, but make it ultra cheesy, creamy, rich, tangy, with a little bit of buttery crunch.

Overhead view of a bowl of creamy and cheesy mac and cheese

Prep time: 20 min  |  Cook time: 10 min  |  Total: 30 min

PRINT          RATE

Ingredients

½ cup Hiland Dairy Butter (1 stick)

½ cup all-purpose flour

2 teaspoons kosher salt

3 cups Hiland Dairy Whole Milk

12 ounces large elbow noodles

2 ½ cups sharp cheddar cheese, shredded

1 cup Parmesan cheese, shredded

½ cup (1 stick)  Hiland Dairy Butter, melted

1 cup panko bread crumbs

Instructions


  1. Preheat the oven to 400 degrees. In a large pot with salted water, boil the elbow noodles until al dente. (about 6 minutes) Drain pasta, and set aside.

  2. In a dutch oven or heavy bottom pot on medium heat, add the Hiland butter. Once melted, add the flour and whisk together. Whisk consistently for about 2 minutes then add the Hiland Dairy whole milk 1 cup at a time, whisking constantly after each addition. Continue to whisk for another 3 minutes.

  3. Add the Sharp cheddar cheese and the Parmesan cheese and stir into the mixture until all is melted and combined.

  4. Add the elbow noodles into the creamy cheesy sauce and gently stir all together until the noodles are covered with the sauce.

  5. In a separate small bowl, mix the melted Hiland butter with the panko bread crumbs. Sprinkle the bread crumbs over the top of the mac and cheese then place the pot into the oven and cook for 5-10 minutes just until the bread crumbs are golden brown.

  6. Remove from the oven and serve!

Notes

DID YOU MAKE THIS RECIPE?

Tag @LOLOHomeKitchen on Instagram and hashtag it #lolohk

CHECK IT OUT

Leave A Comment

Recipe rating 5 Stars 4 Stars 3 Stars 2 Stars 1 Star

    • Sign me up. Sign me up. Sign me up. Sign me up. Sign me up. Sign me up.
    • Sign me up. Sign me up. Sign me up. Sign me up. Sign me up. Sign me up.
    • Sign me up. Sign me up. Sign me up. Sign me up. Sign me up. Sign me up.

    Share this: