WHAT’S FOR DESSERT?
Baked Chocolate Donuts
COOK TIME
TOTAL TIME
SERVINGS

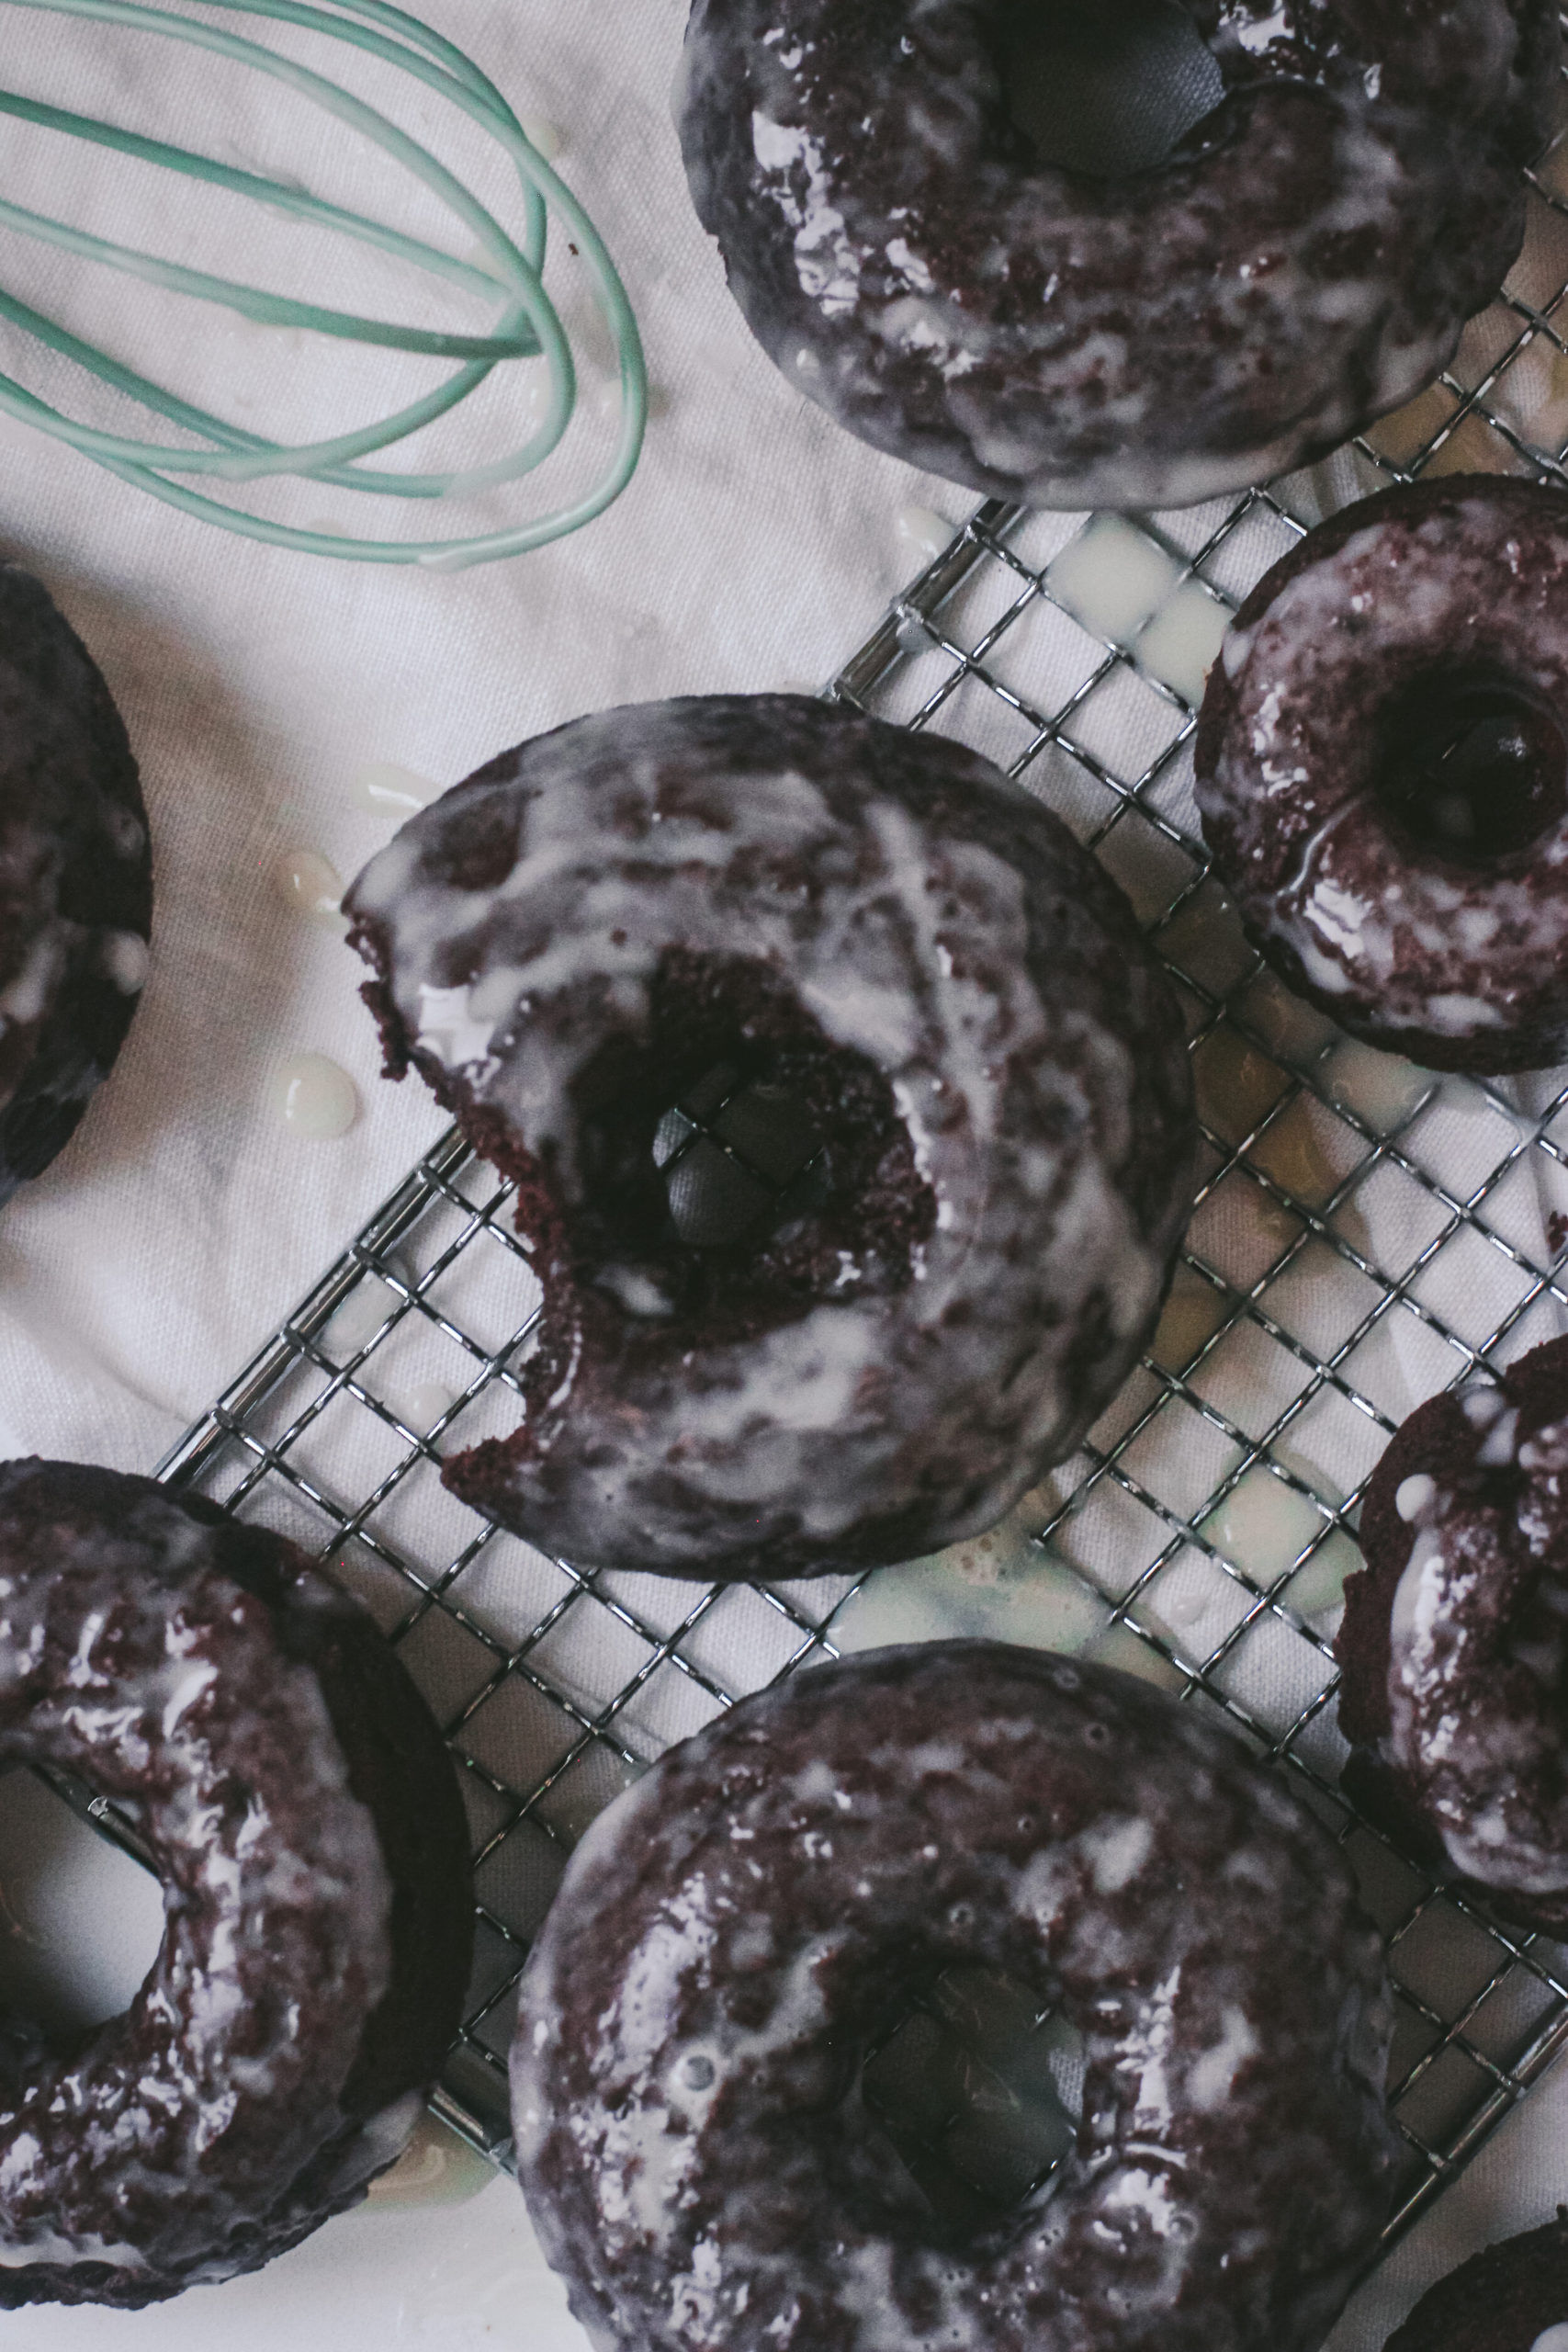
These soft Baked Chocolate Donuts are rich, made in one bowl, and are topped with an easy homemade vanilla glaze. Make them in a donut pan or muffin tin, and ditch the deep frying for a lighter breakfast treat that’s ready in just 20 minutes!
Donuts are always in style in our family, and thank goodness there are easy ways to make them! My daughter looked at me the other morning, stared into my eyes very seriously, and said, “Mom, I need donuts.” I felt that in my soul because I also know what it’s like to need donuts. So, guess what we did? We made donuts. I can’t let a girl who needs donuts down.
Baked Chocolate Cake Donuts
Whenever I can, I try to keep deep frying to a minimum. I’m not against fried foods. I just really hate cleaning up the mess. This chocolate baked donuts recipe requires no oil and no deep frying. Everything is baked in the oven using a donut pan or a muffin tin. You still get that soft, moist texture and rich chocolate taste, but without the extra oil and grease. No dealing with splatters! Just mix, bake, and glaze for a rich chocolate donut that’s ready in 20 minutes.
Why You’ll Love This Recipe
Simple Ingredients: This recipe uses basic pantry staples like flour, cocoa powder, sugar, and eggs, so you can whip up a batch without making a trip to the store.
No Deep Frying: Using the oven helps make them a healthier and easier alternative to traditional fried donuts.
Quick Bake Time: Ready in just 20 minutes from start to finish!
Moist and Flavorful: Thanks to sour cream and melted butter in the batter, these donuts are incredibly moist and rich with deep chocolate flavor in every bite.
Customizable: Use a muffin tin for delicious donut holes, or get creative with different glazes and toppings.
Ingredients You’ll Need
Flour – Makes up the base of the donuts, giving them structure and that soft, cake-like texture while holding all of the ingredients together.
Cocoa Powder – Brings deep, rich chocolate flavor to these donuts. Use unsweetened, high-quality cocoa powder for that bold chocolate taste.
Baking Powder – Helps the donuts rise and stay light and fluffy.
Kosher Salt – Salt balances the sweetness and really enhances the chocolate flavor, making it more intense.
Sugar – Adds a perfect level of sweetness but also keeps the donuts soft and tender.
Eggs – Hold everything together and add richness to the batter.
Sour Cream – This is my secret for super moist and tender donuts. The sour cream adds just a hint of tang that deepens the chocolate flavor, making these donuts taste like they came straight from a bakery.
Milk – A splash of milk keeps the batter smooth and easy to work with while also adding moisture.
Butter – Melted butter adds that rich, buttery flavor and keeps the donuts soft and moist.
Pure Vanilla Extract – Brings warmth and depth to the chocolate, making the overall flavor feel more complete.
Vanilla Glaze – You’ll use a mix of powdered sugar, milk, and vanilla extract to make a sweet and glossy glaze that sinks into the donuts perfectly.
Step By Step Instructions
Prepare for baking: Preheat your oven to 400°F. Lightly coat a donut pan with non-stick spray to prevent sticking, and set it aside.
Mix the dry ingredients: In a medium-sized mixing bowl, whisk together 1 ½ cups of flour, ½ cup of cocoa powder, 2 teaspoons of baking powder, ½ teaspoon of kosher salt, and ½ cup of sugar. Make sure everything is evenly combined.
Combine the wet ingredients: Add 2 eggs, ½ cup of sour cream, 6 tablespoons of milk, 2 tablespoons of melted butter, and 2 teaspoons of pure vanilla extract directly into the dry ingredients. Stir gently until everything is just combined while avoiding overmixing to keep the donuts soft and tender. The batter will be thick.
Fill the donut pan: Spoon the batter into a piping bag or a zip-top bag with the corner snipped off. Carefully pipe the batter into the prepared donut pan, filling each cavity about ¾ of the way full to allow room for the donuts to rise.
Bake and cool: Place the pan in the oven and bake for 10 minutes, or until a toothpick inserted into the donuts comes out clean. The tops should spring back slightly when touched. Let the donuts cool in the pan for about 5 minutes. Then, transfer them to a wire cooling rack to cool completely before glazing.
Make the vanilla glaze: In a small bowl, whisk together 1 ½ cups of powdered sugar, 4 tablespoons of milk, and 2 teaspoons of vanilla extract. Mix until the glaze is smooth and pourable. Adjust with a little more milk if it’s too thick.
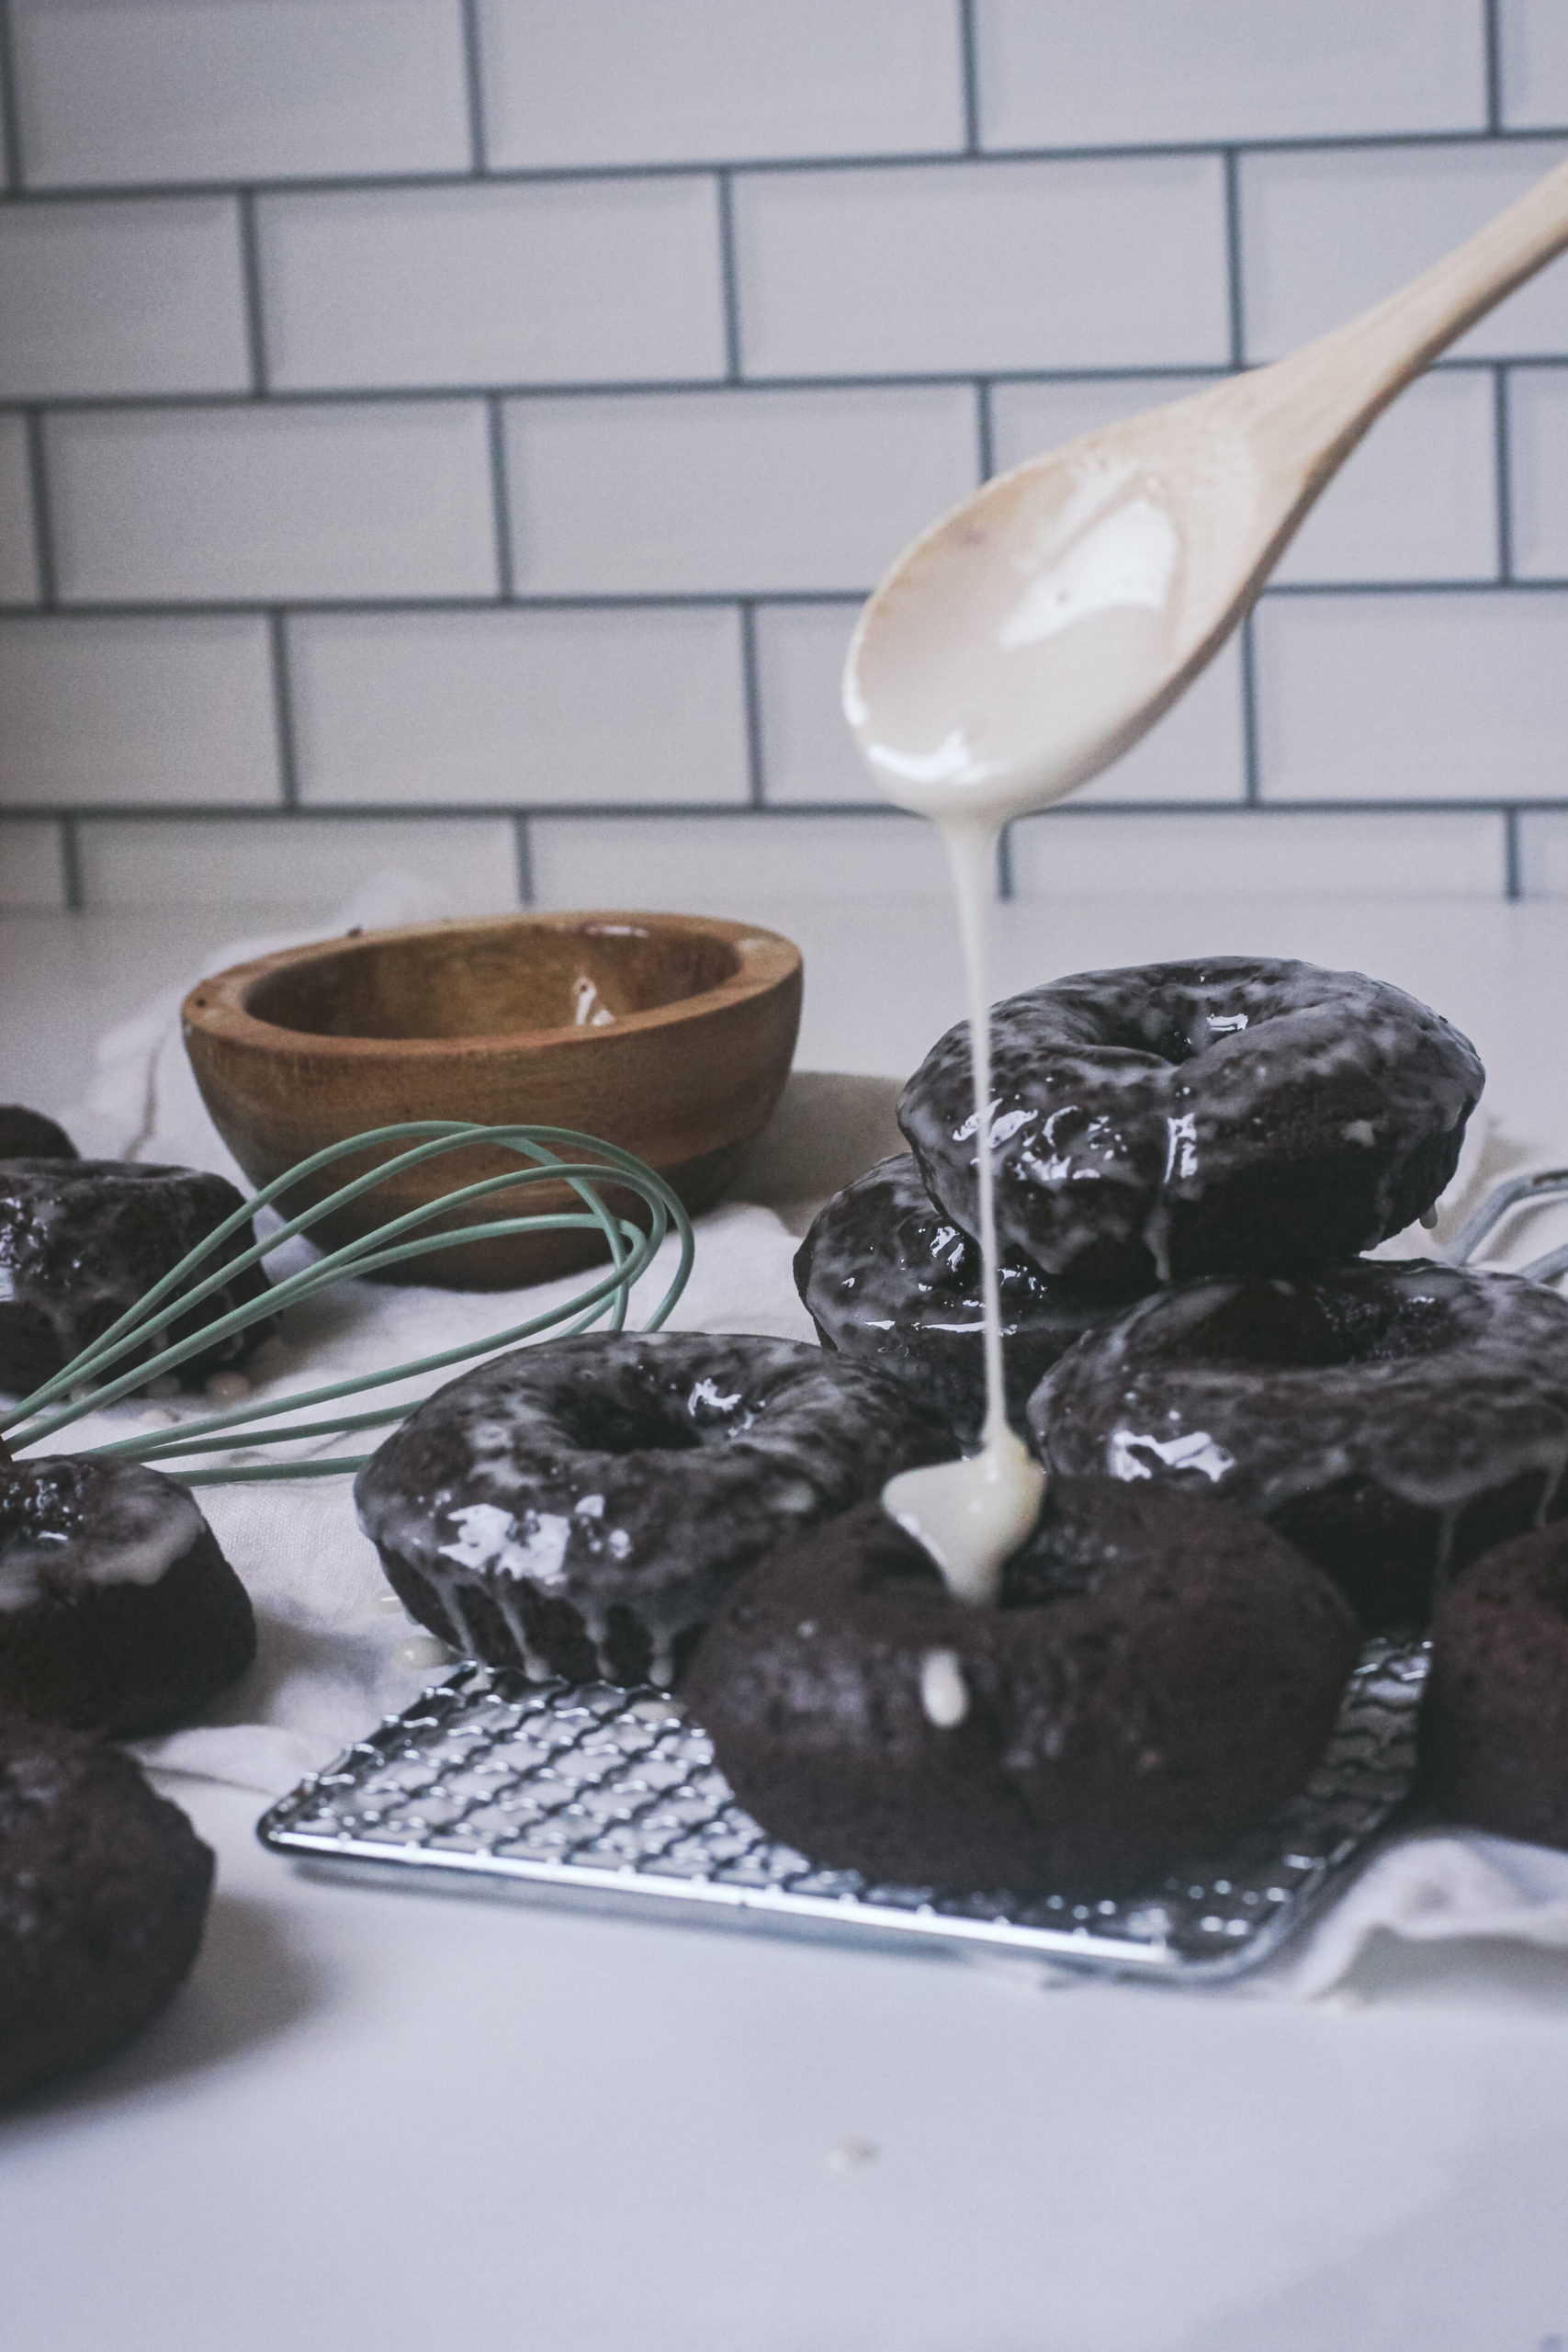
Glaze the donuts: Once the donuts are completely cooled, dip the tops of each donut into the vanilla glaze. Let the excess drip off, then place them back on the cooling rack to allow the glaze to set. Enjoy!
Expert Tips
Use room temperature ingredients: Let the eggs, sour cream, and milk sit out for about 30 minutes before mixing to help the batter blend smoothly.
Don’t overmix the batter: Mix just until the wet and dry ingredients are combined. Overmixing can lead to dense, tough donuts instead of soft and fluffy ones.
Grease the donut pan thoroughly: Make sure to coat every curve and corner of the donut pan with non-stick spray, so the donuts pop out easily without sticking.
Use a piping bag for filling: A piping bag or zip-top bag with the corner snipped makes it much easier to neatly fill the donut pan without overfilling or making a mess.
Tap the pan on the counter: Gently tapping the filled pan on the counter removes any air bubbles in the batter, giving the donuts a smooth, even texture.
Cool slightly before glazing: Let the donuts cool for at least 10 minutes before glazing so the glaze doesn’t melt and slide off.
Double-dip the glaze: For a thicker, bakery-style glaze, let the first layer set and then dip the donuts a second time for extra sweetness.
Ways To Customize
Vegan: Replace the eggs with flax eggs, use plant-based milk, and swap the butter for melted coconut oil to make these donuts completely vegan.
Chocolate Glaze: Dip the cooled donuts in a rich chocolate glaze made from melted dark chocolate and a splash of milk for a double chocolate treat.
Gluten-Free: Use a 1:1 gluten-free all-purpose flour blend in place of regular flour to make these donuts gluten-free without sacrificing texture. Just make sure the rest of your ingredients are also gluten-free.
Chocolate Chips: Fold in mini chocolate chips or chunks into the batter for melty chocolate pockets in every bite.
Buttermilk: Swap out the milk for buttermilk to add extra moisture and a slight tang, creating a richer, more tender donut that has more of an old-fashioned flavor.
Peanut Butter Drizzle: Warm up creamy peanut butter and drizzle it over the glazed donuts for a sweet and salty combo.
Mint Chocolate: Add a few drops of peppermint extract to the batter for a refreshing mint-chocolate twist, perfect for the holidays.
Spice It Up: Mix in a dash of cayenne pepper or cinnamon with the dry ingredients to give the chocolate a warm, spicy, Mexican chocolate kick
Storing & Freezing
Storing: Keep the baked chocolate donuts in an airtight container at room temperature for up to 3 days. Store them in a single layer to prevent the glaze from sticking. You can also store them in the fridge for up to one week, but they may dry out quicker.
Freezing: Freeze the donuts without the glaze by placing them in a single layer on a baking sheet until solid, then transfer them to a freezer-safe bag or container for up to 2 months. Add the glaze after thawing for the best texture.
Reheating: Warm the donuts in the microwave for 10–15 seconds or in a 300°F oven for 5 minutes to bring back their soft, fresh-baked texture. Add fresh glaze after reheating.
FAQ
Can I make these donuts without a donut pan?
Yes. Use a muffin pan to make donut holes or shape foil into donut molds and place them on a baking sheet for a similar result.
How do I know when the donuts are done baking?
The donuts are ready when they spring back when lightly pressed, and a toothpick inserted in the center comes out clean.
Can I use Dutch-processed cocoa powder instead of regular cocoa powder?
Yes, Dutch-processed cocoa powder works well and will give the donuts a richer, deeper chocolate flavor.
Why is my donut batter so thick?
The batter is supposed to be thick to help the donuts hold their shape while baking. Avoid adding extra liquid to keep the texture light and fluffy.
Can I make these donuts dairy-free?
Yes! Swap the milk for any plant-based milk, use dairy-free butter or coconut oil, and replace the sour cream with dairy-free yogurt. Keep in mind that this may change the taste and texture a bit.
How long should I let the donuts cool before glazing?
Allow the donuts to cool for at least 10–15 minutes on a wire rack before dipping them in the glaze.
More Easy Breakfast Treats
Baked Chocolate Donuts
Full of Chocolate flavor, glazed with a sweet vanilla glaze. Easy to to make, one bowl, no mixer required. Plus these are baked, no frying required!

Ingredients
- 1 1/2 cups flour
- 1/2 cup cocoa powder
- 2 teaspoons baking powder
- 1/2 teaspoon kosher salt
- 1/2 cup sugar
- 2 eggs
- 1/2 cup sour cream
- 6 Tablespoons milk
- 2 Tablespoons butter, melted
- 2 teaspoons pure vanilla extract
Glaze
- 1 1/2 cups powdered sugar
- 4 Tablespoons milk
- 2 teaspoons pure vanilla extract
Instructions
- Preheat oven to 400 degrees. Spray a donut pan with non stick spray, set aside.
- In a medium bowl, whisk all dry ingredients together.
- Add egg, sour cream, milk, melted butter and vanilla. Stir together until just combined, batter will be very thick.
- Use a piping bag or spoon (or a ziploc bag with the corner cut) to pipe the batter into the donut pan. Be sure not to fill too full.
- Cook for about 10 minutes. Remove from oven and place donuts onto a wire rack to cool.
- In a small bowl, mix the glaze ingredients together until smooth.
- Once donuts have cooled, dip the tops into the glaze and set back onto the rack to set.
Notes
- Sign me up. Sign me up. Sign me up. Sign me up. Sign me up. Sign me up.
- Sign me up. Sign me up. Sign me up. Sign me up. Sign me up. Sign me up.
- Sign me up. Sign me up. Sign me up. Sign me up. Sign me up. Sign me up.
NEED IDEAS FOR FOODS YOUR KIDS
WILL *ACTUALLY* EAT?
Our best tips for quick and tasty recipes, ideas and more, right to your inbox.

