Search
Close this search box.

WHAT’S FOR DESSERT?

Bubble Gum Ice Cream

/5
no churn bubble gum ice cream
COOK TIME
TOTAL TIME
10 min + 3 hr freeze time
SERVINGS
6-8 servings
a pink bubblegum ice cream recipe is scooped into a rectangular container
A scoop of a pink bubblegum ice cream recipe sits on a table

Mix, Freeze, and Enjoy!

Enjoy a taste of the sweet nostalgia of childhood with this easy No Churn Bubblegum Ice Cream recipe! Using six simple ingredients, this creamy, pink treat has the familiar flavor of bubblegum and is prepared with no ice cream maker. Great for summer!

If I had to pick one ice cream flavor to accurately portray my childhood, it would be Bubble Gum. So naturally, I had to create my own pink bubblegum ice cream recipe. And because I’m me, I had to make it super simple to recreate in your own kitchen—even if you don’t have an ice cream maker!

There’s just something so nostalgic about pink bubble gum ice cream. I have such vivid memories of going to TCBY after softball games or dance recitals. My friend Shelli and I would get bubble gum ice cream. Then, I would pick the bubble gum pieces out and set them on a napkin next to the ice cream. Then, when I finished the ice cream, I would eat the bubble gum. Two treats in one!

What Is No-Churn Ice Cream?

This recipe is easy for anyone to make because no ice cream maker is needed to whip it up. Unlike traditional ice cream, which is aerated through churning in a machine to create a smooth, creamy texture, no-churn ice cream relies on a combination of heavy cream and sweetened condensed milk to achieve a similar consistency. This method eliminates the need for continuous stirring or an ice cream machine, making it a simpler, more accessible way to enjoy homemade ice cream. The heavy cream is whipped to create air pockets and then folded with the other ingredients, resulting in a creamy, soft-serve-like texture once frozen in the freezer.


Just whip the heavy cream, fold in sweetened condensed milk, add vanilla and bubblegum extracts, and mix in pink food coloring and gumballs. Freeze it for a few hours, scoop it out, and add your favorite toppings! 


From birthday bashes to summer BBQs, or as an after dinner dessert, this ice cream is a must-make! Serve it in cones, topped with gumballs, or with your favorite cookies for a fun twist. It’s also great with birthday cake!

Mix, Freeze, and Enjoy!

  • No special equipment: This recipe does not require special tools or gadgets. All you need is a mixing bowl and a mixer, and your freezer.

  • Quick and easy: It’s prepped and ready to freeze in just minutes, letting you enjoy homemade ice cream without waiting too long.

  • Customizable: Add your choice of mix-ins, like chocolate chips or sprinkles, to change up the flavor and texture.

  • Simple ingredients: Making ice cream at home allows you to control the ingredients, avoiding preservatives and artificial flavors found in store-bought brands.

  • Family fun: It’s a fun, engaging activity for kids and adults.

Ingredients You’ll Need

  • Heavy Cream – Acts as the base for the ice cream, providing a rich and creamy texture when whipped.  

  • Sweetened Condensed Milk – Adds sweetness and smoothness to the mixture, eliminating the need for additional sugar.  

  • Pure Vanilla Extract – Enhances the overall flavor, giving the ice cream a classic, subtle, comforting flavor.  

  • Bubble Gum Extract – Provides the nostalgic bubblegum flavor that defines this ice cream. You can find this in specialty grocery stores or online.  

  • Pink Food Coloring – Though optional, it gives the ice cream its iconic pink color.

  • Mini Gumballs – Adds a playful, chewy texture to the ice cream, along with bright pops of color.

Step By Step Instructions

Whip the heavy cream: Add cold heavy cream into the bowl of a stand mixer fitted with the whisk attachment. Whip the cream on medium speed until stiff peaks form. This will take about 3 minutes. 


Add ingredients: Gently pour in the sweetened condensed milk and fold in by hand using a rubber spatula. Fold in vanilla and bubblegum extract. Add a few drops of pink coof coloring until the desired color is reached. Fold in gumballs until evenly distributed.


Freeze and enjoy: Transfer the mixture into an airtight container and freeze for a minimum of 3 hours or overnight. When ready to enjoy, use an ice cream scoop to serve. Enjoy!

Recipe Tips


  • Chill the mixing bowl and whisk or beaters in the freezer for about 15 minutes before whipping the heavy cream to help it whip faster and increase volume.

  • Whip the heavy cream to soft peaks to make sure the ice cream has a light, airy texture before folding in other ingredients.

  • Gently fold in the sweetened condensed milk with a spatula to maintain the airiness of the whipped cream.

  • Use pure bubble gum extract for the most authentic flavor, and adjust the amount to taste. Start small because a little goes a long way. 

  • Add the pink food coloring one drop at a time, mixing thoroughly after each, to get the desired shade without oversaturating the color.

  • Cut the gumballs into halves or quarters if they are large.

  • Cover the surface of the ice cream mixture with plastic wrap before freezing to prevent ice crystals from forming.

  • Remove the ice cream from the freezer about 5 minutes before serving to make scooping easier.

  • Clean the ice cream scoop with hot water between scoops to make the serving smoother and prevent the ice cream from sticking to the scoop.

Homemade Bubblegum Flavor Extract

Try making your own bubblegum flavoring with fruit extracts! This is another alternative I haven’t personally tried but have heard good things about. Actual bubblegum is created with flavoring from esters, chemicals that smell like fruits. While every company’s recipe is slightly different, most contain flavors of strawberry, banana, and sometimes tropical fruit like mango, pineapple, or kiwi. You could absolutely play around with different combinations until you find the one you like best.

Customize It


  • Add a swirl of strawberry or raspberry puree before freezing for a fruity twist to the bubble gum base.

  • Stir in crushed cookies or brownie pieces for a textured ice cream with a bit of crunch.

  • Instead of gumballs, fold in rainbow sprinkles to create a fun rainbow look. 

  • Use blue food coloring and a splash of cotton candy flavoring for a fun, carnival-inspired twist.

  • Add a drizzle of caramel or chocolate sauce midway through freezing to create a marbled effect.

  • Mix in toasted nuts or coconut flakes for a crunchy texture and nutty flavor.

  • Create a layered ice cream cake by alternating layers of this ice cream with layers of cake or brownies in a loaf pan.

Storage Instructions

Store homemade bubblegum ice cream in an airtight container to prevent freezer burn. Press a piece of plastic wrap directly onto the surface of the ice cream before sealing the container to keep out air and ice crystals. Enjoy the ice cream within two weeks.

FAQ

Can I refreeze the ice cream if it melts?

Refreezing melted ice cream can cause ice crystals to form, leading to a grainy texture. It’s best to enjoy the ice cream once it reaches the desired consistency after the first freeze.

Is it okay to swallow the bubble gum in bubble gum ice cream?

The good news is that eating the bubblegum in bubblegum ice cream is not going to hurt you! Whether you eat it or just chew it really comes down to personal preference. While I prefer to chew it only, don’t let that stop you from enjoying this ice cream in your own way.

What if I don’t have a stand mixer?

You can use a hand mixer or a whisk to whip the heavy cream. It will take a bit longer, but the result will be just as good. Make sure the cream is very cold before you start to help it whip up more easily.


More No Churn Ice Cream Recipes

Every summer I celebrate ice cream week and share lots of my favorite easy homemade ice cream recipes.

If you love ice cream as much as I do, then explore some of my other favorite no-churn recipes below:


pink bubblegum ice cream recipe scooped into a sundae cup
Print
pink bubblegum ice cream recipe scooped into a sundae cup

No Churn Bubble Gum Ice Cream

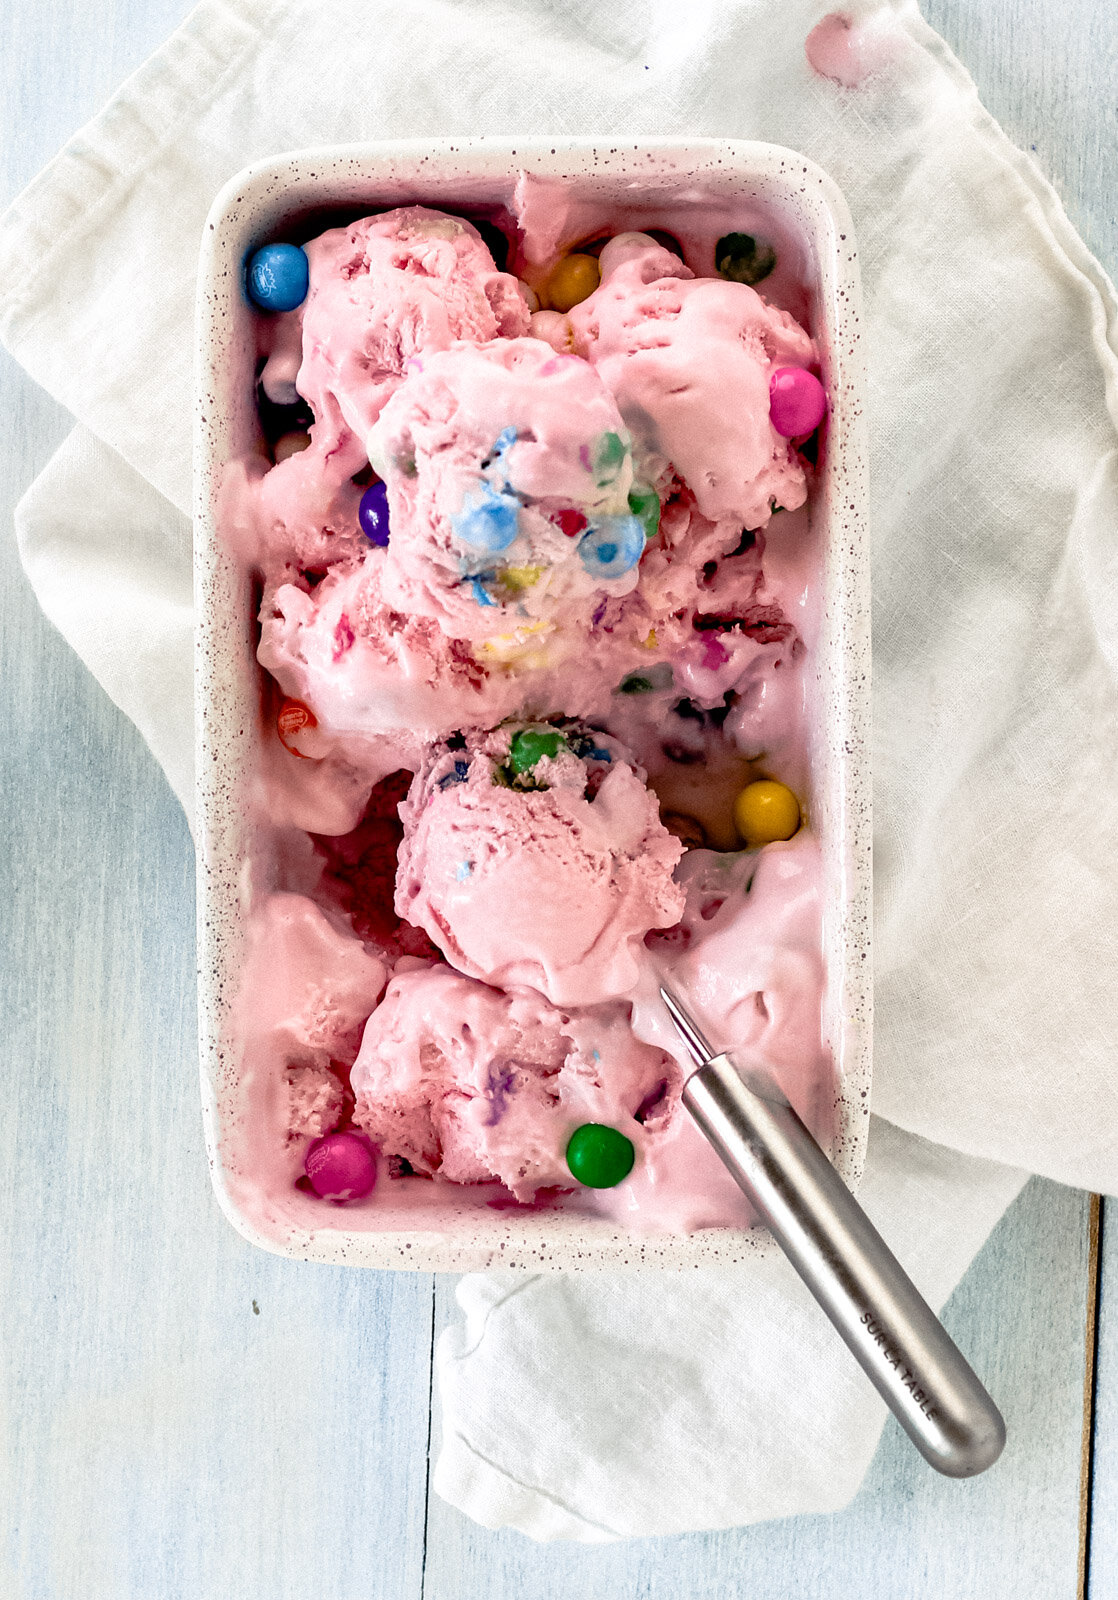
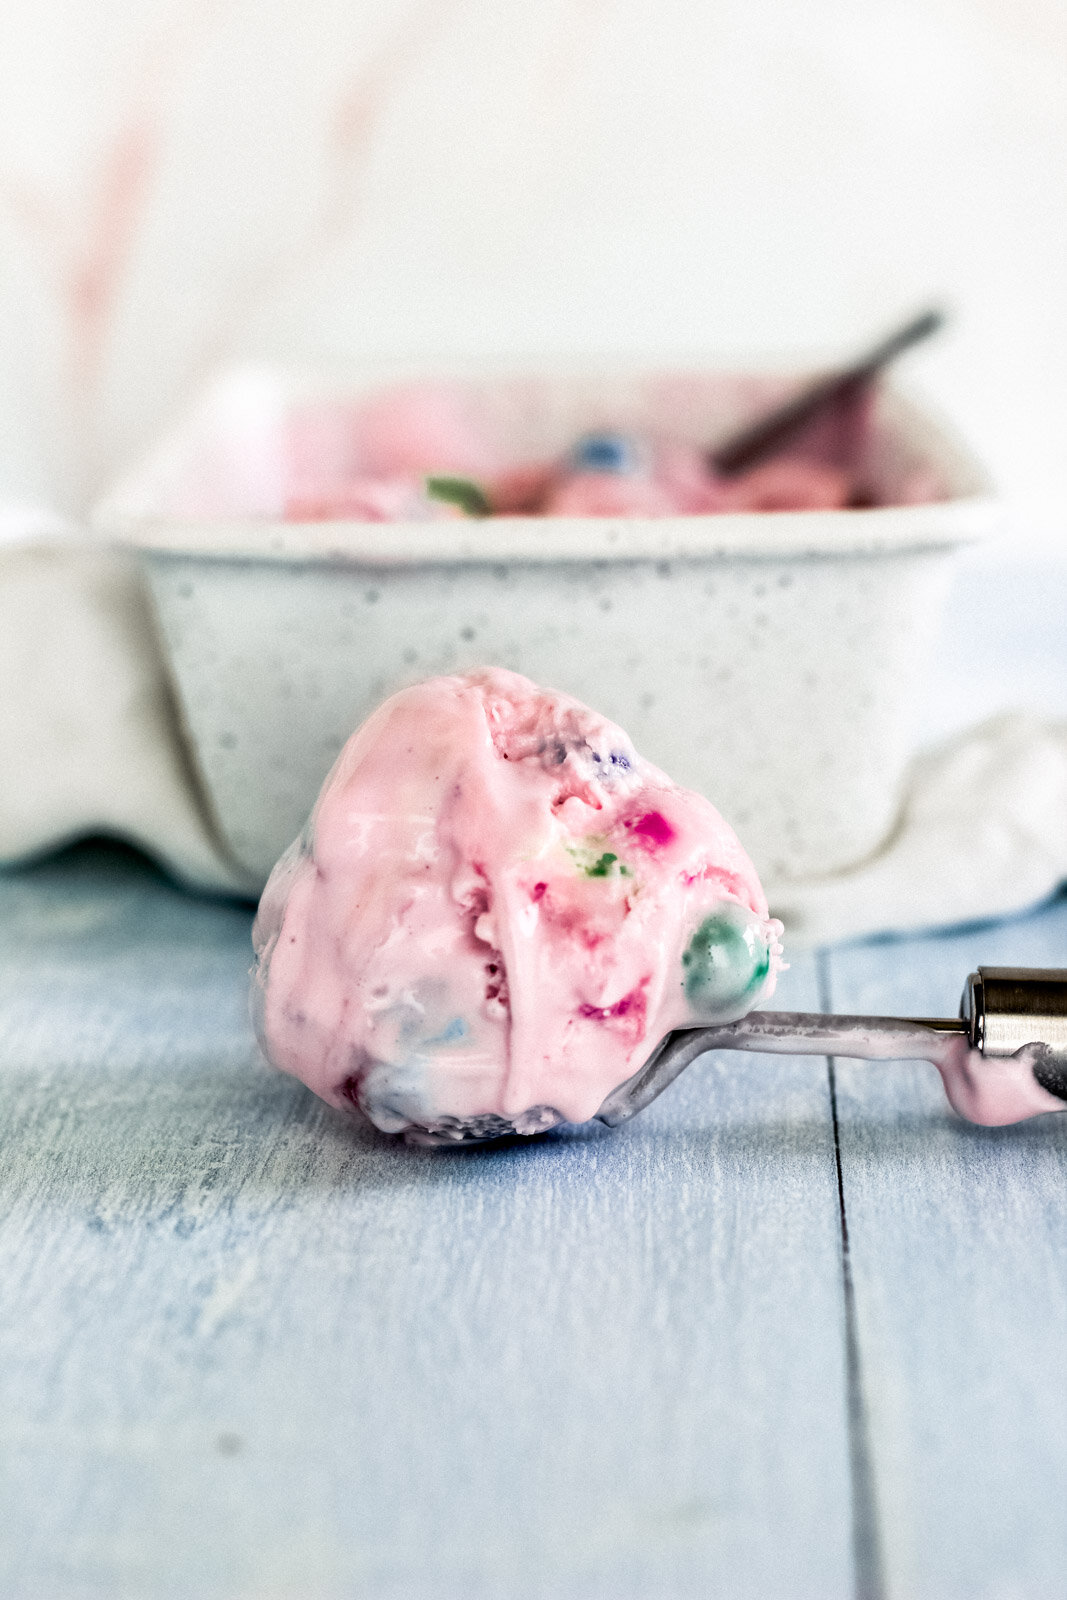
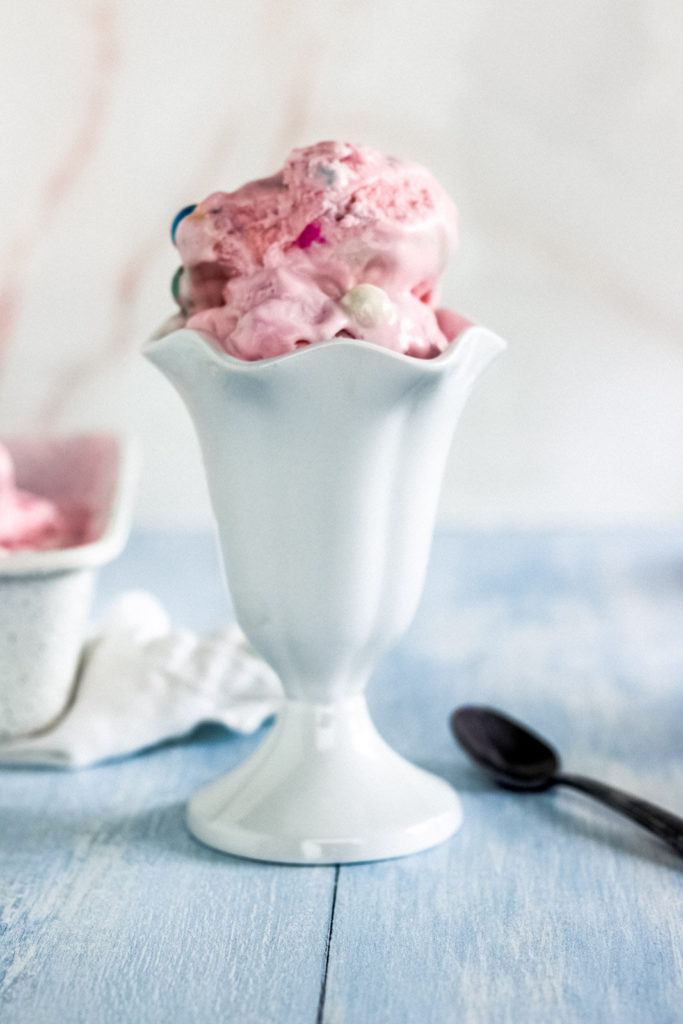
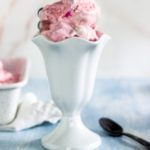
Bubble Gum Ice Cream is everything you remember from childhood. No ice cream maker required, only a few ingredients. Pure bubble gum and pink dream comes true.

pink bubblegum ice cream recipe scooped into a sundae cup

Prep time: 10 min + 3 hr freeze time  |  Cook time:   |  Total: 10 min + 3 hr freeze time

PRINT          RATE

Ingredients

2 cups heavy cream

1 can (14 ounce) sweetened condensed milk

1 teaspoon pure vanilla extract

12 teaspoons Bubble Gum Extract

13 drops pink food coloring

12 cup Gumballs

Instructions

  1. In a medium size bowl or your stand mixer, pour 2 cups heavy cream. Mix on medium speed until stiff peaks form. About 3 minutes.
  2. Pour in the condensed milk and mix by hand to encorporate. Add vanilla extract and bubble gum extract, mix again by hand.
  3. Add pink food coloring until desired pink color is achieved. Pour gumballs into mixture and fold in.
  4. Pour into an airtight and freezer safe container. Freeze for about 3 hours or overnight. Scoop and enjoy!

Notes

DID YOU MAKE THIS RECIPE?

Tag @LOLOHomeKitchen on Instagram and hashtag it #lolohk

CHECK IT OUT

Leave A Comment

Recipe rating 5 Stars 4 Stars 3 Stars 2 Stars 1 Star

  • Sign me up. Sign me up. Sign me up. Sign me up. Sign me up. Sign me up.
  • Sign me up. Sign me up. Sign me up. Sign me up. Sign me up. Sign me up.
  • Sign me up. Sign me up. Sign me up. Sign me up. Sign me up. Sign me up.

Share this: