WHAT’S FOR DESSERT?

Coffee Ice Cream

Array/5
straight on view of a bowl of dark chocolate chunk coffee ice cream
COOK TIME
TOTAL TIME
10 min + chill and churn time
SERVINGS
2 quarts
Coffee Ice Cream Recipe
straight on view of a bowl of dark chocolate chunk coffee ice cream

This Creamy Coffee Ice Cream recipe is the perfect pick-me-up in dessert form! Made with real coffee and dark chocolate chunks, every bite is smooth and just the right amount of sweet. Churn up a batch right at home and enjoy anytime!

Forget all the expensive pints at the store! I’ve proved over and over that you can easily make ice cream at home. From classic Chocolate Ice Cream and Vanilla Ice Cream to Cereal Milk Ice Cream and Bubblegum Ice Cream, there are not many flavors I haven’t whipped up!

One of my favorite flavors of ice cream has to be coffee. As a certified coffee drinker, there’s nothing like mixing that bold taste with creamy, sweet ice cream, and with this recipe using only six simple ingredients, it couldn’t be easier! 

Scoop it into a cone, pile it into a bowl with a drizzle of caramel, sandwich it between two cookies for the ultimate treat, or serve it affogato-style with a shot of hot espresso poured over the top. Serve it at a party with an Ice Cream Sundae Bar.  It’s also great for breakfast . . . ask me how I know!

Using An Ice Cream Maker

An ice cream maker is the way to achieve that smooth, creamy texture. It works by continuously churning the ice cream base while slowly freezing it, which prevents large ice crystals from forming. This process keeps the texture light and velvety, just like the best store-bought pints, but even better because you made it yourself! 


There are several types of ice cream makers to choose from, depending on your budget and how often you plan to use it. Compressor-style machines are the most convenient since they have built-in freezers, meaning you can make batch after batch without waiting. Freezer bowl models are more affordable and work by pre-freezing the bowl before churning, making them a great option for occasional use. If you’re just getting started, a freezer bowl ice cream maker is a great choice because it is simple and works well!

Homemade Ice Cream Ingredients

  • Heavy cream – Gives this recipe its creamy texture. It helps create that smooth, scoopable consistency that makes every bite melt in your mouth.

  • Milk – Balances out the heavy cream to keep the ice cream from being too dense while still adding creaminess. Whole milk works best for the perfect texture.

  • Sugar – Adds the right amount of sweetness and helps create a soft texture by lowering the freezing point of the ice cream. It dissolves completely in the mixture, so you don’t get any grainy texture in the final product.

  • Pure vanilla extract – Brings warmth and depth to the coffee and chocolate. Make sure to use pure vanilla extract if you have it.

  • Instant coffee – Dissolves seamlessly into the ice cream base. If you want an extra kick, espresso powder is a great swap for a stronger coffee taste.

  • Dark chocolate chunks – The perfect mix-in for a little crunch and a deep, slightly bitter contrast to the sweet and creamy ice cream. Chopping your own chocolate from a bar will give you varied sizes and an even better rustic texture.

How To Make Coffee Ice Cream

Mix the ice cream base: In a medium bowl, combine the heavy cream, milk, sugar, vanilla extract, and instant coffee. Whisk the mixture until the sugar is fully dissolved and the coffee granules are evenly distributed. 

Chill the mixture: Cover the bowl and place it in the refrigerator for at least 4 hours or, for the best results, overnight. Chilling allows the flavors to fully develop and make sure the mixture is cold enough to churn properly in the ice cream maker.

Strain for smoothness: Before churning, pour the chilled mixture through a fine mesh strainer into a clean bowl. This step removes any undissolved coffee granules.

Churn the ice cream: Pour the strained mixture into the bowl of your ice cream maker and churn according to the manufacturer’s instructions, typically for about 25 minutes. The ice cream should thicken to a soft-serve consistency as it freezes.

Add the chocolate chunks: Once the ice cream has nearly finished churning, add the dark chocolate chunks. Let the machine run for a few more minutes to evenly distribute the chocolate pieces throughout the ice cream.

Freeze until firm: Transfer the churned ice cream to a freezer-safe container, smoothing out the top with a spatula. Cover and freeze for at least 4 hours or until the ice cream reaches your desired consistency.

Scoop and enjoy: Once fully frozen, scoop your homemade coffee ice cream into bowls or cones. Enjoy!

Expert Tips

  • Use cold ingredients from the start – Starting with chilled cream, milk, and coffee mixture helps the ice cream churn faster and freeze more evenly, leading to a smoother texture. 

  • Dissolve the sugar completely – Whisking until the sugar fully dissolves prevents a grainy texture in the final ice cream.

  • Chill overnight for the best texture – While a few hours in the fridge works, an overnight chill deepens the flavors and improves how the base thickens during churning. Ice cream always tastes better when it’s given time to develop.

  • Strain for a smooth base – Running the mixture through a fine mesh strainer catches any undissolved coffee granules or sugar clumps. 

  • Pre-freeze the ice cream maker bowl – If using a freezer bowl ice cream maker, place it in the freezer at least 24 hours before churning. 

  • Don’t overfill the ice cream maker – Ice cream expands as it churns, so filling the machine more than two-thirds full can cause overflow and uneven freezing. Leaving extra room allows for proper aeration and fluffiness.

  • Add chocolate at the right time – Waiting until the last few minutes of churning prevents the chocolate chunks from sinking to the bottom or getting crushed. This way, every scoop is loaded with just the right amount of chocolate.

  • Freeze in a shallow container – Spreading the ice cream in a shallow, wide container helps it freeze faster and more evenly. Faster freezing prevents large ice crystals from forming, keeping the texture creamy.

  • Press plastic wrap directly onto the surface – Before sealing the container with a lid, pressing plastic wrap onto the ice cream prevents ice crystals from forming on top.

  • Let it sit before scooping – Straight from the freezer, homemade ice cream can be extra firm. Letting it sit on the counter for 5 minutes makes it easier to scoop and brings out the full, rich coffee flavor.

Coffee Ice Cream Mix Ins


  • Make it your own by adding some of these fun mix in ideas!

  • Chocolate Chips

  • Chopped Walnuts

  • Crushed Oreos

  • Toffee Bits

  • Caramel Swirl

  • Fudge Brownie Chunks

  • Chocolate-Covered Espresso Beans

  • Peanut Butter Swirl

  • White Chocolate Chunks

  • Cinnamon Buttered Cheerios

  • Toasted Coconut Flakes

  • Almond Slivers

  • Butterscotch Chips

  • Crushed Biscotti

  • Graham Cracker Pieces

  • Maple-Glazed Pecans

Storage Instructions

To keep coffee ice cream fresh and creamy, store it in a freezer-safe container with a tight-fitting lid. A shallow, wide container helps it freeze evenly and prevents large ice crystals from forming. Pressing a piece of plastic wrap or parchment paper directly onto the surface before sealing the lid keeps air out and prevents freezer burn. Homemade ice cream is best enjoyed within two weeks for the freshest taste and texture, though it can last up to a month if stored properly.

FAQ

Can I use regular ground coffee instead of instant coffee?
Regular ground coffee won’t dissolve properly and can leave a gritty texture in the ice cream. Instant coffee works best because it blends smoothly into the base, giving a strong coffee flavor without affecting the texture.

Do I have to chill the mixture before churning?
Yes, chilling the mixture for at least four hours (or overnight) helps develop the flavors and improves the texture. A cold base also churns faster, leading to smoother, creamier ice cream.

Why does my ice cream turn icy instead of creamy?
Ice crystals form when the base isn’t cold enough before churning or if too much air gets incorporated during freezing. Storing the finished ice cream in a shallow container and pressing plastic wrap directly on the surface helps keep the texture creamy.

How can I get a stronger coffee flavor?
For a bolder coffee taste, use espresso powder instead of instant coffee or slightly increase the amount used. A teaspoon of coffee extract or a small shot of very strong brewed espresso can also enhance the flavor without adding too much liquid.

Why is my ice cream so hard straight from the freezer?
Homemade ice cream freezes firmer than store-bought versions because it doesn’t contain stabilizers. Letting it sit at room temperature for five minutes before scooping.

More Homemade Ice Cream Recipes

ice cream bon bons recipe

Ice Cream Bon Bons

strawberry ice cream recipe

Strawberry Ice Cream

Overhead view of a bowl of rainbow colored ice cream

No Churn Rainbow Ice Cream With Jello

pink starburst ice cream recipe

Pink Starburst Ice Cream

Print
straight on view of a bowl of dark chocolate chunk coffee ice cream

Coffee Ice Cream

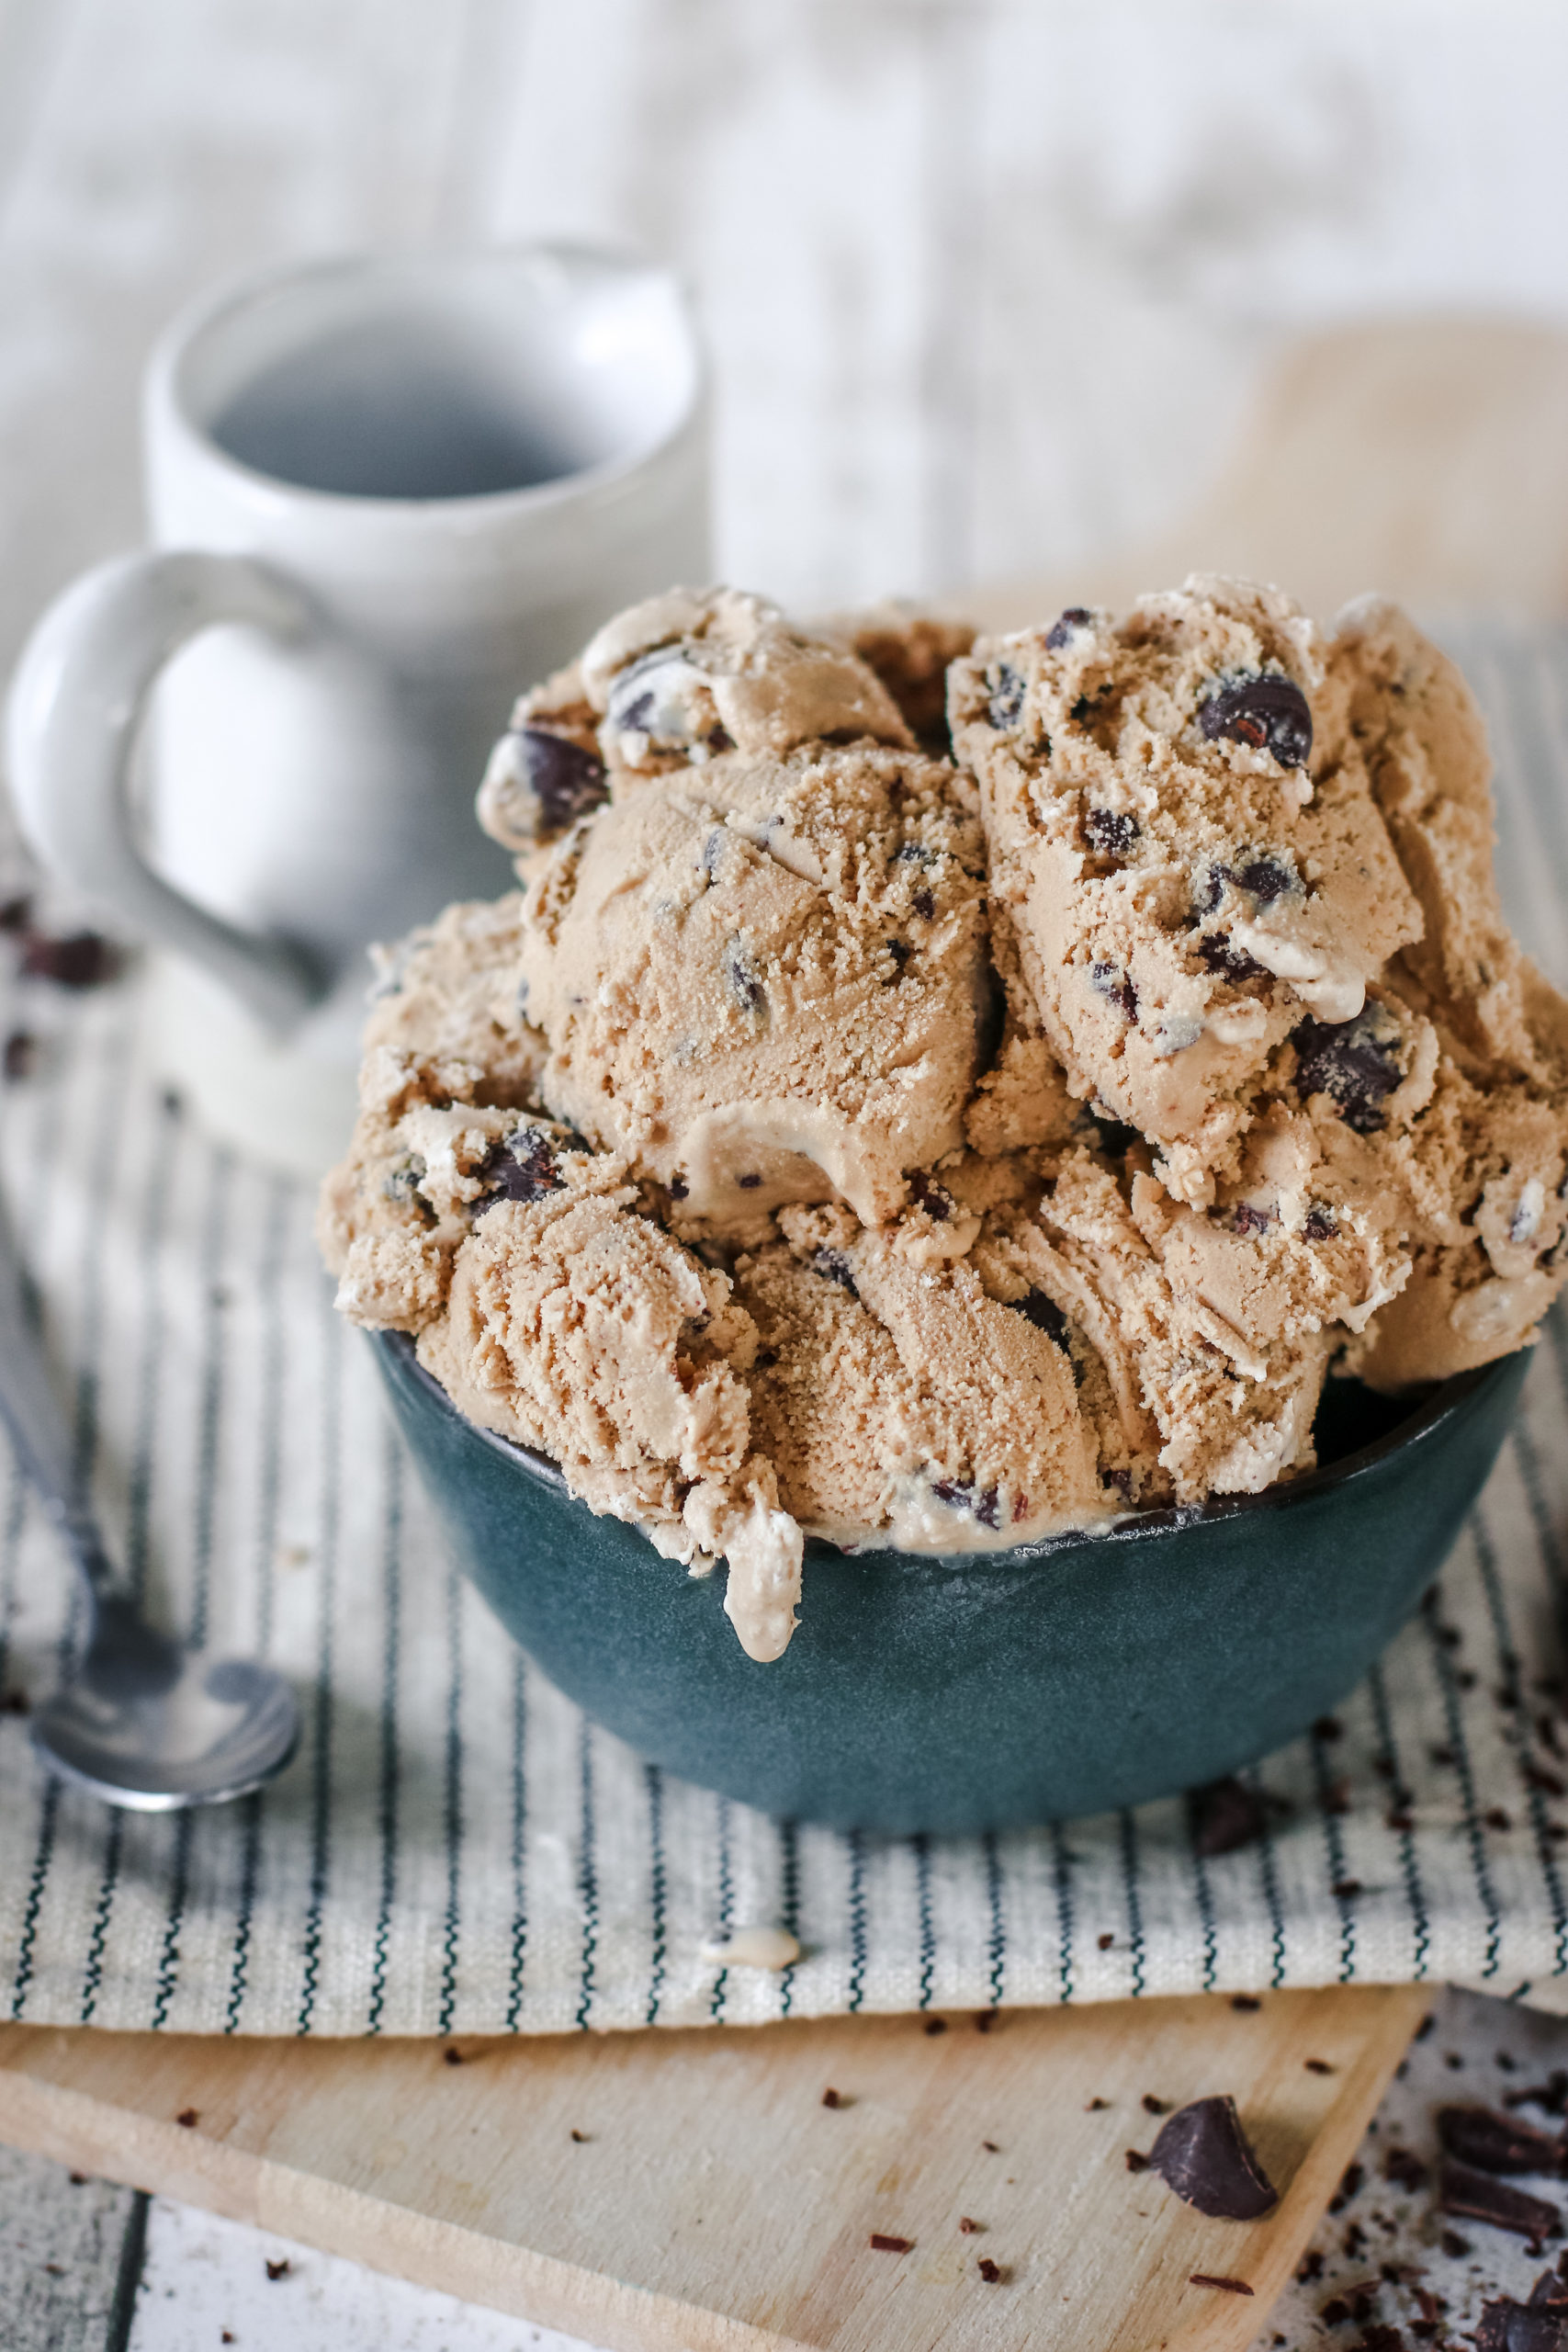
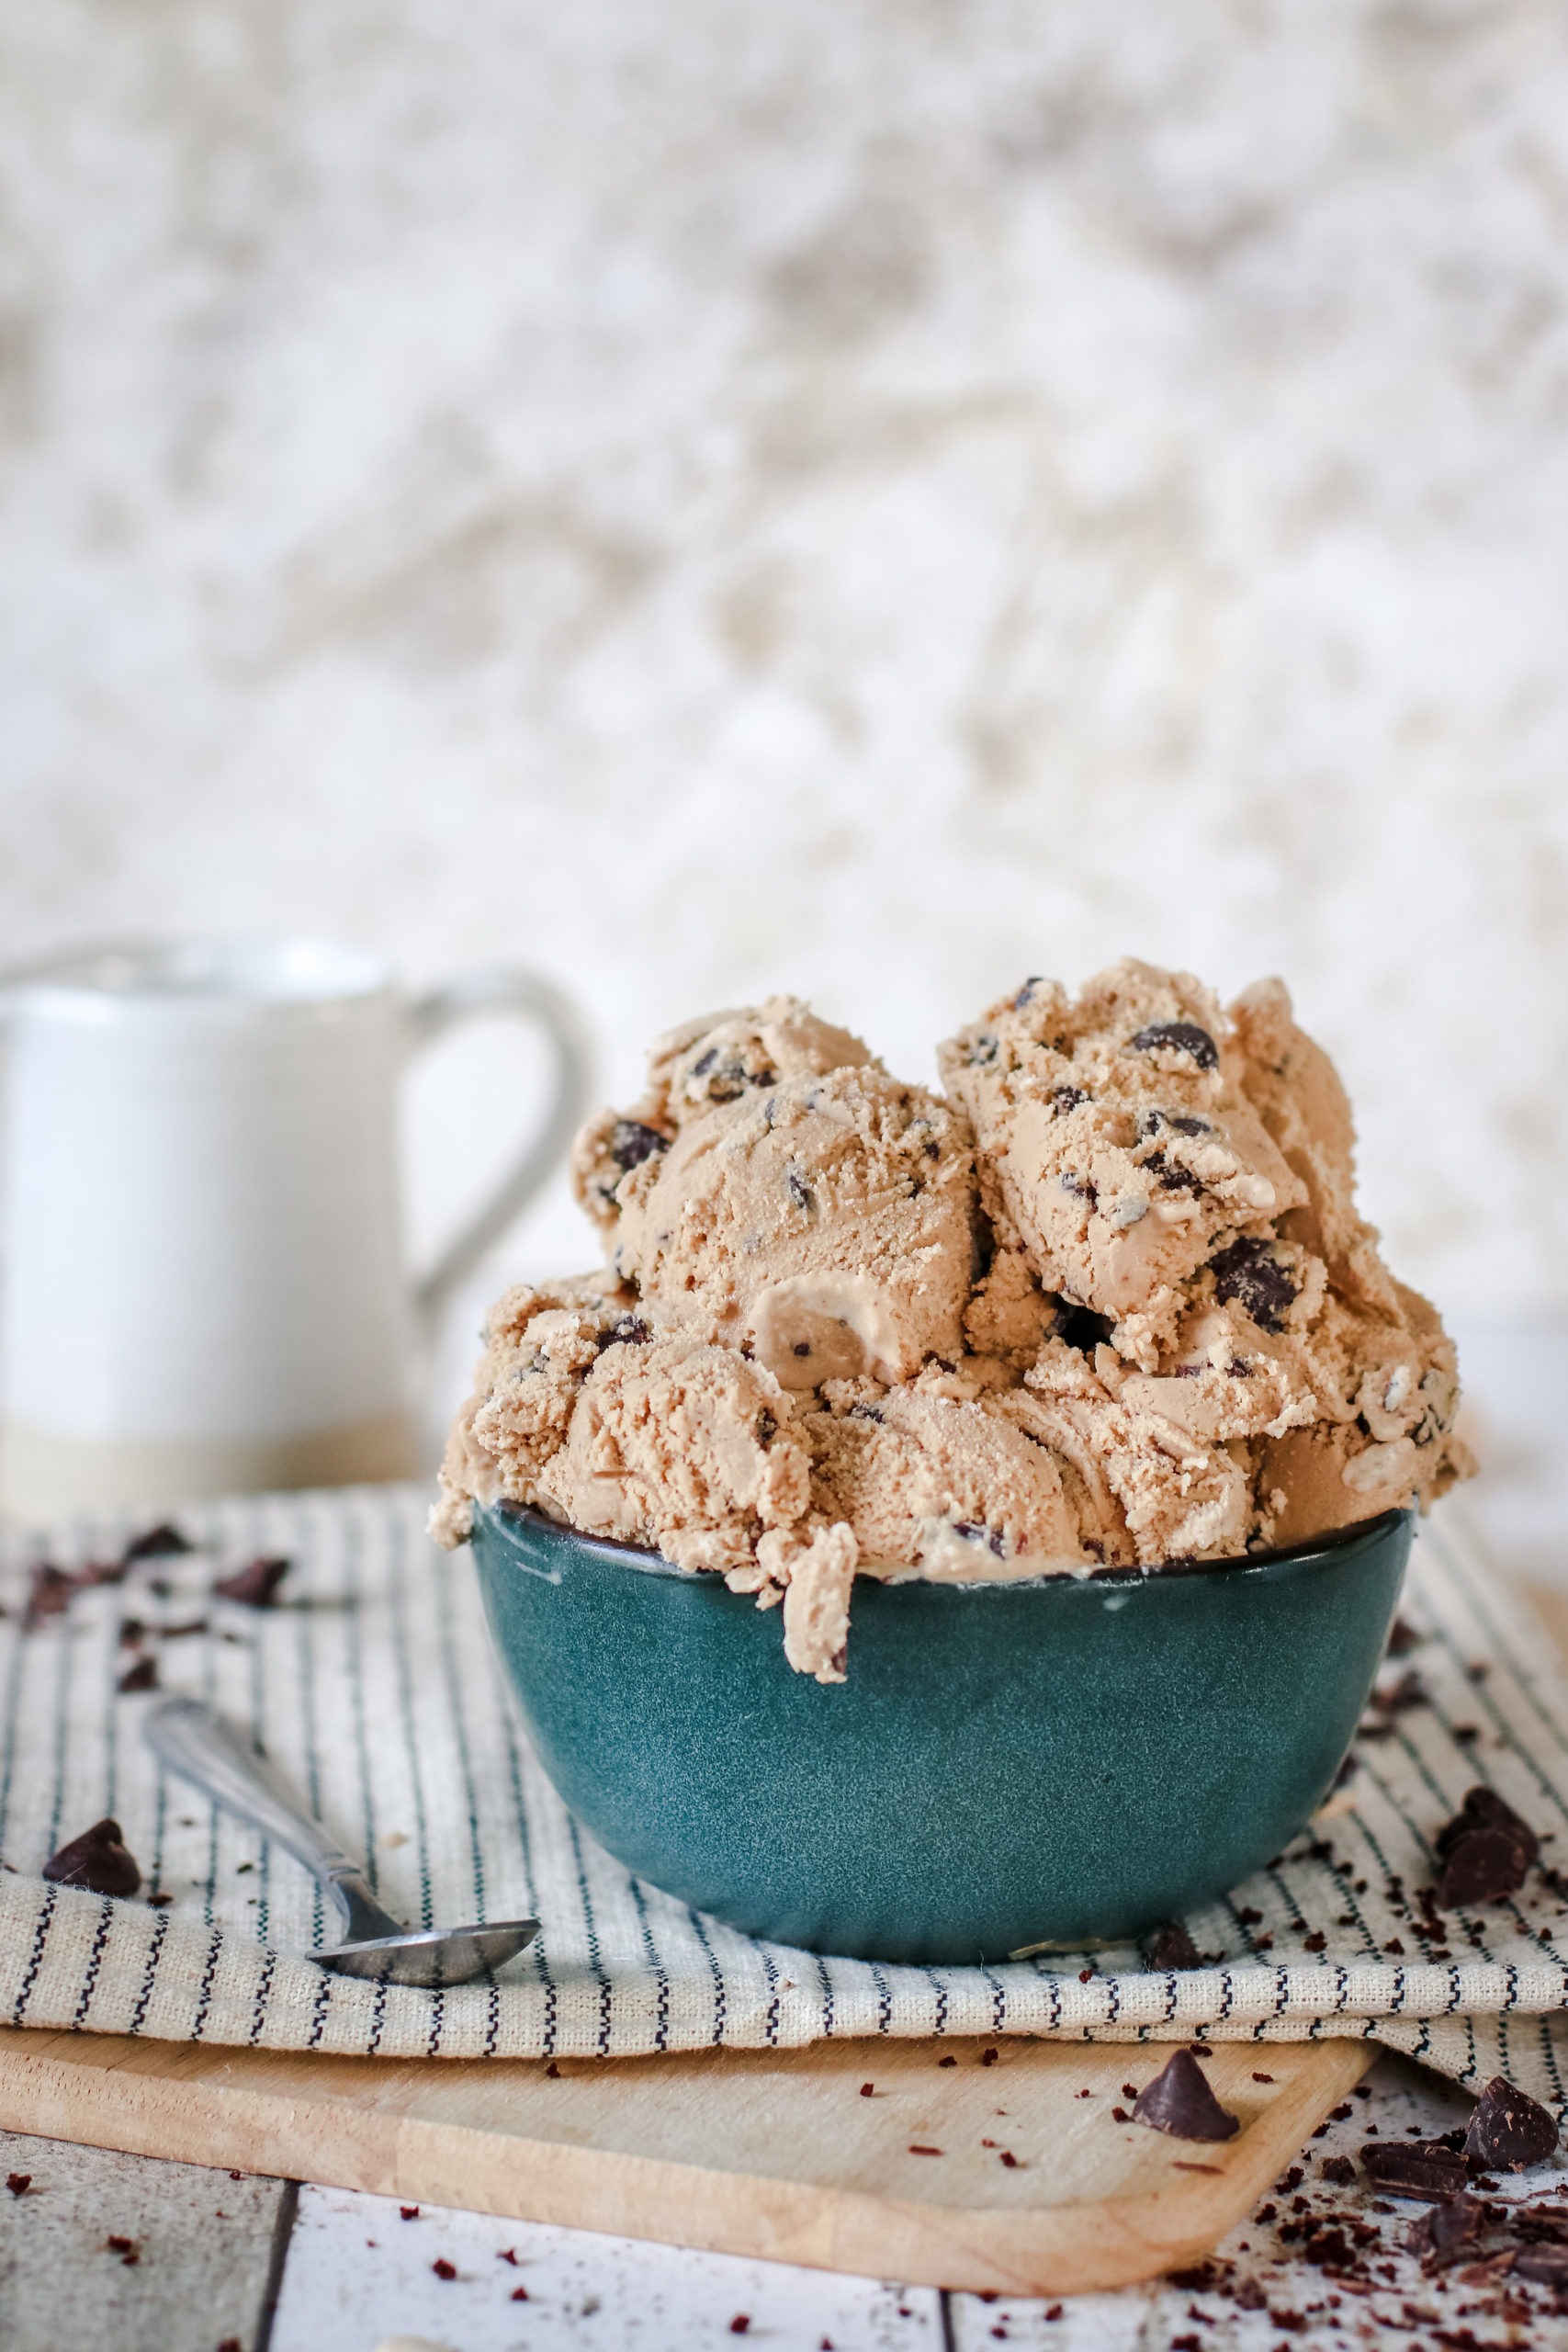
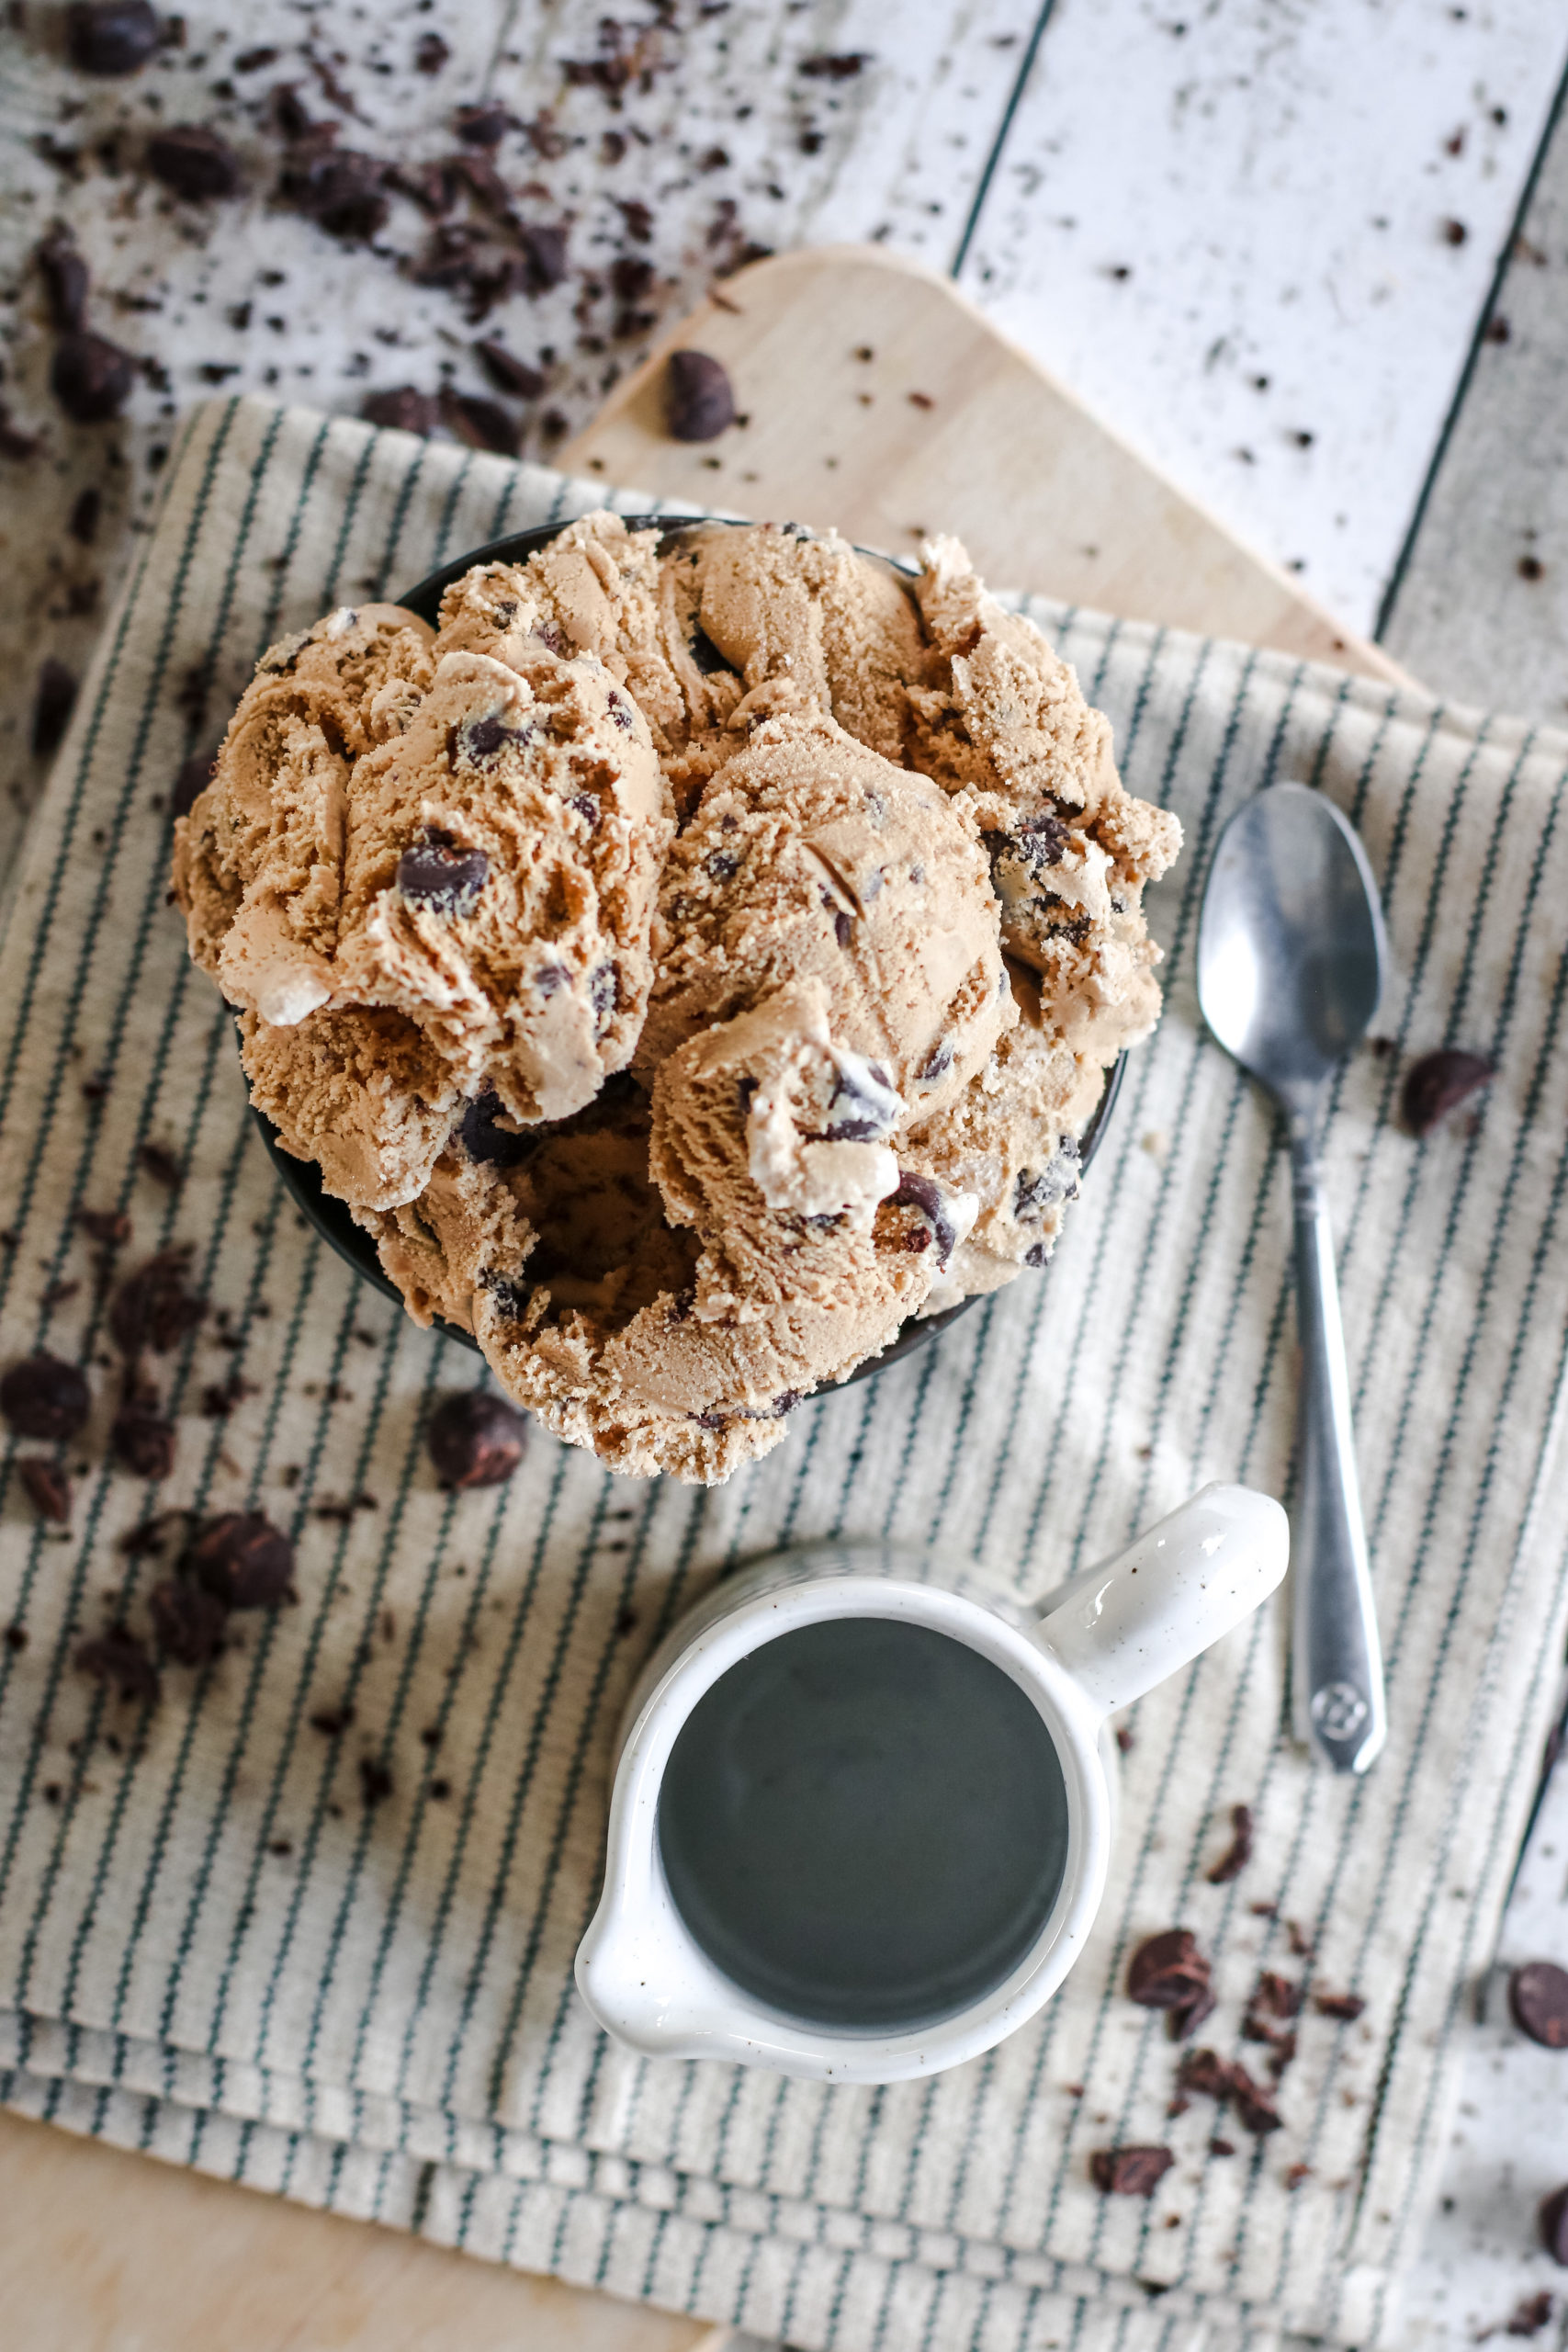
Creamy Coffee Ice Cream with real coffee and dark chocolate chunks in every bite.

straight on view of a bowl of dark chocolate chunk coffee ice cream

Prep time: 10 min + chill time  |  Cook time:   |  Total: 10 min + chill and churn time

PRINT          RATE

Ingredients

2 cups heavy cream

1 cup milk

3/4 cup sugar

1/2 teaspoon pure vanilla extract

2 Tablespoons Instant Coffee

Dark Chocolate Chunks

Instructions

1. In a medium bowl, add the heavy cream, milk, sugar, vanilla, and instant coffee. Mix together until sugar is dissolved. Cover and place in the fridge overnight.

2. Remove from the fridge and strain liquid into another bowl to catch any coffee granules.

3. Pour into the ice cream maker and churn for about 25 minutes or until it’s the consistency of soft serve ice cream. Pour the dark chocolate chunks into the machine as well and churn for another few minutes until all combined.

4. Remove ice cream and transfer to an ice cream container or a freezer safe container. Freeze for several hours until more solid. Serve and enjoy!

Notes

DID YOU MAKE THIS RECIPE?

Tag @LOLOHomeKitchen on Instagram and hashtag it #lolohk

CHECK IT OUT

Leave A Comment

Recipe rating 5 Stars 4 Stars 3 Stars 2 Stars 1 Star

    • Sign me up. Sign me up. Sign me up. Sign me up. Sign me up. Sign me up.
    • Sign me up. Sign me up. Sign me up. Sign me up. Sign me up. Sign me up.
    • Sign me up. Sign me up. Sign me up. Sign me up. Sign me up. Sign me up.

    Share this: