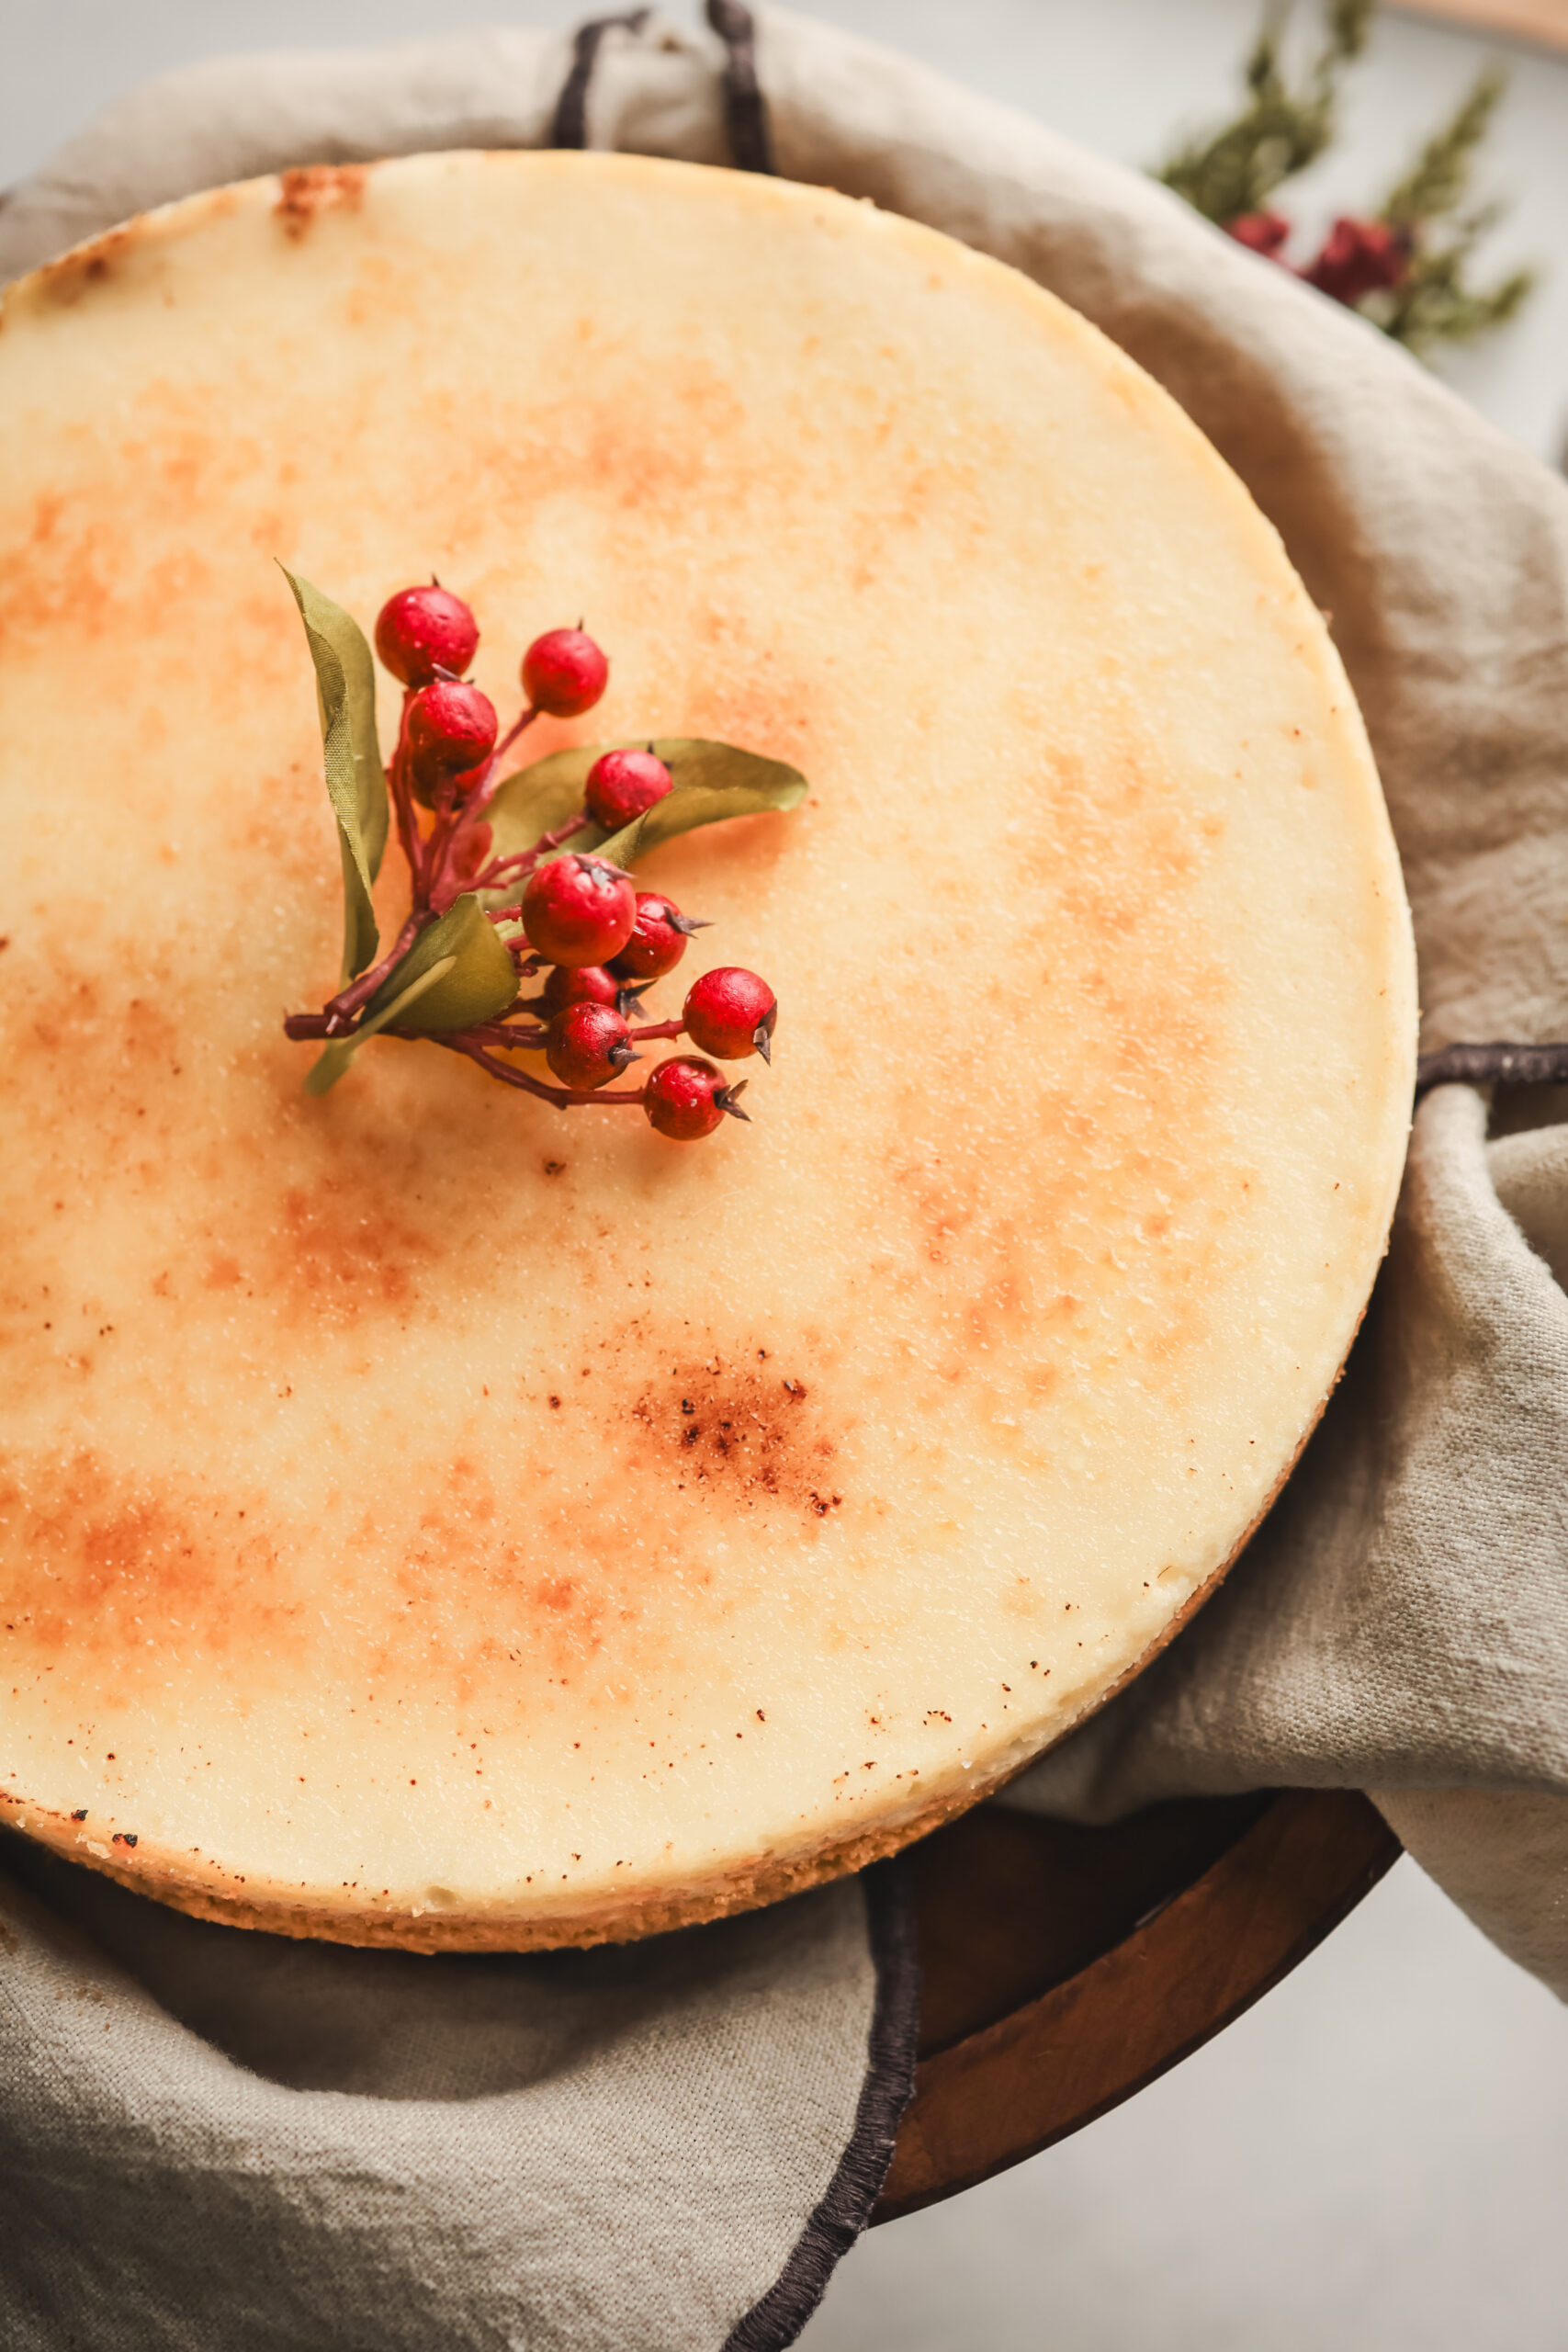
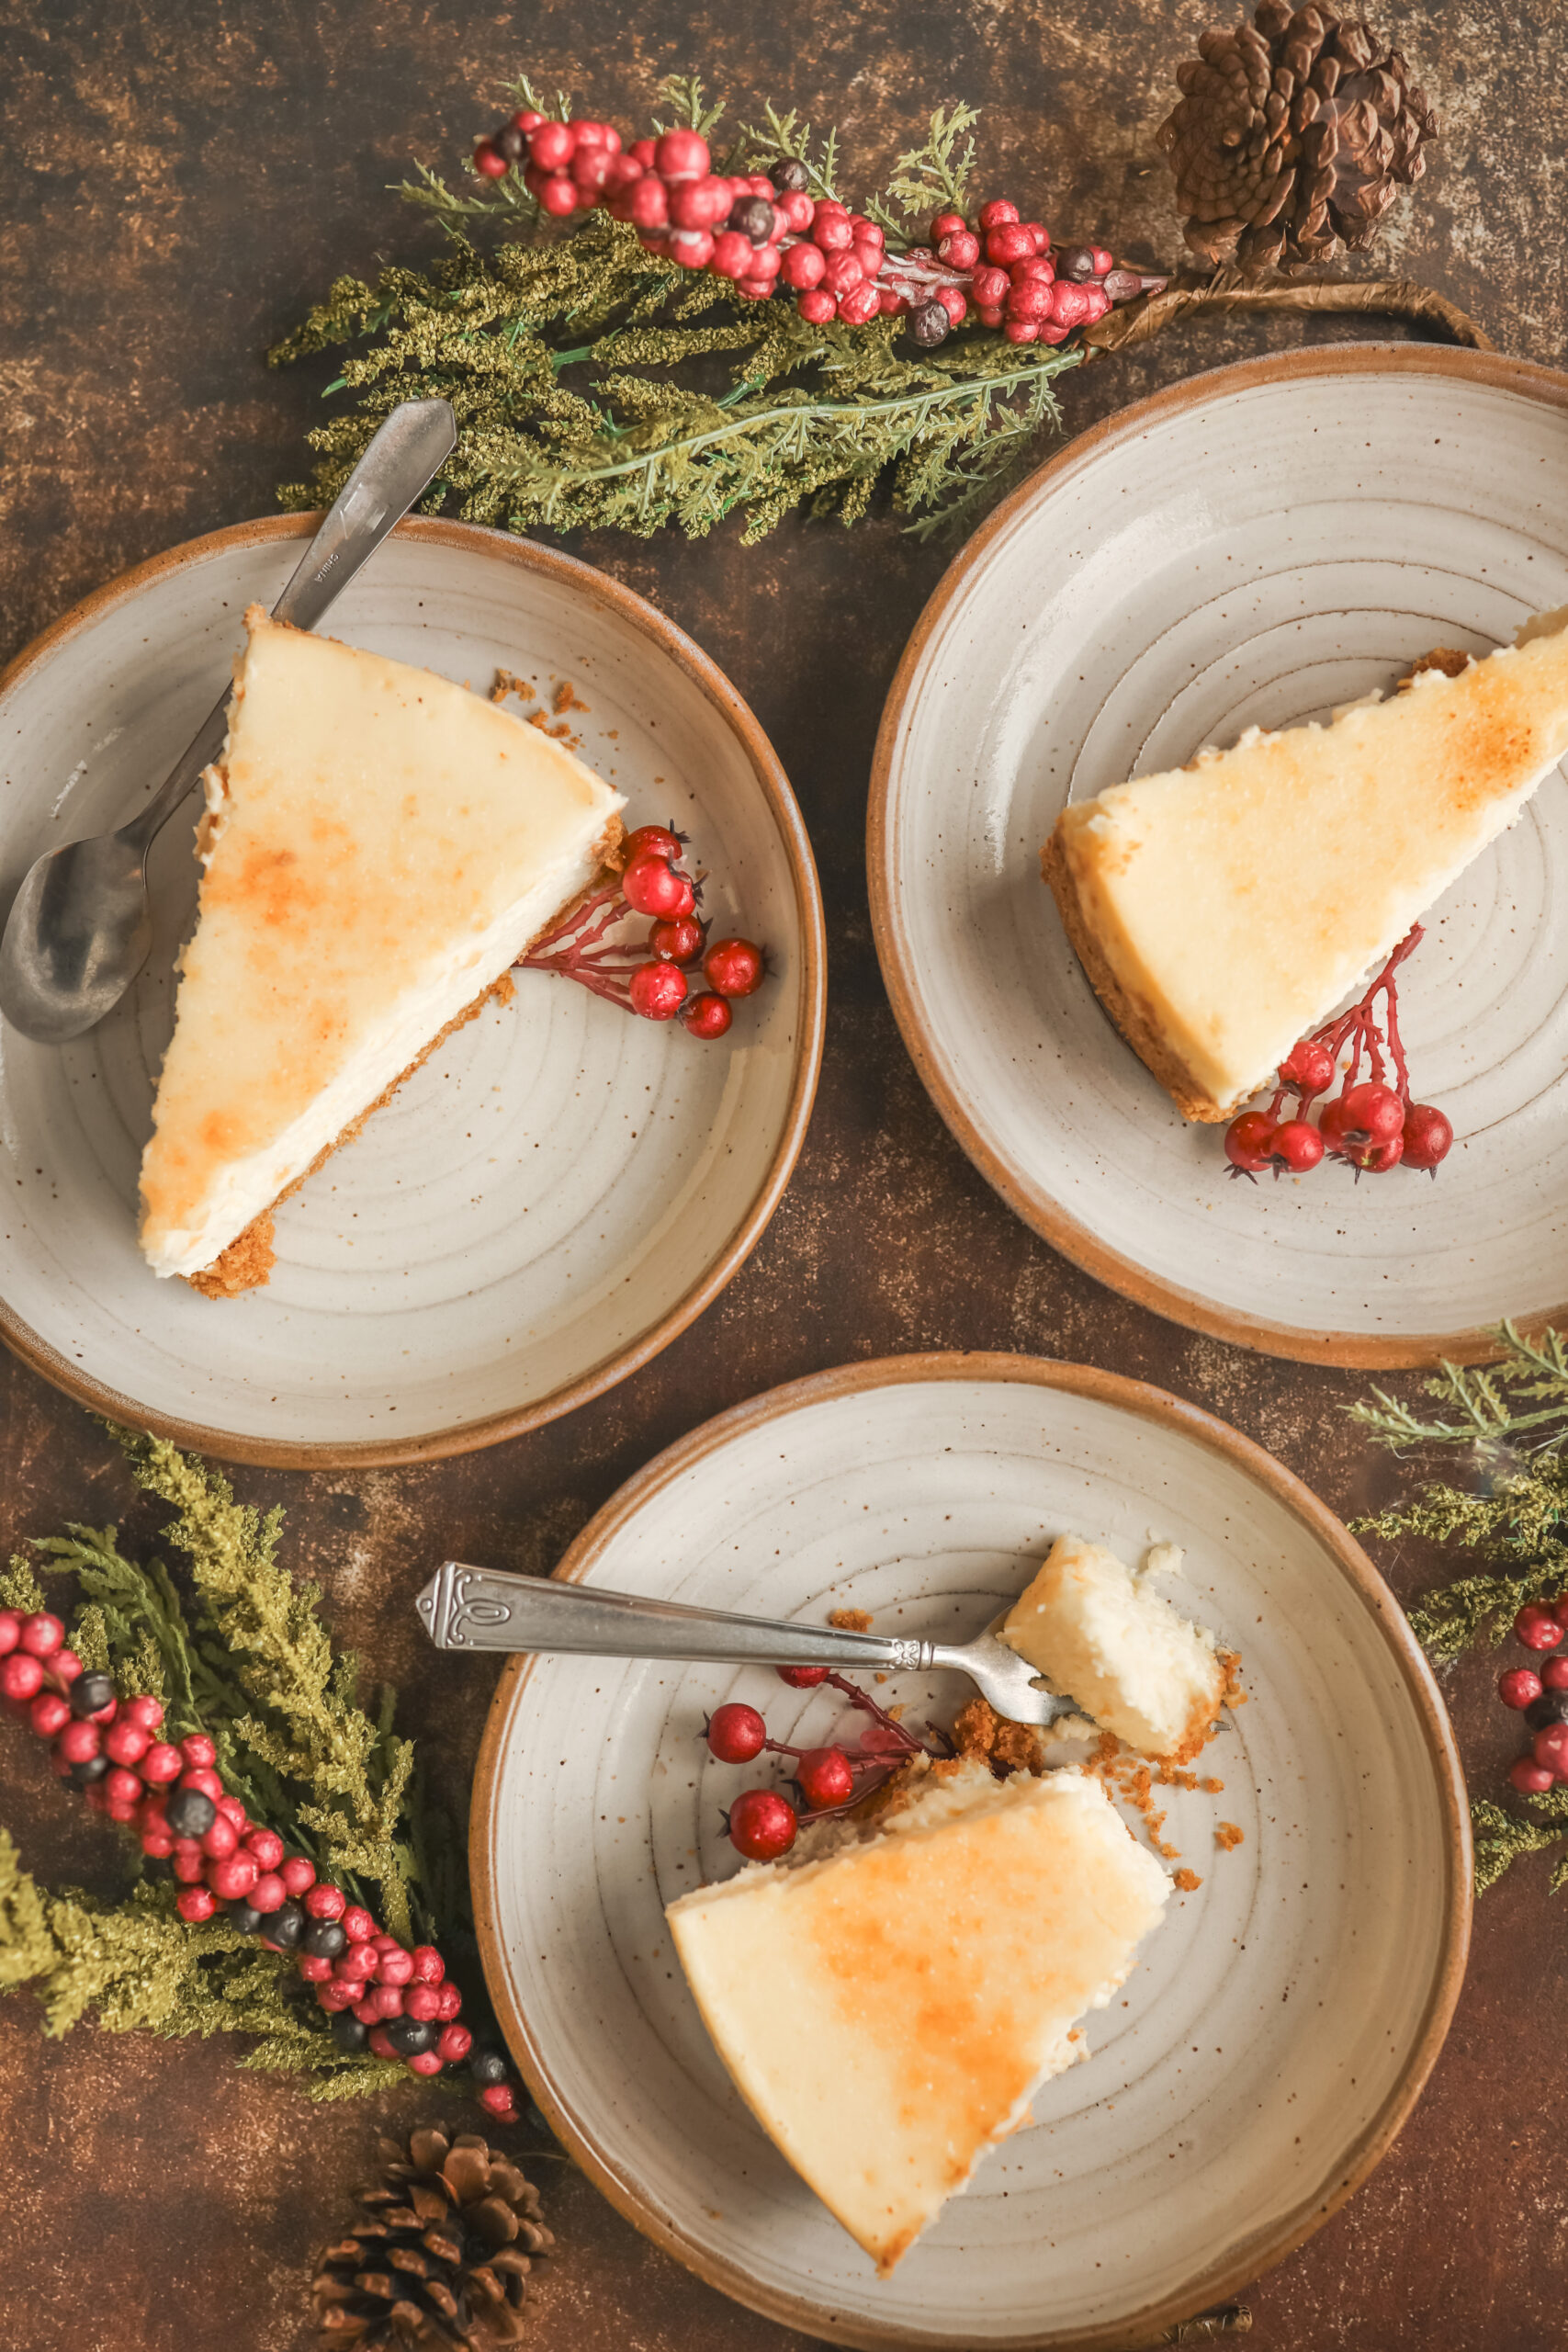
If you love the silky texture of crème brûlée and the creamy richness of cheesecake, then get ready — this Crème Brûlée Cheesecake is what dessert dreams are made of. It’s smooth, creamy, and topped with that signature crackly caramelized sugar you can’t resist breaking through with a spoon.
This is one of those desserts that looks super fancy but is actually really easy to make at home. It’s perfect for holidays, special occasions, or when you just want to treat yourself to something extra special. And since it’s a make-ahead dessert, you can prep it the day before and simply torch the sugar right before serving — no last-minute stress required.
Decadent and creamy – a melt-in-your-mouth texture that’s rich but not heavy.
Simple ingredients – no need to hunt down anything fancy.
Restaurant-worthy finish -that sugar topping will have everyone impressed.
Perfect for holidays or celebrations – guaranteed to wow at the table.
Make-ahead friendly – even better when chilled overnight.
For the crust:
2 cups graham cracker crumbs
3 Tablespoons sugar
6 Tablespoons butter, melted
For the cheesecake filling:
3 bars (8 oz each) cream cheese, room temperature
1 cup sugar
3 eggs
1 cup sour cream
2 teaspoons pure vanilla extract
For the brûlée topping:
¼ cup sugar
Make the Crust
Mix together the graham cracker crumbs, sugar and melted butter. Mix together until combined and the mixture is like a thick sand. Pour crumb mixture into the pan and press the crust out evenly and up about 1 inch onto the sides. Bake for 15 minutes until light brown. Remove from the oven and set aside. Move the oven temp up to 450 degrees.
Mix the Cheesecake Batter
In the bowl of a stand mixer, mix cream cheese for about 4 minutes. Next add the sugar and mix again. Add the eggs, one at a time and mix after each one. Then add the sour cream and 2 vanilla extract. Mix again.Pour the cheesecake mixture into the baked crust and spread out evenly.
Bake the Cheesecake
Place the springform pan in a larger baking pan or roasting pan. Pour hot water into the larger pan around the springform pan and about 1 inch up the sides. Bake for 15 minutes and then turn the oven down to 225 degrees and bake for another 1 ¼ hours (85 minutes). Then turn the oven off and open the oven door but leave the cheesecake inside and sit for another 30 minutes. Remove from the oven and then let cool completely for about 2 hours. Then cover the cheesecake with clear wrap and place in the fridge overnight.
Add the Brulee Topping
Remove the sides of the springform pan and then sprinkle the sugar evenly over the top of the cheesecake. Use a kitchen torch to caramelize the sugar on the top of the cheesecake. (If you do not have a kitchen torch, you can just put the cheesecake in the oven under a low broil until the sugar caramelizes. Watch carefully, only takes a couple minutes)
Avoid overmixing to prevent cracks.
Chill completely for at least 4 hours before serving.
Torch just before serving to keep the sugar layer nice and crunchy.
This dessert is perfect for:
Holiday dinners like Thanksgiving, Christmas, or Easter
Date nights or anniversaries
Dinner parties where you want to impress without the stress
Or honestly… a cozy night in with a big fork and a bigger sweet tooth
Serve it with a cup of coffee or hot chocolate for a little extra indulgence.
Refrigerate: Cover and store in the fridge for up to 4 days.
Freeze: You can freeze (without the sugar topping) for up to 2 months. Thaw overnight in the fridge, then caramelize the sugar before serving.
Want to give it a twist? Try:
Adding a salted caramel drizzle over each slice.
Mixing in a touch of espresso for a Crème Brûlée Latte Cheesecake vibe.
Swapping vanilla extract for vanilla bean paste for that classic speckled look and deep flavor.
This Crème Brûlée Cheesecake is a total showstopper — it’s everything you love about two classic desserts wrapped into one irresistible bite. Creamy, dreamy, and topped with that satisfying caramelized sugar crunch, it’s perfect for holidays, dinner parties, or any time you want to make dessert feel special.
You don’t need to be a pastry chef to pull this off — just a few simple ingredients, a little time, and a kitchen torch (which, let’s be honest, is always fun to use).
This Lucky Charms Latte tastes like a bowl of Lucky Charms in latte form- creamy cereal milk, bold espresso, and a dreamy marshmallow cold foam on top.
Cereal Milk
8 ounces Hiland Dairy Milk (1 cup)
1 cup Lucky Charms Cereal
1–2 shots espresso (or 8 ounces cold brew or regular coffee)
Spoonful of Marshmallow Creme
Ice
Cold Foam
¾ cup Hiland heavy cream or half & half
1/2 cup Lucky Charms Marshmallows
1 teaspoon vanilla extract
Cereal Milk– In a jar or glass, add the 1 cup of milk and 1 cup Lucky charms cereal. Mix together until cereal is coated then seal with lid or saran wrap. Refrigerate for at least 1 hour or up to overnight.
Cold Foam– In a jar or glass, add the 3/4 cup heavy cream or half & half with 1/2 cup Lucky Charms Marshmallows. Mix together until marshmallows are coated then seal with lid or saran wrap. Refrigerate for at least 1 hour or up to overnight.
To assemble Latte– In a small glass, place a spoonful of Marshmallow Creme/Fluff in the glass. Brew 1-2 shots of espresso (or coffee of choice) over the marshmallow creme. Set aside to cool slightly.
Strain the milk/cereal mixture so you are just left with the yummy milk. Do the same for the heavy cream mixture.
In a separate glass, fill with ice. Pour ¼- ½ cup cup of the cereal milk over the ice. Next, pour the espresso over the milk.
Cold foam- in a small glass, add ¼ cup cereal milk heavy cream plus 1 teaspoon vanilla extract. Use a handheld frother to mix until the cold foam is thicker and frothy. (you can also use a standard frother)
Gently pour the cold foam over the latte. Top with extra Lucky Charms Marshmallows. Grab a straw, stir just a bit and enjoy!
– Soak longer for a stronger flavor. Overnight gives the deepest cereal flavor.
– Adjust espresso to taste. Two shots per latte is perfect for me, but add more or less for whatever you love
– Make it hot. Warm the cereal milk gently before adding espresso and foam.
– Use your favorite dairy-free milk and dairy-free cream alternative for the foam. (Hiland has a new one that is great!)
Our best tips for quick and tasty recipes, ideas and more, right to your inbox.