Peanut Butter Brownies (Easy + Fudgy!)


Print
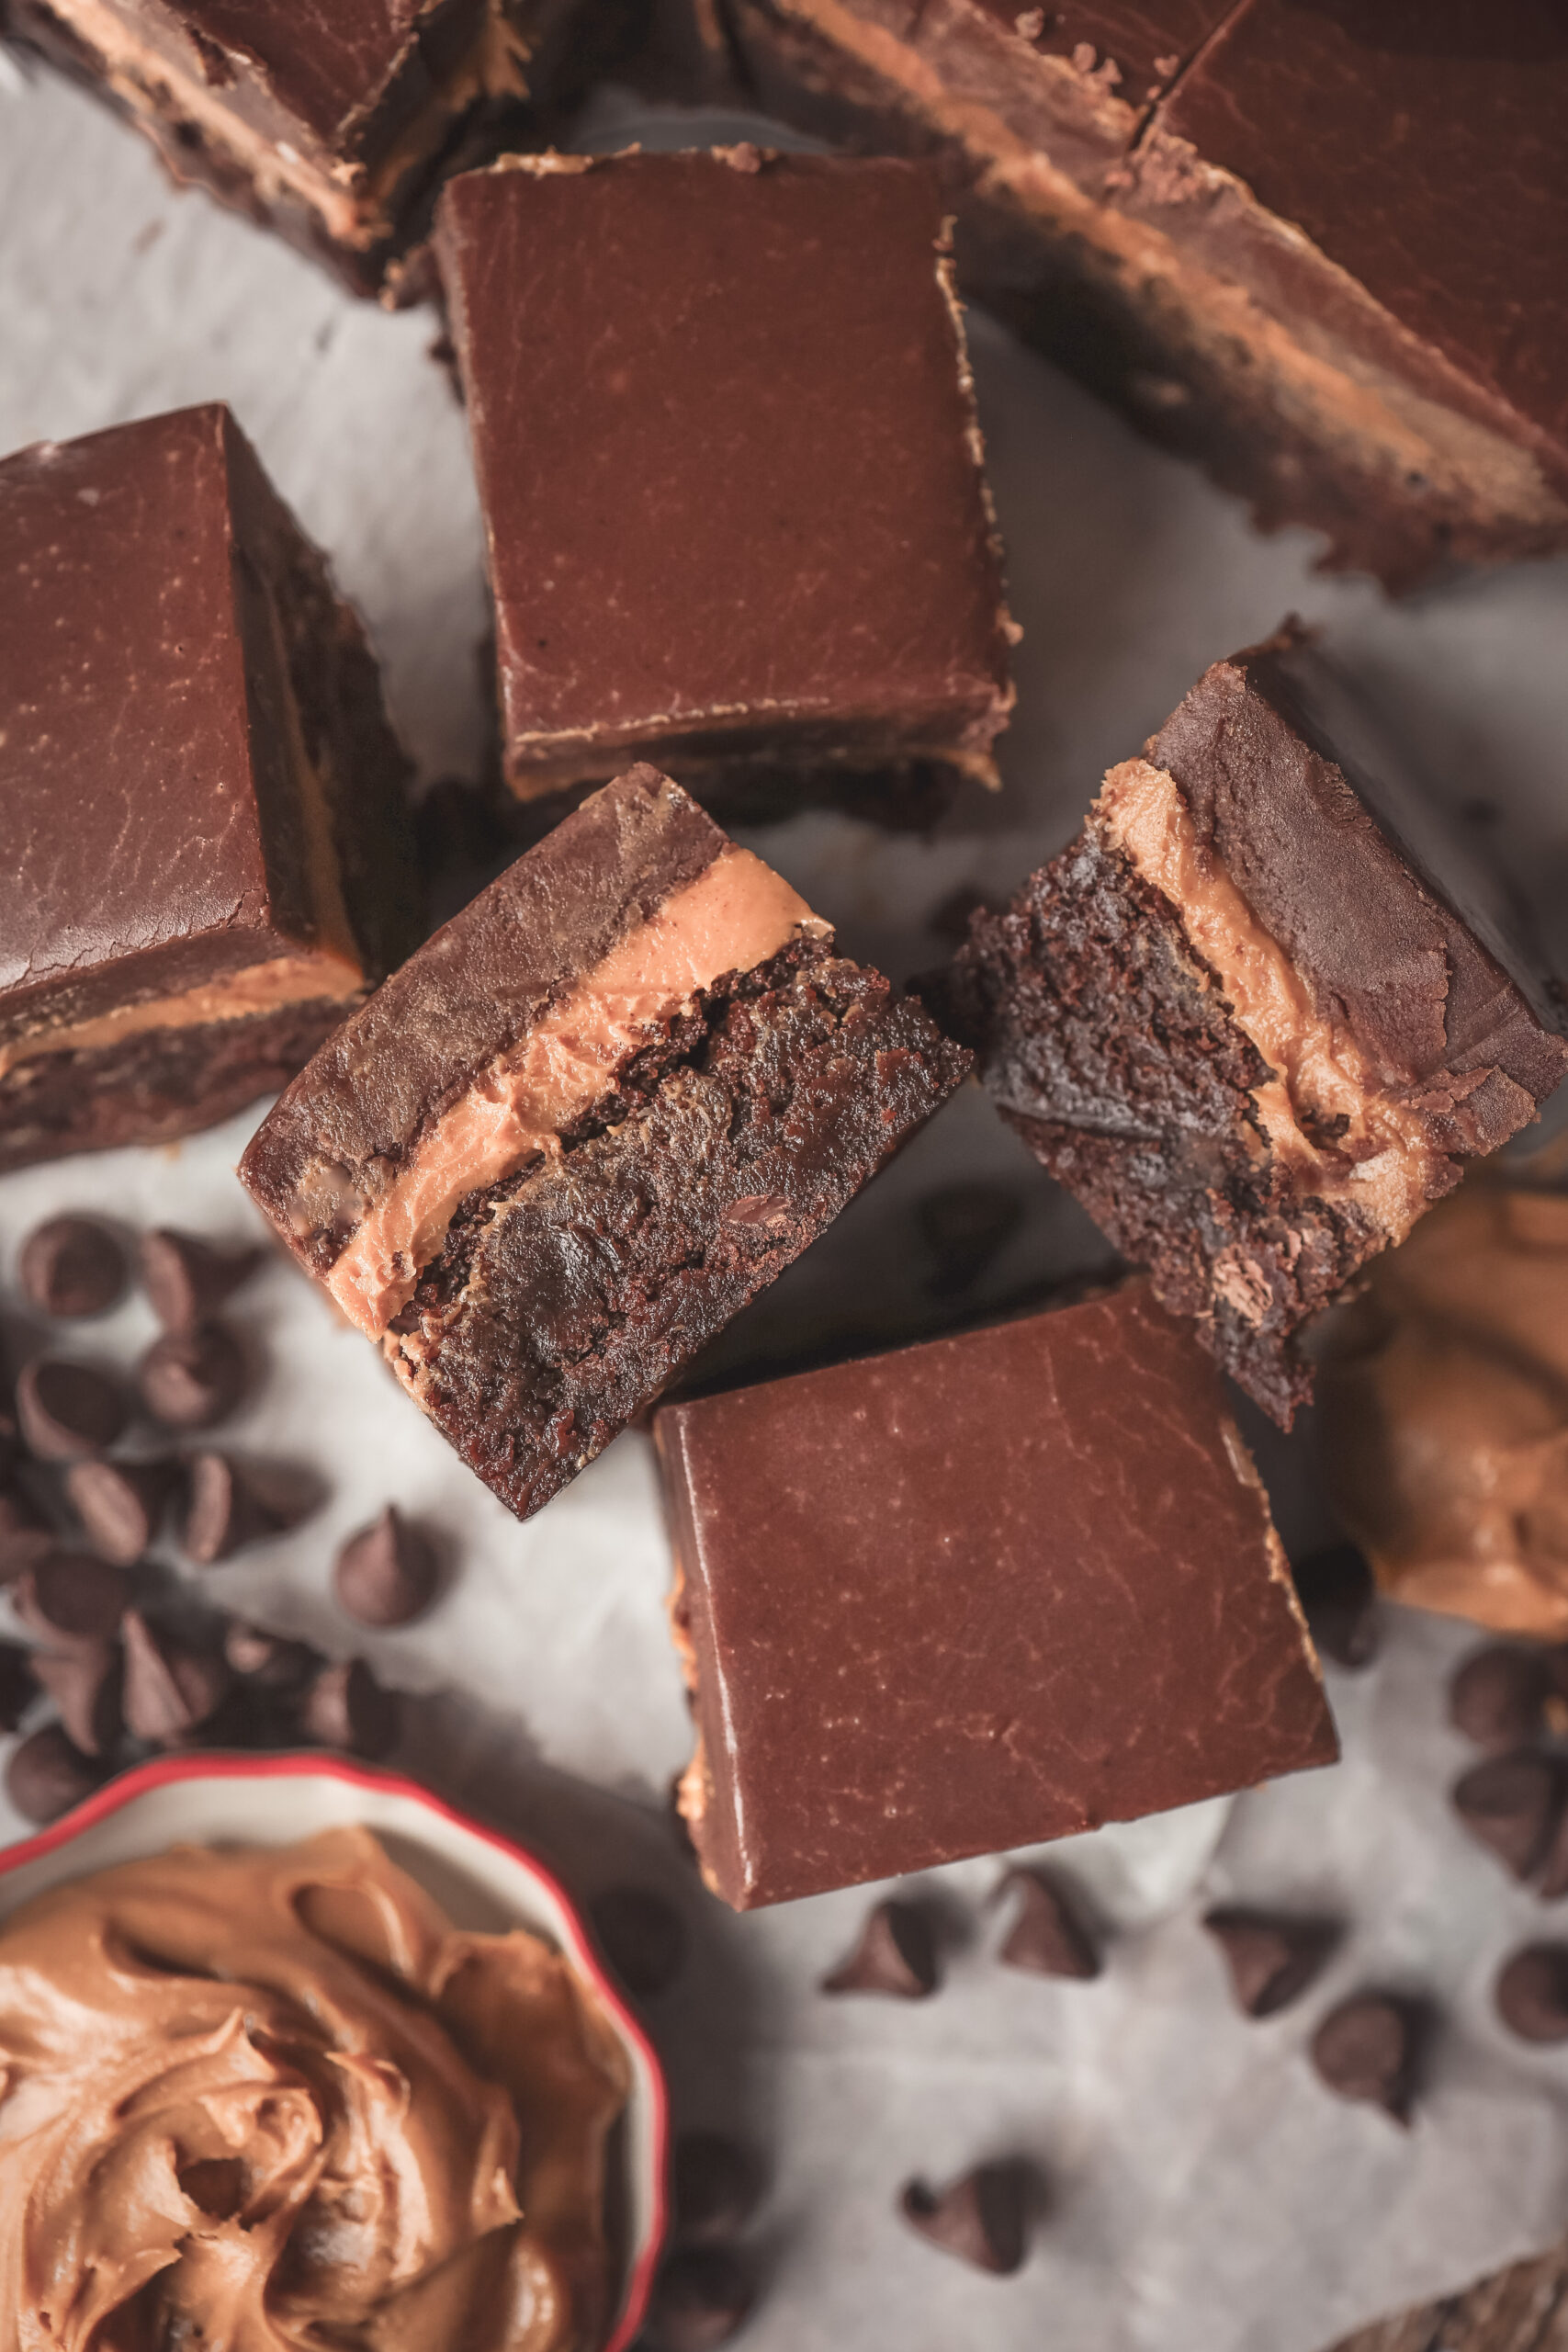
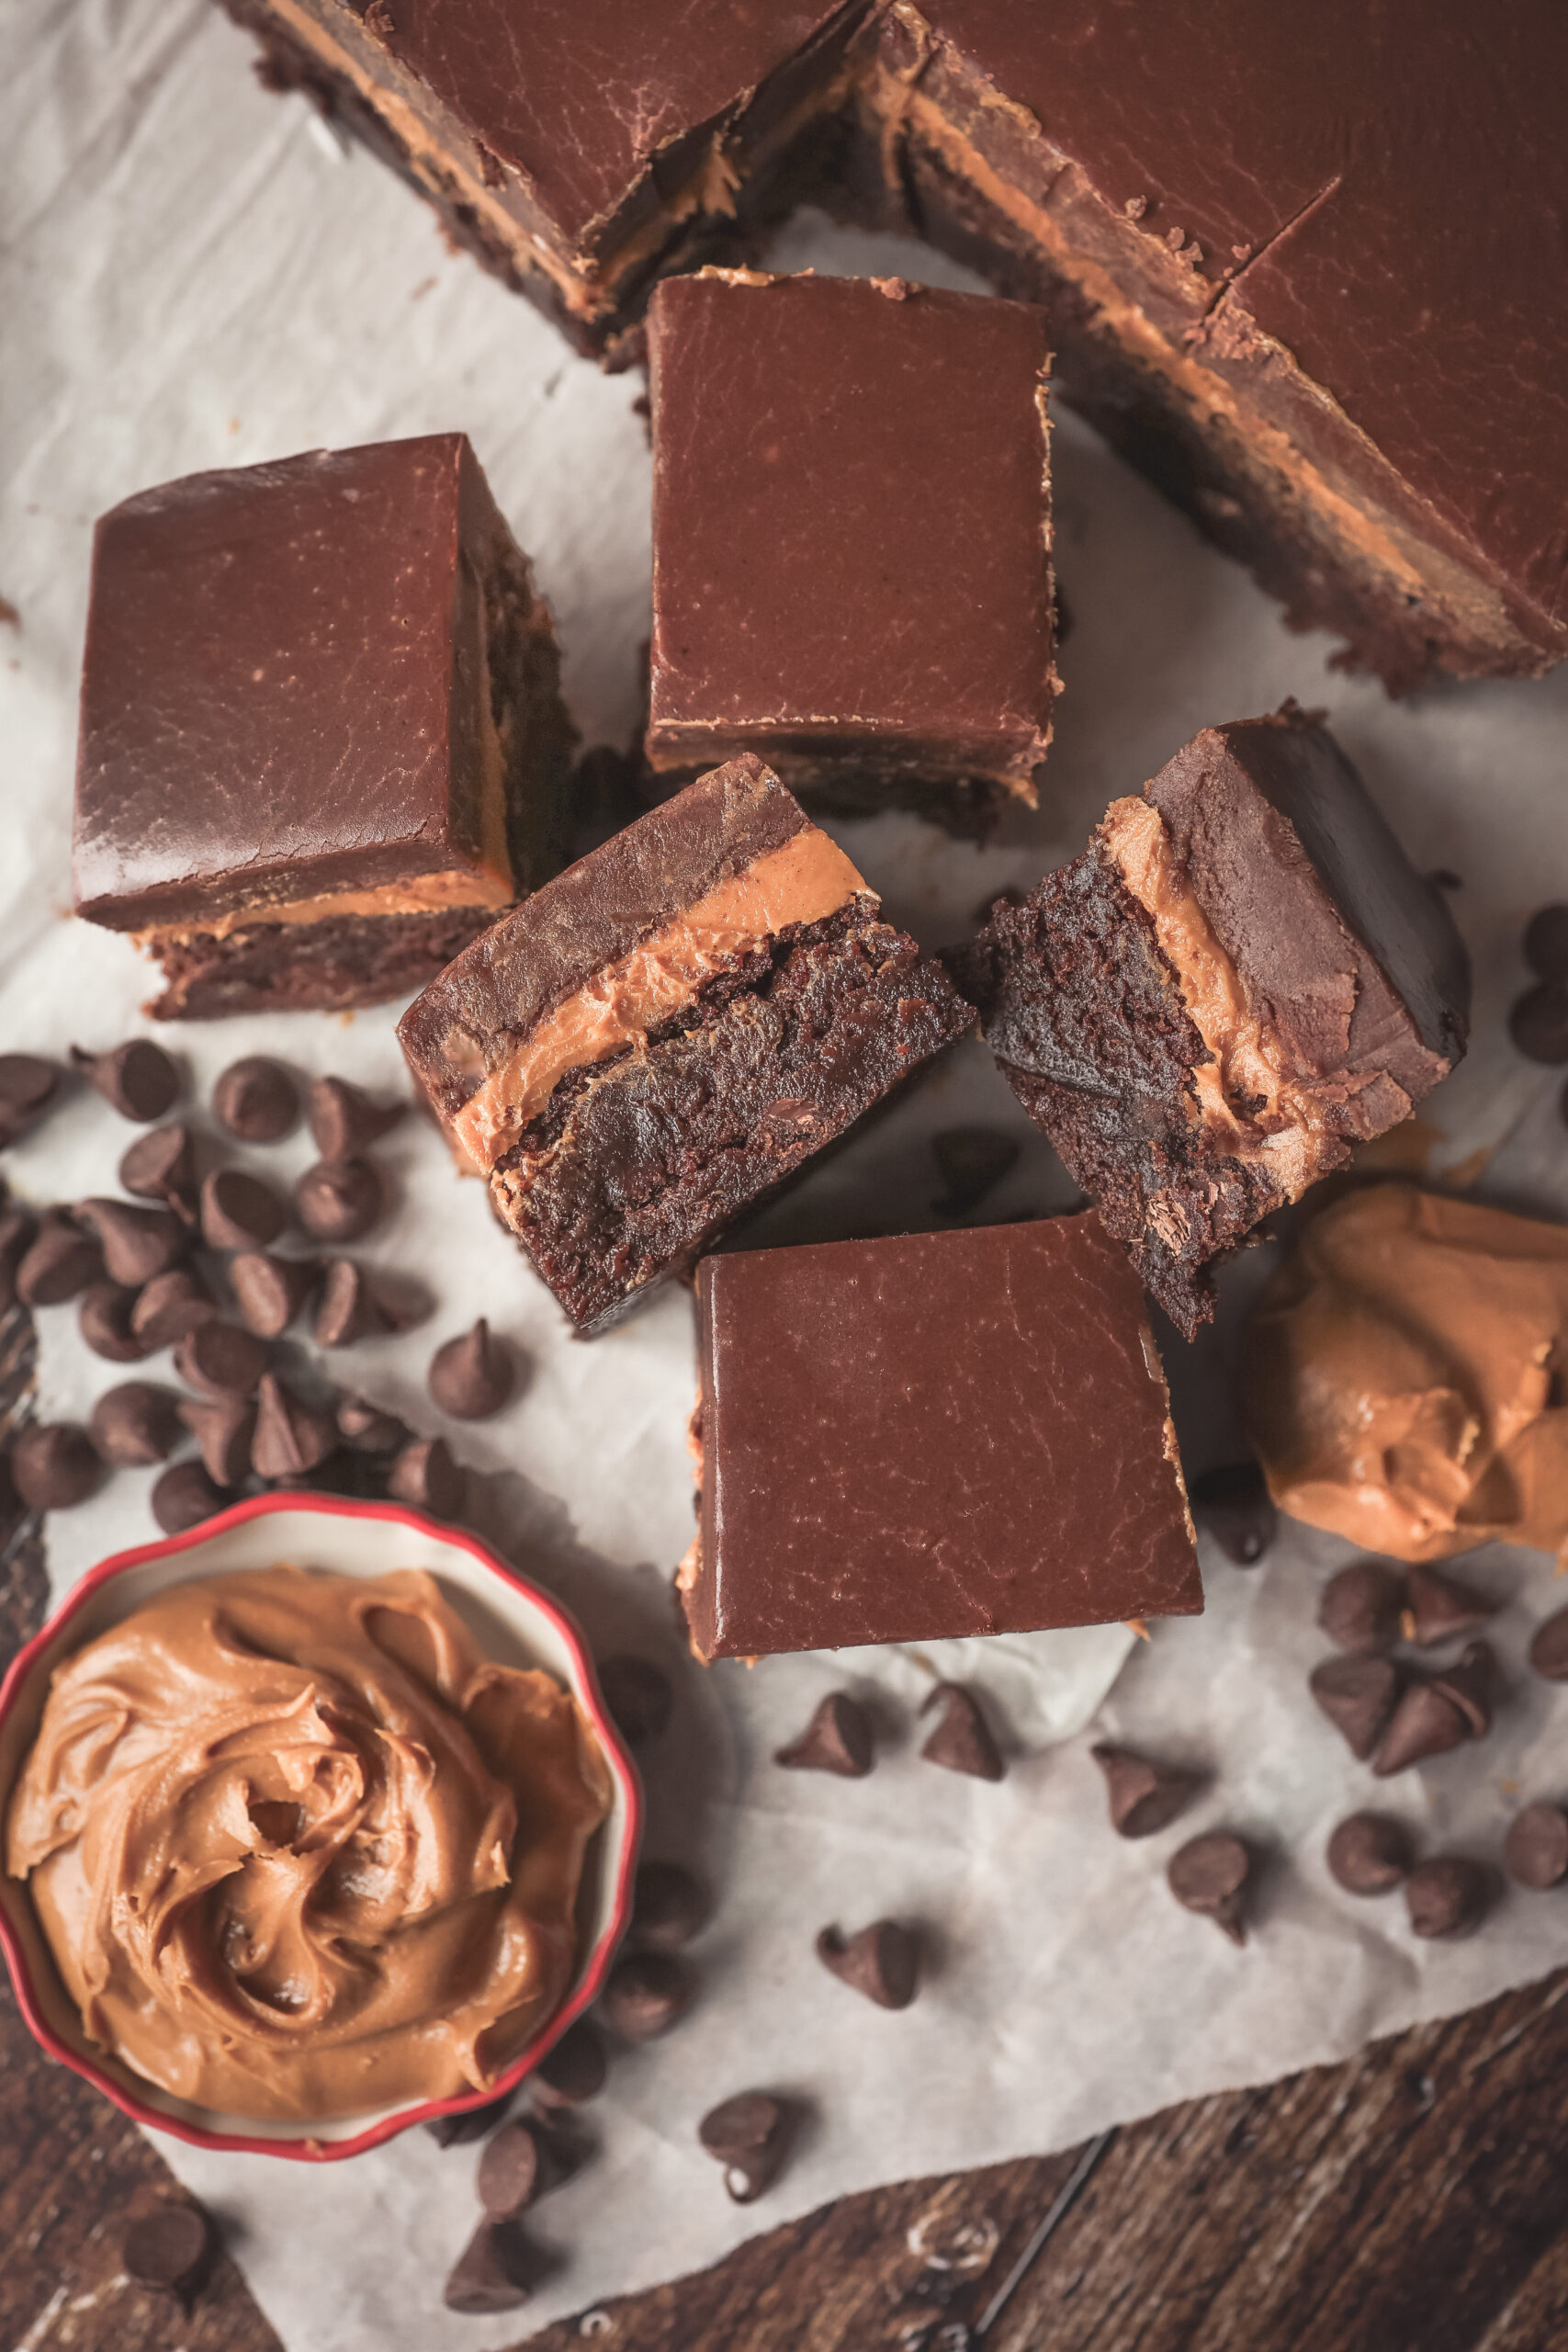
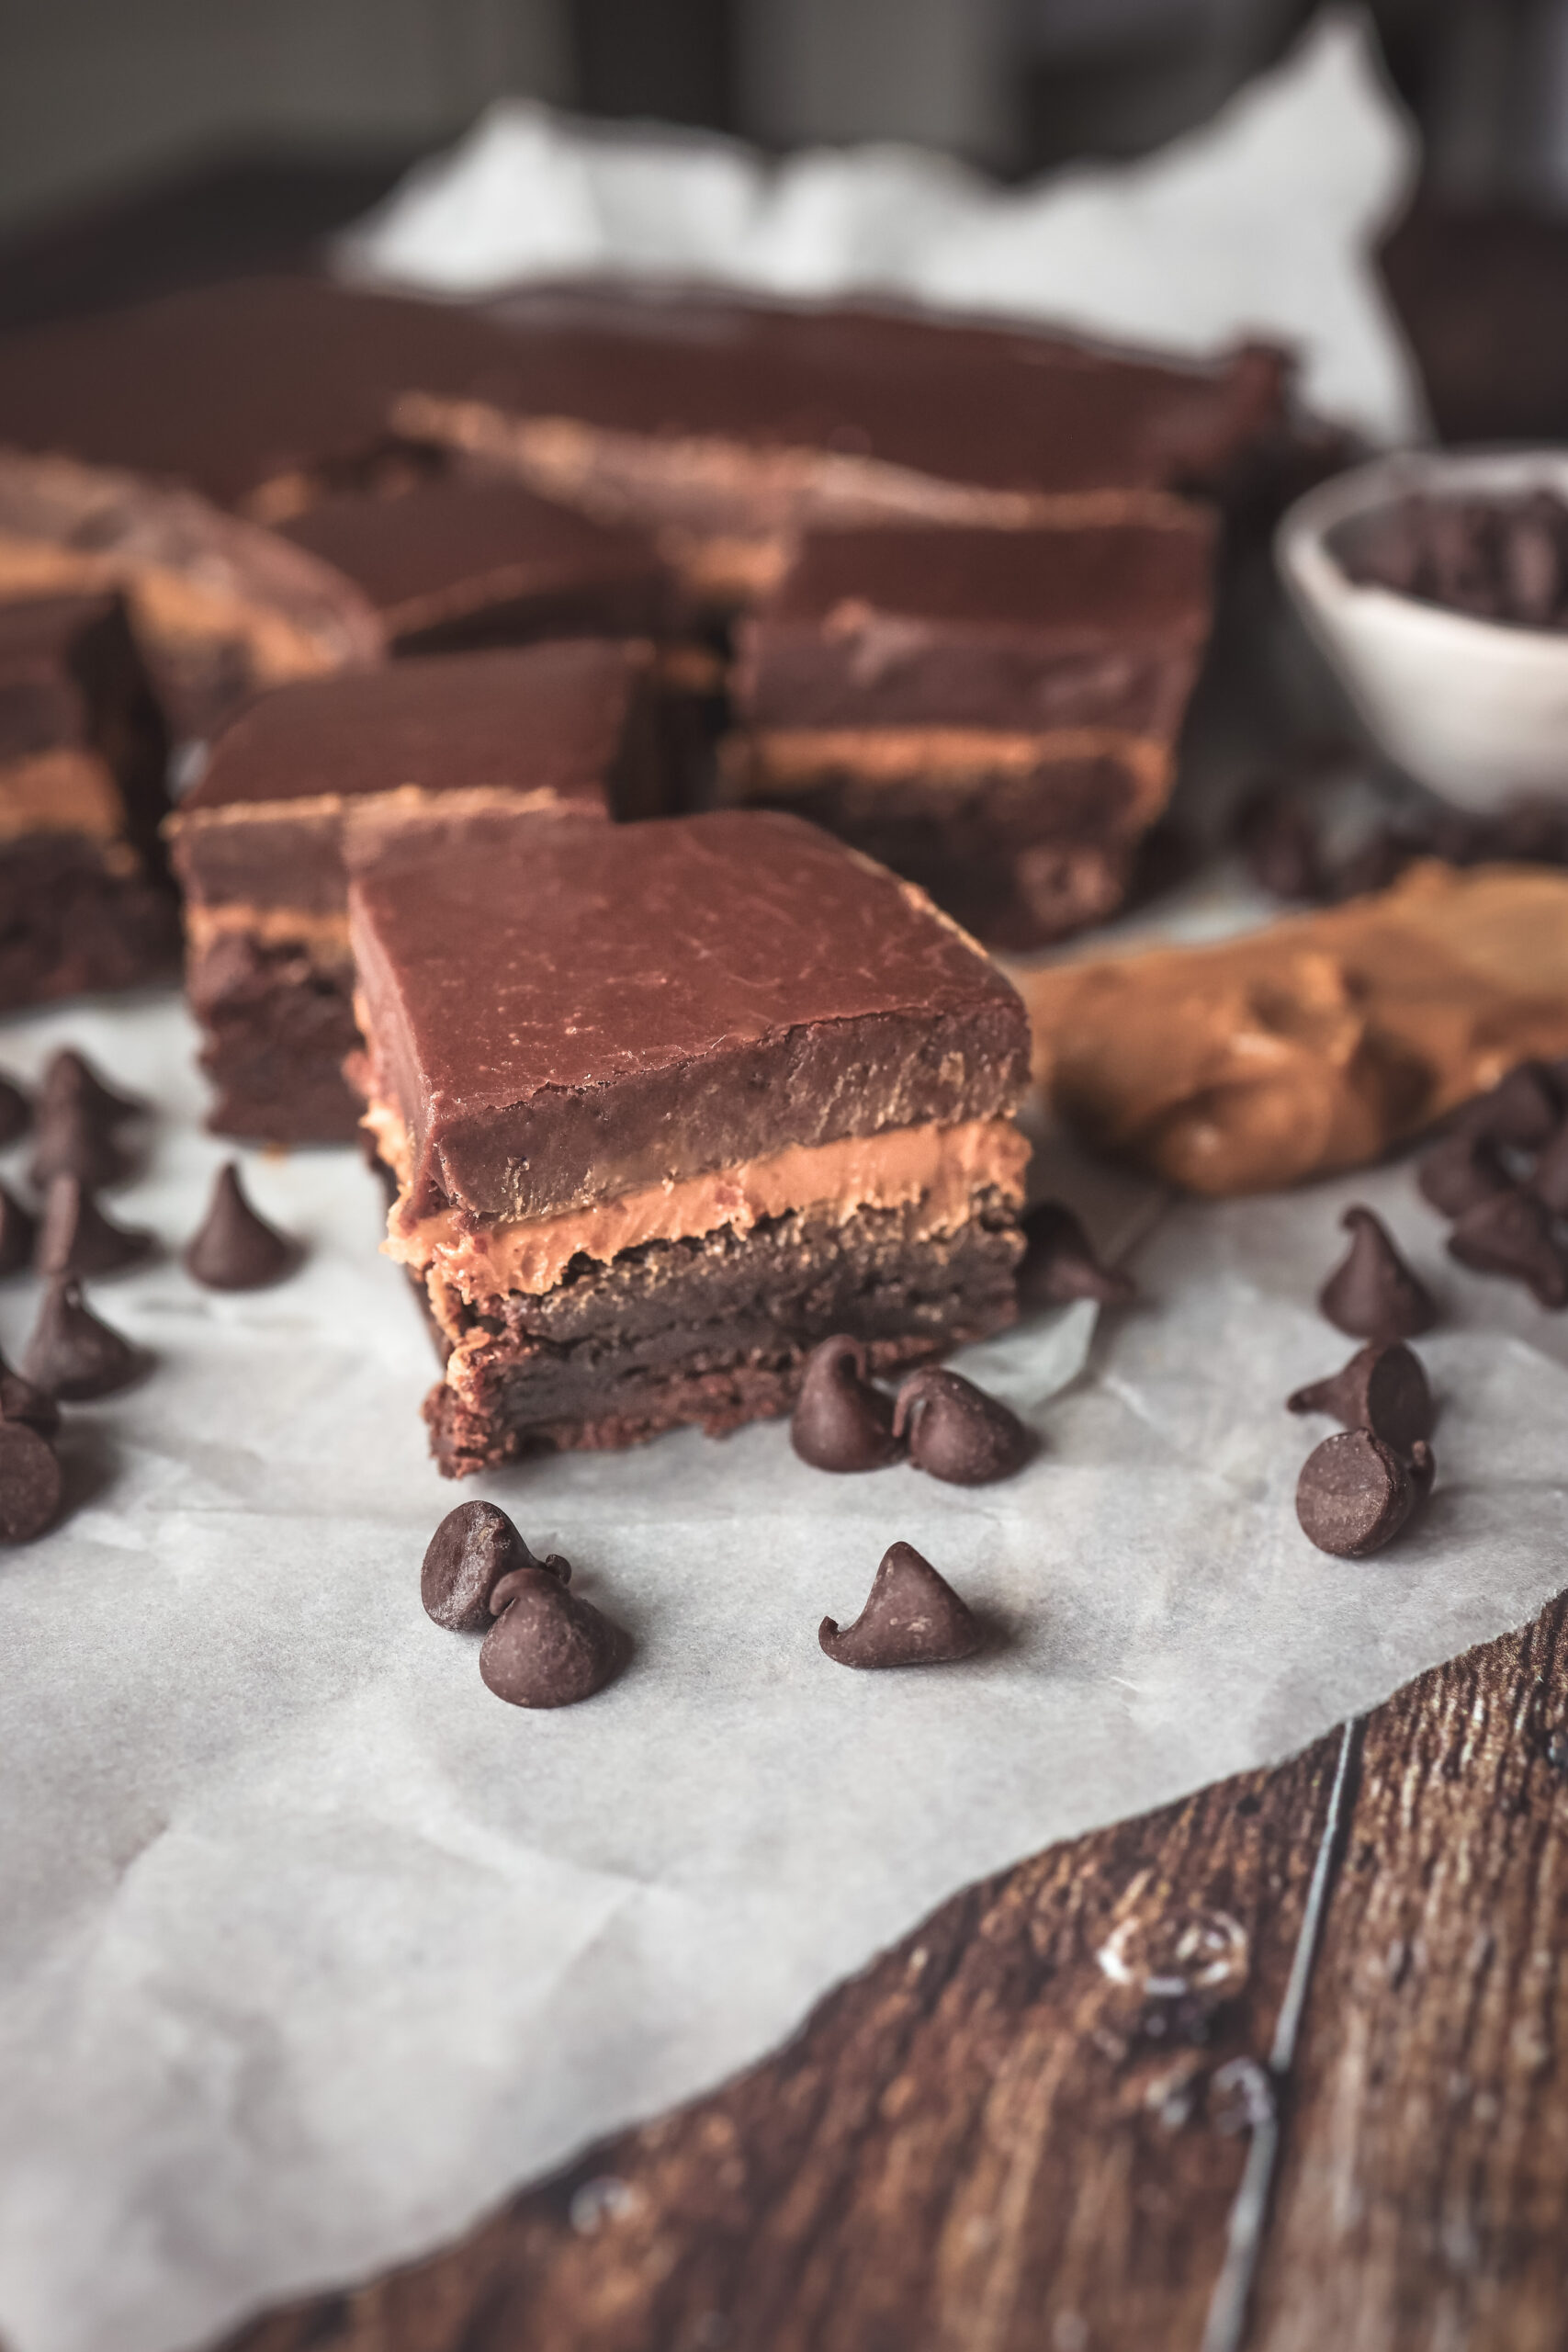
Peanut Butter Brownies
These Peanut Butter Brownies taste like a giant homemade peanut butter cup with layers of fudgy brownies, creamy peanut butter, and rich chocolate frosting. They start with a simple box brownie mix, which makes them incredibly easy while still tasting completely homemade!
Ingredients
Brownie Layer
Box Brownie Mix (I love the Ghiradelli Brand) or I love these Easy Homemade Brownies
Peanut Butter Layer
One 16oz jar creamy peanut butter
Fudgy Frosting
8 tablespoons (1 stick) unsalted butter
10 large marshmallows
4 cups powdered sugar
1/3 cup whole milk
1/4 cup unsweetened cocoa powder
Instructions
1. Prepare for baking: Preheat the oven according to the brownie mix package directions. Line an 8×8 baking dish with parchment paper for thicker brownies and more defined layers, or use a 9×13 baking dish if you want thinner brownies. Lightly spray the parchment paper or baking dish with nonstick cooking spray.
2. Bake the brownies: Prepare the boxed brownie mix according to the package instructions and pour the batter into the prepared baking dish. Bake until the brownies are set in the center and a toothpick comes out with just a few moist crumbs. Let the brownies cool completely before adding the peanut butter layer so the layers stay separate and clean.
3. Soften the peanut butter layer: Add the 16oz jar of creamy peanut butter to a microwave safe bowl and heat for 15-30 seconds until softened and easy to stir. The peanut butter should be loose enough to spread easily without being hot or oily. Pour the peanut butter over the cooled brownies and use an offset spatula or the back of a spoon to spread it into an even layer all the way to the edges.
4. Chill the brownies: Transfer the brownies to the freezer for 20-30 minutes so the peanut butter layer can firm up before adding the frosting. This helps keep the layers neat and prevents the warm frosting from mixing into the peanut butter.
5. Make the chocolate frosting: In a medium saucepan over medium heat, melt the 1 stick of butter and 10 marshmallows together, stirring frequently until smooth. Reduce the heat to low and whisk in the 4 cups powdered sugar, 1/3 cup milk, and 1/4 cup cocoa powder until the frosting is thick, smooth, and fully combined with no dry spots remaining.
6. Add the frosting layer: Remove the brownies from the freezer and immediately pour the warm chocolate frosting over the peanut butter layer. Spread the frosting evenly across the top while it is still warm since it begins to set as it cools.
7. Chill and slice: Return the brownies to the freezer for another 20-30 minutes until the frosting is set. Once chilled, lift the brownies out of the pan using the parchment paper and cut into squares using a sharp knife. Store the brownies in the refrigerator until ready to serve. Enjoy!
Notes
-
Let the brownies cool longer than you think you need to. Even slightly warm brownies can melt the peanut butter layer and make the layers slide around when slicing. I usually give them at least an hour on the counter before moving on.
-
Warm the peanut butter in short bursts. Peanut butter goes from perfectly spreadable to oily surprisingly fast in the microwave. Fifteen second intervals work much better than one long heating session.
-
Cut the brownies straight from the refrigerator. Cold brownies slice much cleaner and keep those peanut butter and chocolate layers looking neat.