


Print
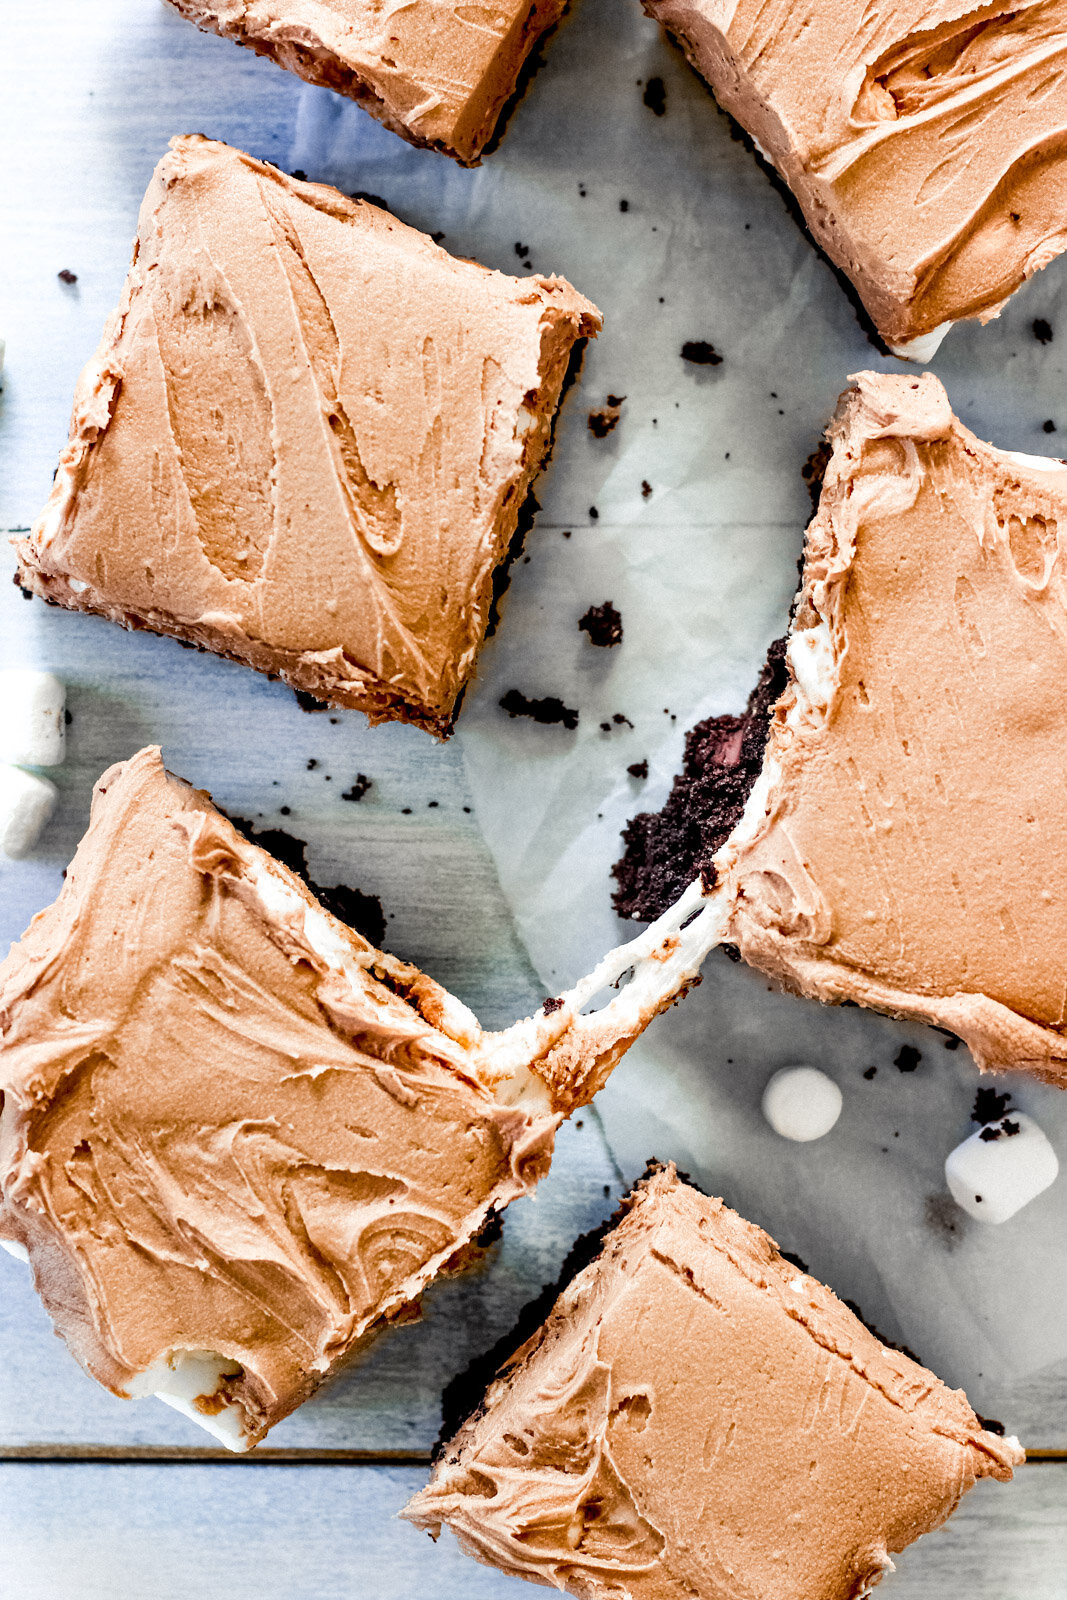
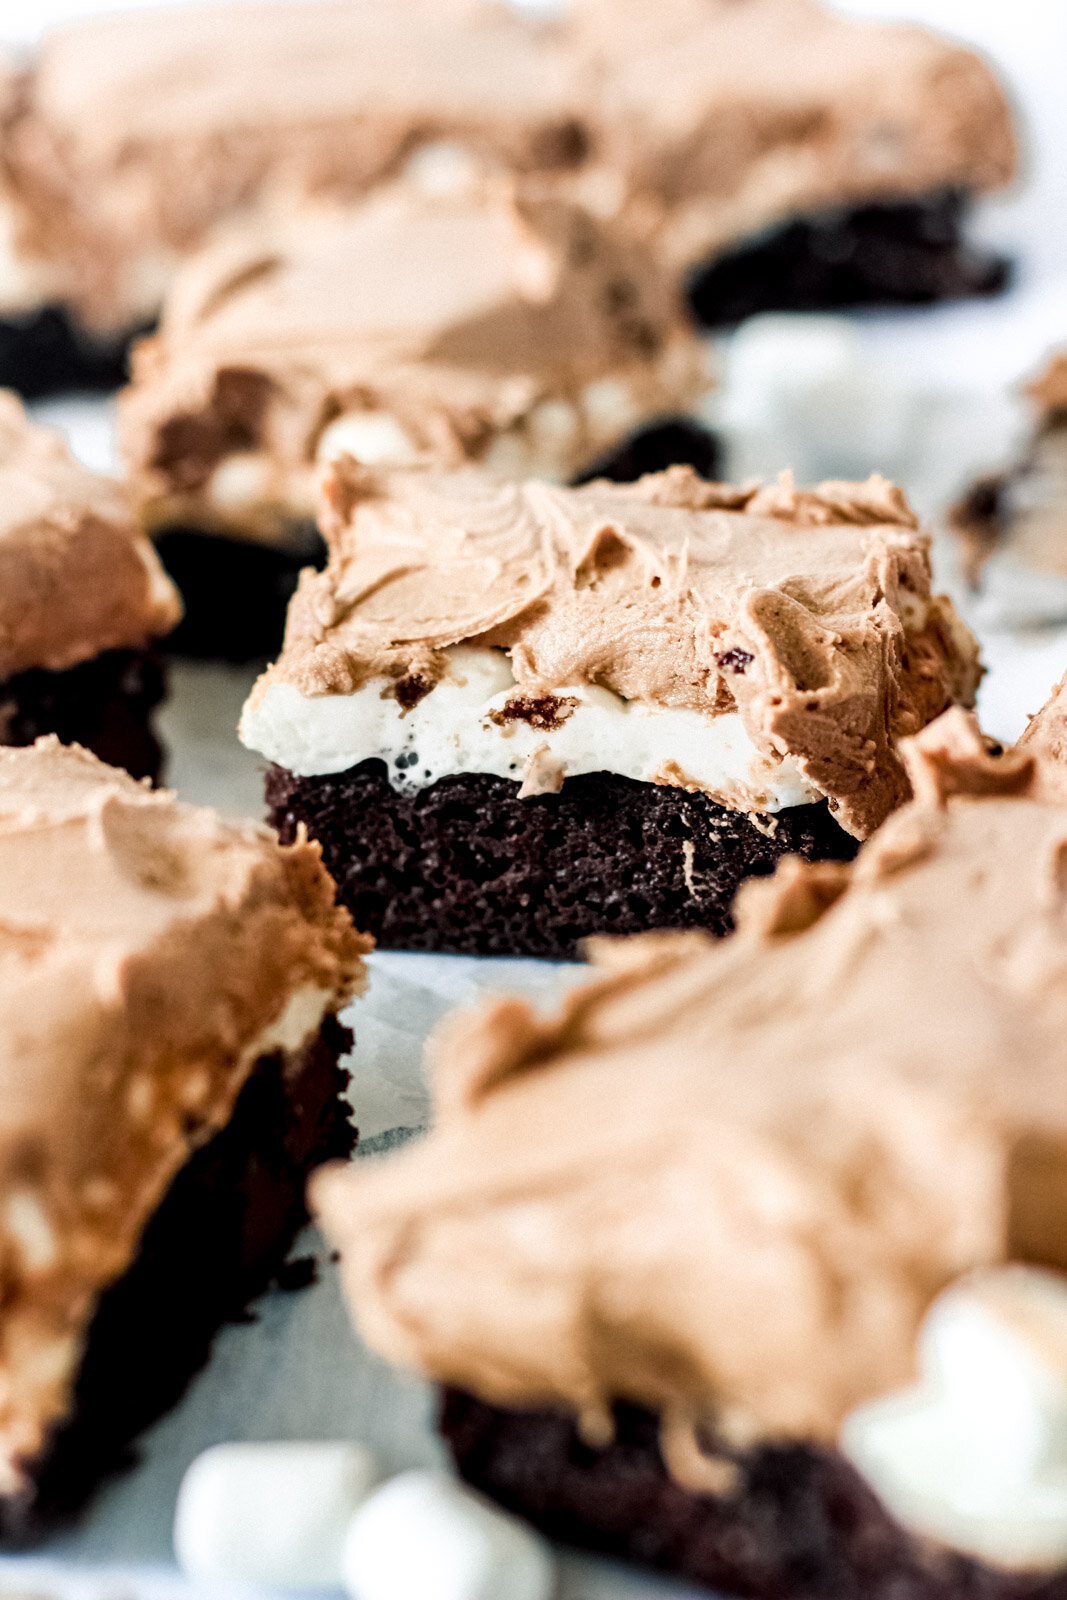
Marshmallow Brownies
A great combo of melty marshmallows and fudgy brownies. Easy to make and always a big hit.
Ingredients
1 Brownie Box Mix (I suggest Ghiradhelli brand) or make your own with my favorite homemade brownie recipe here.
mini marshmallows
Chocolate Frosting
3/4 cup (1 1/2 sticks) butter, room temperature
2 cups powdered sugar
1/4 teaspoon kosher salt
1/2 cup cocoa powder
2–3 Tablespoons milk
Instructions
- Make the brownies according to the box instructions. (or from the homemade recipe instructions)
- Remove from oven and sprinkle mini marshmallows all over the top of the brownies. Place back in the oven for 3 minutes or until soft and puffy. Remove and let cool completely before icing.
- Frosting: In a stand mixer, mix butter on high speed for 1-2 minutes. Add powdered sugar and salt, mix again on low until combined. Add cocoa powder and milk, mix again until fully combined and smooth.
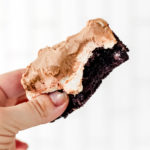
- Spread frosting over cooled brownies. Cut and enjoy the marshmallowy goodness!
Notes

4 Responses
-
I made this for Fathers Day and they were a big hit. Easy and delicious
-
Yay! So happy you liked them!
-
-
These are addictive. I found myself sneaking little slivers of them all day. So good they are dangerous!
-
Yay! So happy you liked them!
-
4 Responses
I made this for Fathers Day and they were a big hit. Easy and delicious
Yay! So happy you liked them!
These are addictive. I found myself sneaking little slivers of them all day. So good they are dangerous!
Yay! So happy you liked them!