WHAT’S FOR DESSERT?

No Churn Marshmallow Fluff Ice Cream

Array/5
straight on view of two cones of marshmallow ice cream
COOK TIME
TOTAL TIME
10 min + freeze time
SERVINGS
2 quarts
No Churn Marshmallow Fluff Ice Cream Recipe

This No Churn Marshmallow Ice Cream is light, fluffy, and loaded with sweet marshmallow flavor in every bite. Made with just three ingredients and zero fancy equipment, it’s the kind of recipe that’s fun to make and even better to eat either on it’s own or scooped on to a warm brownie!

Can we talk about how amazing no churn ice cream is? It’s basically the best and EASIEST way to make ice cream. There’s no complicated steps, no ice cream maker, and you really just need a few simple ingredients to make any flavor you like! In this house we make it all the time because it’s so easy to whip up a batch of No Churn Cookies and Cream Ice Cream, No Churn Rainbow Ice Cream, and even No Churn Blueberry Pie Ice Cream when we’re looking for something indulgent and comforting. 


But one of my absolute favorite flavors I’ve made recently is good ole’ marshmallow fluff. Marshmallow fluff is that sticky, sweet stuff that comes in a jar. It’s smooth and creamy with marshmallow flavor, and when you fold it into no churn ice cream, it adds the perfect mix of sweetness and fluffiness. It blends right into the base but also gives little swirls of gooey goodness in every scoop, which is exactly why this flavor is such a hit. And the best part is, it only takes three simple ingredients to make, which means you can whip this up anytime!


This easy marshmallow ice cream goes so well with lots of other sweet treats too. Add it on top of a warm brownie, alongside my Grandma’s Chocolate Chip Cookies, and possibly my favorite idea, in these Graham Cracker Ice Cream Sandwiches!

Ingredients You’ll Need

  • Heavy Cream – This gives the ice cream its rich and creamy texture. Use full-fat heavy cream and make sure it’s cold before whipping so it forms stiff peaks quickly and holds its shape in the final mix.

  • Sweetened Condensed Milk – Acts as both the sweetener and the base that keeps the ice cream smooth and scoopable. Use sweetened condensed milk, not evaporated milk, which doesn’t have the sugar or the same thick consistency.

  • Marshmallow Fluff – Adds that classic marshmallow flavor and a light, fluffy texture to the ice cream. It blends into the base for extra sweetness and softness, and you can leave a few swirls if you like little bites of marshmallow.

Step By Step Instructions

Whip the heavy cream: In a large mixing bowl, pour in 2 cups of cold heavy cream. Use a handheld electric mixer or stand mixer with the whisk attachment to beat the cream on medium-high speed for 2–3 minutes, or until stiff peaks form. 

Add the sweetened condensed milk: Once the cream is whipped, gently fold in 1 can (14 ounces) of sweetened condensed milk using a spatula. Be careful not to deflate the whipped cream too much as you mix. This will keep the ice cream soft and scoopable once frozen.

Mix in the marshmallow fluff: Spoon in 1 jar (7 ounces) of marshmallow fluff. Use a spatula to start mixing it into the base, then switch to a whisk to help smooth it out. If you like little pockets of marshmallow in your ice cream, mix gently and leave a few streaks of fluff.

Transfer to a container: Pour the ice cream mixture into a freezer-safe container, loaf pan, or ice cream storage container. Smooth out the top with a spatula.

Cover and freeze: Press a piece of plastic wrap directly on top of the ice cream to help prevent ice crystals, then seal the container with a lid if using. Freeze for at least 6 hours or overnight until the ice cream is fully set.

Scoop and serve: Once frozen, remove the no churn marshmallow ice cream from the freezer and let it sit for a couple of minutes to soften slightly. Scoop into bowls or cones and enjoy on its own, or serve it with warm brownies, cookies, or as part of an ice cream sandwich.

Expert Tips


  • Use a metal or glass mixing bowl for whipping the cream because it stays colder longer and helps the cream whip up faster. Pop it in the freezer for 10 minutes before starting if your kitchen is warm.

  • Don’t rush the whipping step as stiff peaks mean the cream holds its shape and creates that light, airy base. If it’s too soft, the ice cream won’t have the same fluffy texture.

  • Fold gently when mixing in the sweetened condensed milk so you don’t deflate all that whipped cream. 

  • Warming the marshmallow fluff for 10–15 seconds in the microwave makes it easier to scoop and fold into the mixture without overmixing.

  • Use a flexible silicone spatula for folding and scraping down the sides of the bowl.

  • If you’re short on time, spread the mixture into a shallow container to help it freeze faster. A loaf pan works, but a wider container gives more surface area for quicker freezing.

  • Pressing plastic wrap directly onto the surface of the ice cream keeps ice crystals from forming.

  • Freeze the ice cream overnight if you want perfectly scoopable results the next day. Six hours is the minimum, but longer freeze time improves the texture.

  • Let the ice cream sit at room temperature for 3–5 minutes before scooping. It softens just enough to make scooping smoother without melting too quickly.

Ways To Customize

  • Fold in crushed graham crackers and a handful of mini chocolate chips to turn this into a s’mores ice cream.

  • Add a swirl of peanut butter or cookie butter for a salty-sweet combo that pairs great with the marshmallow base.

  • Mix in crushed Oreos for a cookies and cream twist with gooey marshmallow swirls.

  • Stir in chopped candy bars like Snickers or Milky Way for fun pieces of caramel, chocolate, and crunch.

  • Add a splash of vanilla extract to boost the overall flavor and balance the sweetness.

  • Fold in rainbow sprinkles and mini marshmallows for a funfetti-style ice cream that’s great for birthdays.

  • Layer the ice cream base with fudge sauce in a loaf pan for a ripple when scooped.

  • Folding in freshly chopped fruit like berries is a great way to add color, texture, and a fresh flavor.

Storing & Freezing

After mixing the marshmallow ice cream, transfer it to a freezer-safe container like a loaf pan, Tupperware container with a tight-fitting lid, or a reusable ice cream container. My favorite container to use for freezing and storing homemade ice cream is this one from Tovolo. Press a piece of plastic wrap directly onto the surface of the ice cream before sealing to help prevent ice crystals from forming. Freeze for at least 6 hours or overnight until fully set. Once frozen, the ice cream can be scooped and served straight from the container. If you have leftovers, smooth out the top with a spatula before re-covering to help maintain freshness. Store any remaining ice cream in the freezer and use within 2 to 3 weeks for the best flavor and texture. Let it sit at room temperature for a few minutes before scooping if it feels too firm.

FAQ

Can you use milk instead of heavy cream?

You can use milk, but the texture and richness will be noticeably different. Milk doesn’t whip like heavy cream, so the ice cream will freeze harder and won’t have the same creamy, scoopable consistency.

Can I make no churn ice cream without a hand mixer?
Yes, you can use a stand mixer or whisk by hand, though whisking by hand will take longer and use a lot more effort to reach stiff peaks.

How long does no churn ice cream take to freeze?
It needs at least 6 hours in the freezer, but overnight is best for a firm, scoopable texture.

Can I use homemade marshmallow fluff instead of store-bought?
Yes, homemade marshmallow fluff works just as well. Just make sure it has a similar consistency so it folds into the ice cream base smoothly.

Why is my ice cream icy instead of creamy?
Too much water content or overmixing can lead to ice crystals. Using full-fat heavy cream and properly folding ingredients helps keep it smooth.

Can I refreeze melted no churn ice cream?
You can, but the texture may not be the same once it refreezes. It’s best to freeze it once and keep it sealed tightly between uses.

More Easy Ice Cream Recipes

overhead view of two bowls of cereal milk ice cream

Cereal Milk Ice Cream

Bubblegum No Churn Ice Cream Recipe

No Churn Bubble Gum Ice Cream

strawberry ice cream recipe

Strawberry Ice Cream

Print
overhead view of a container of marshmallow ice cream

No Churn Marshmallow Ice Cream

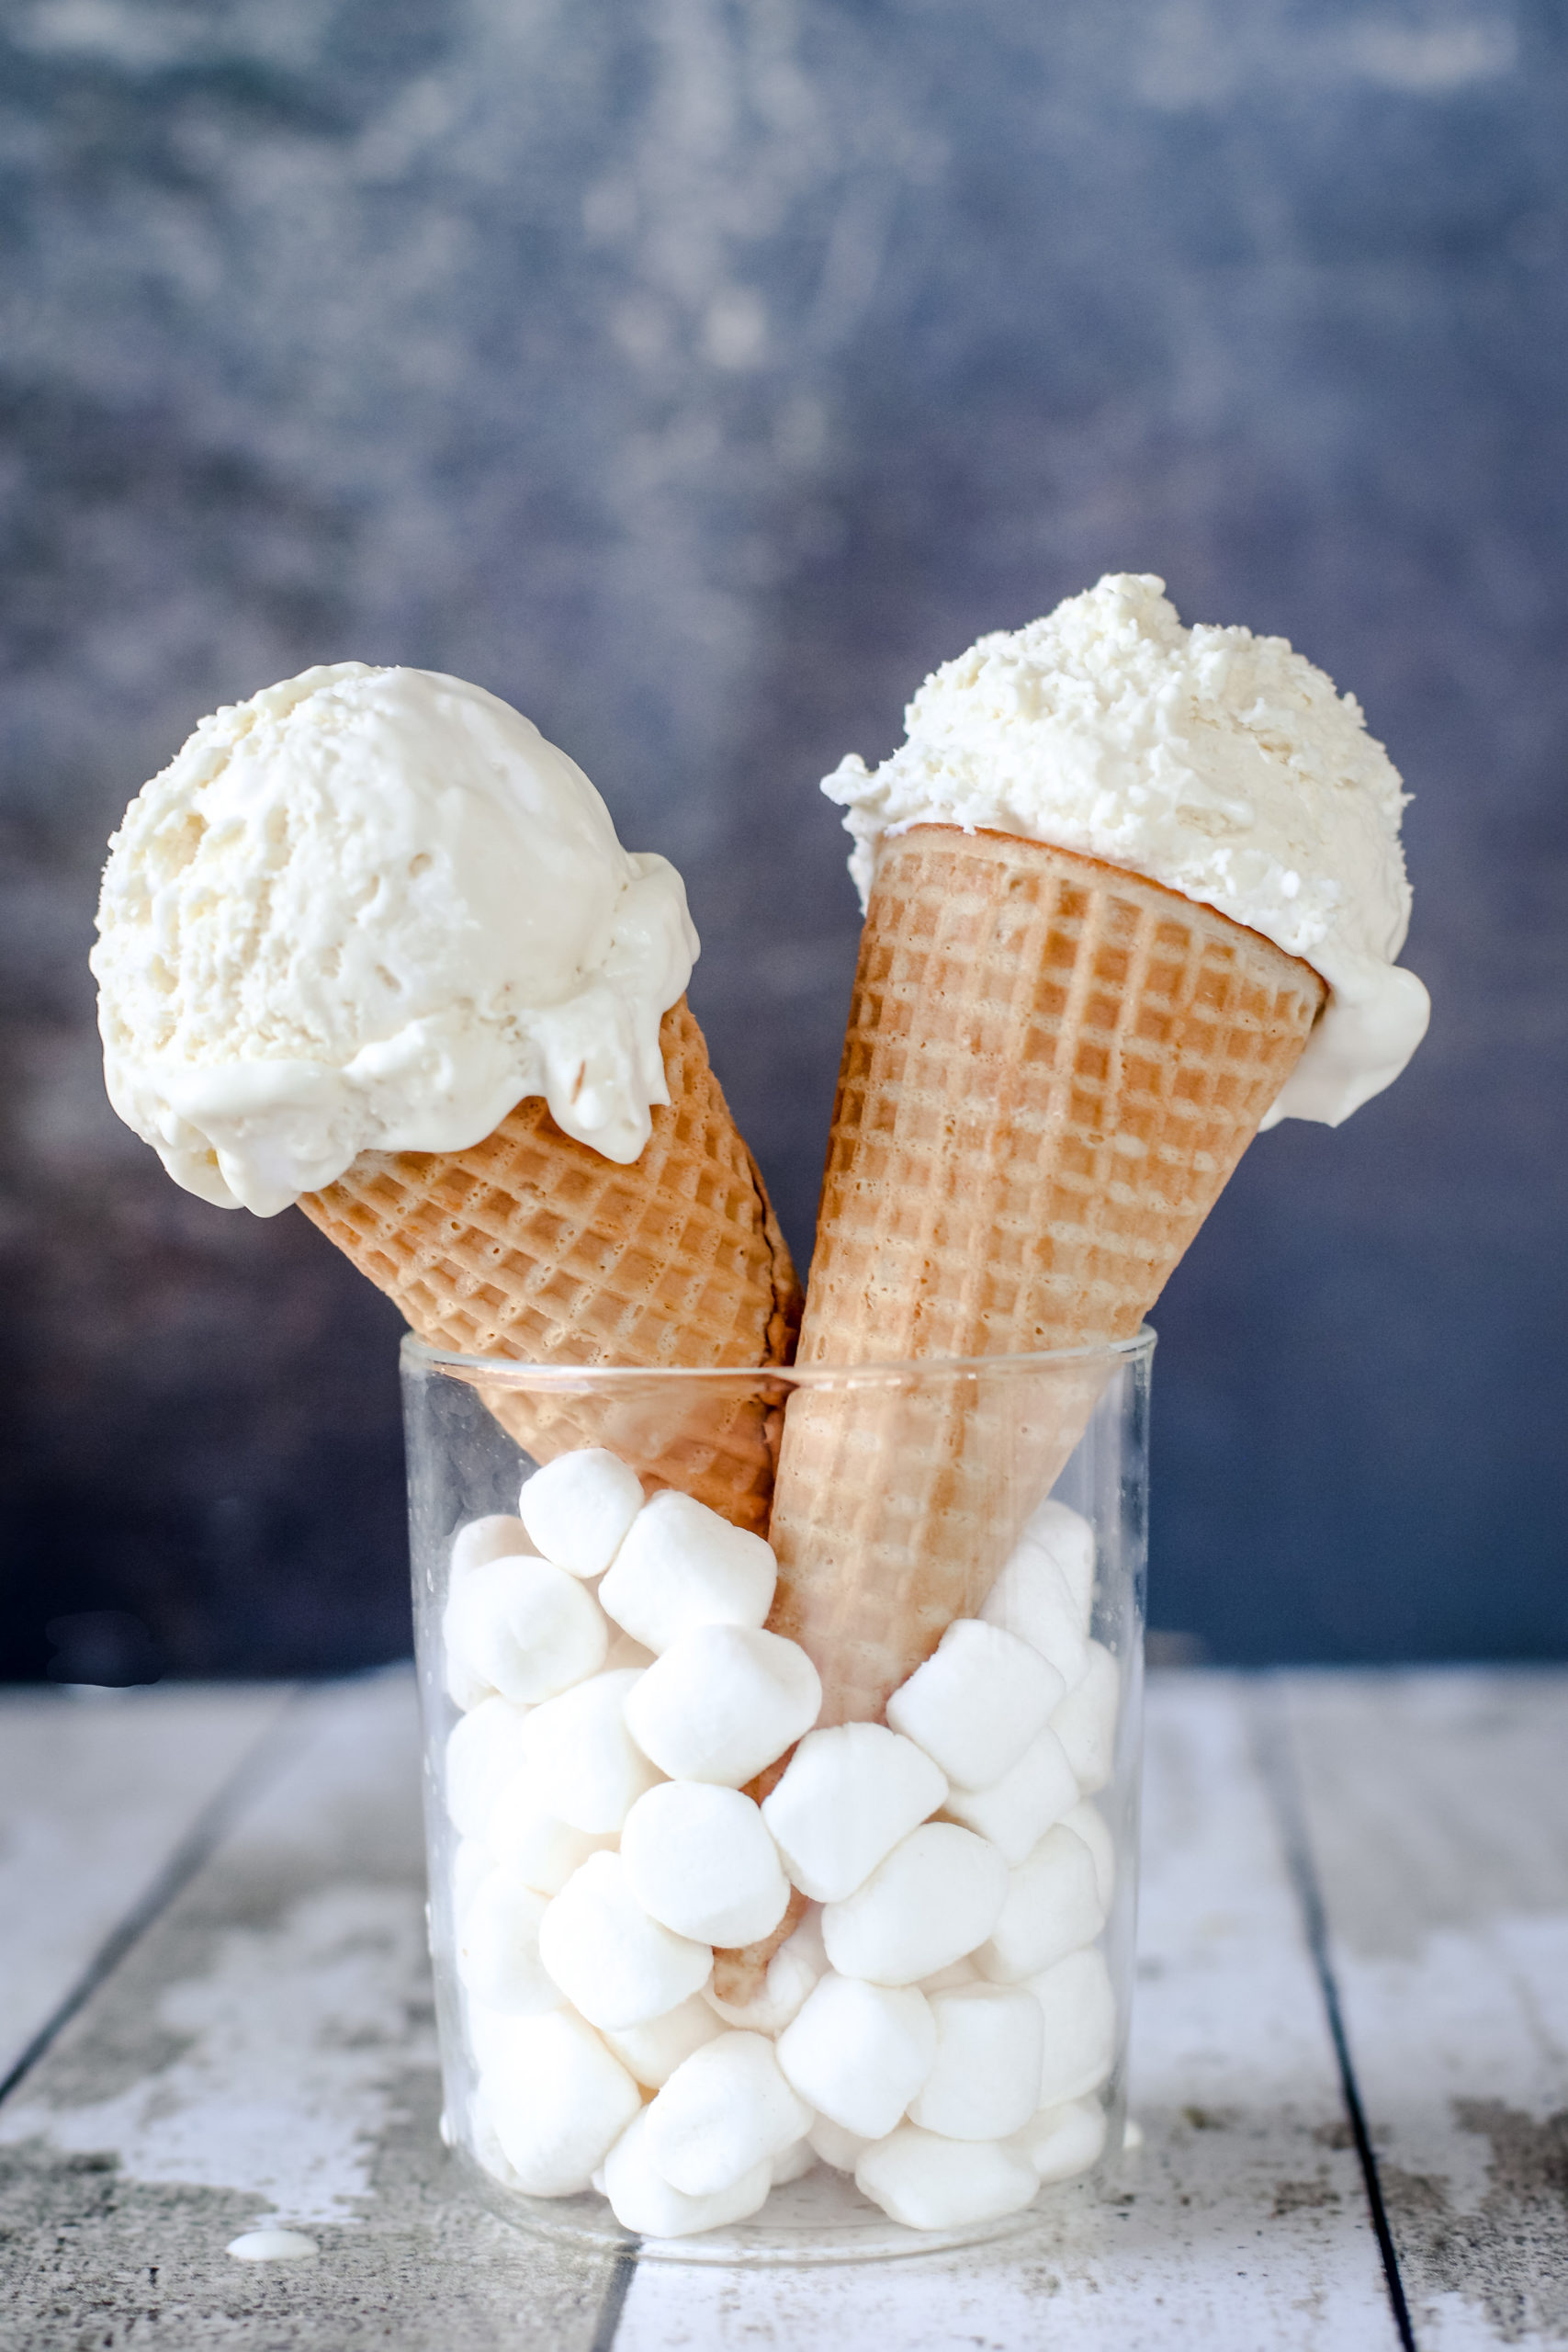
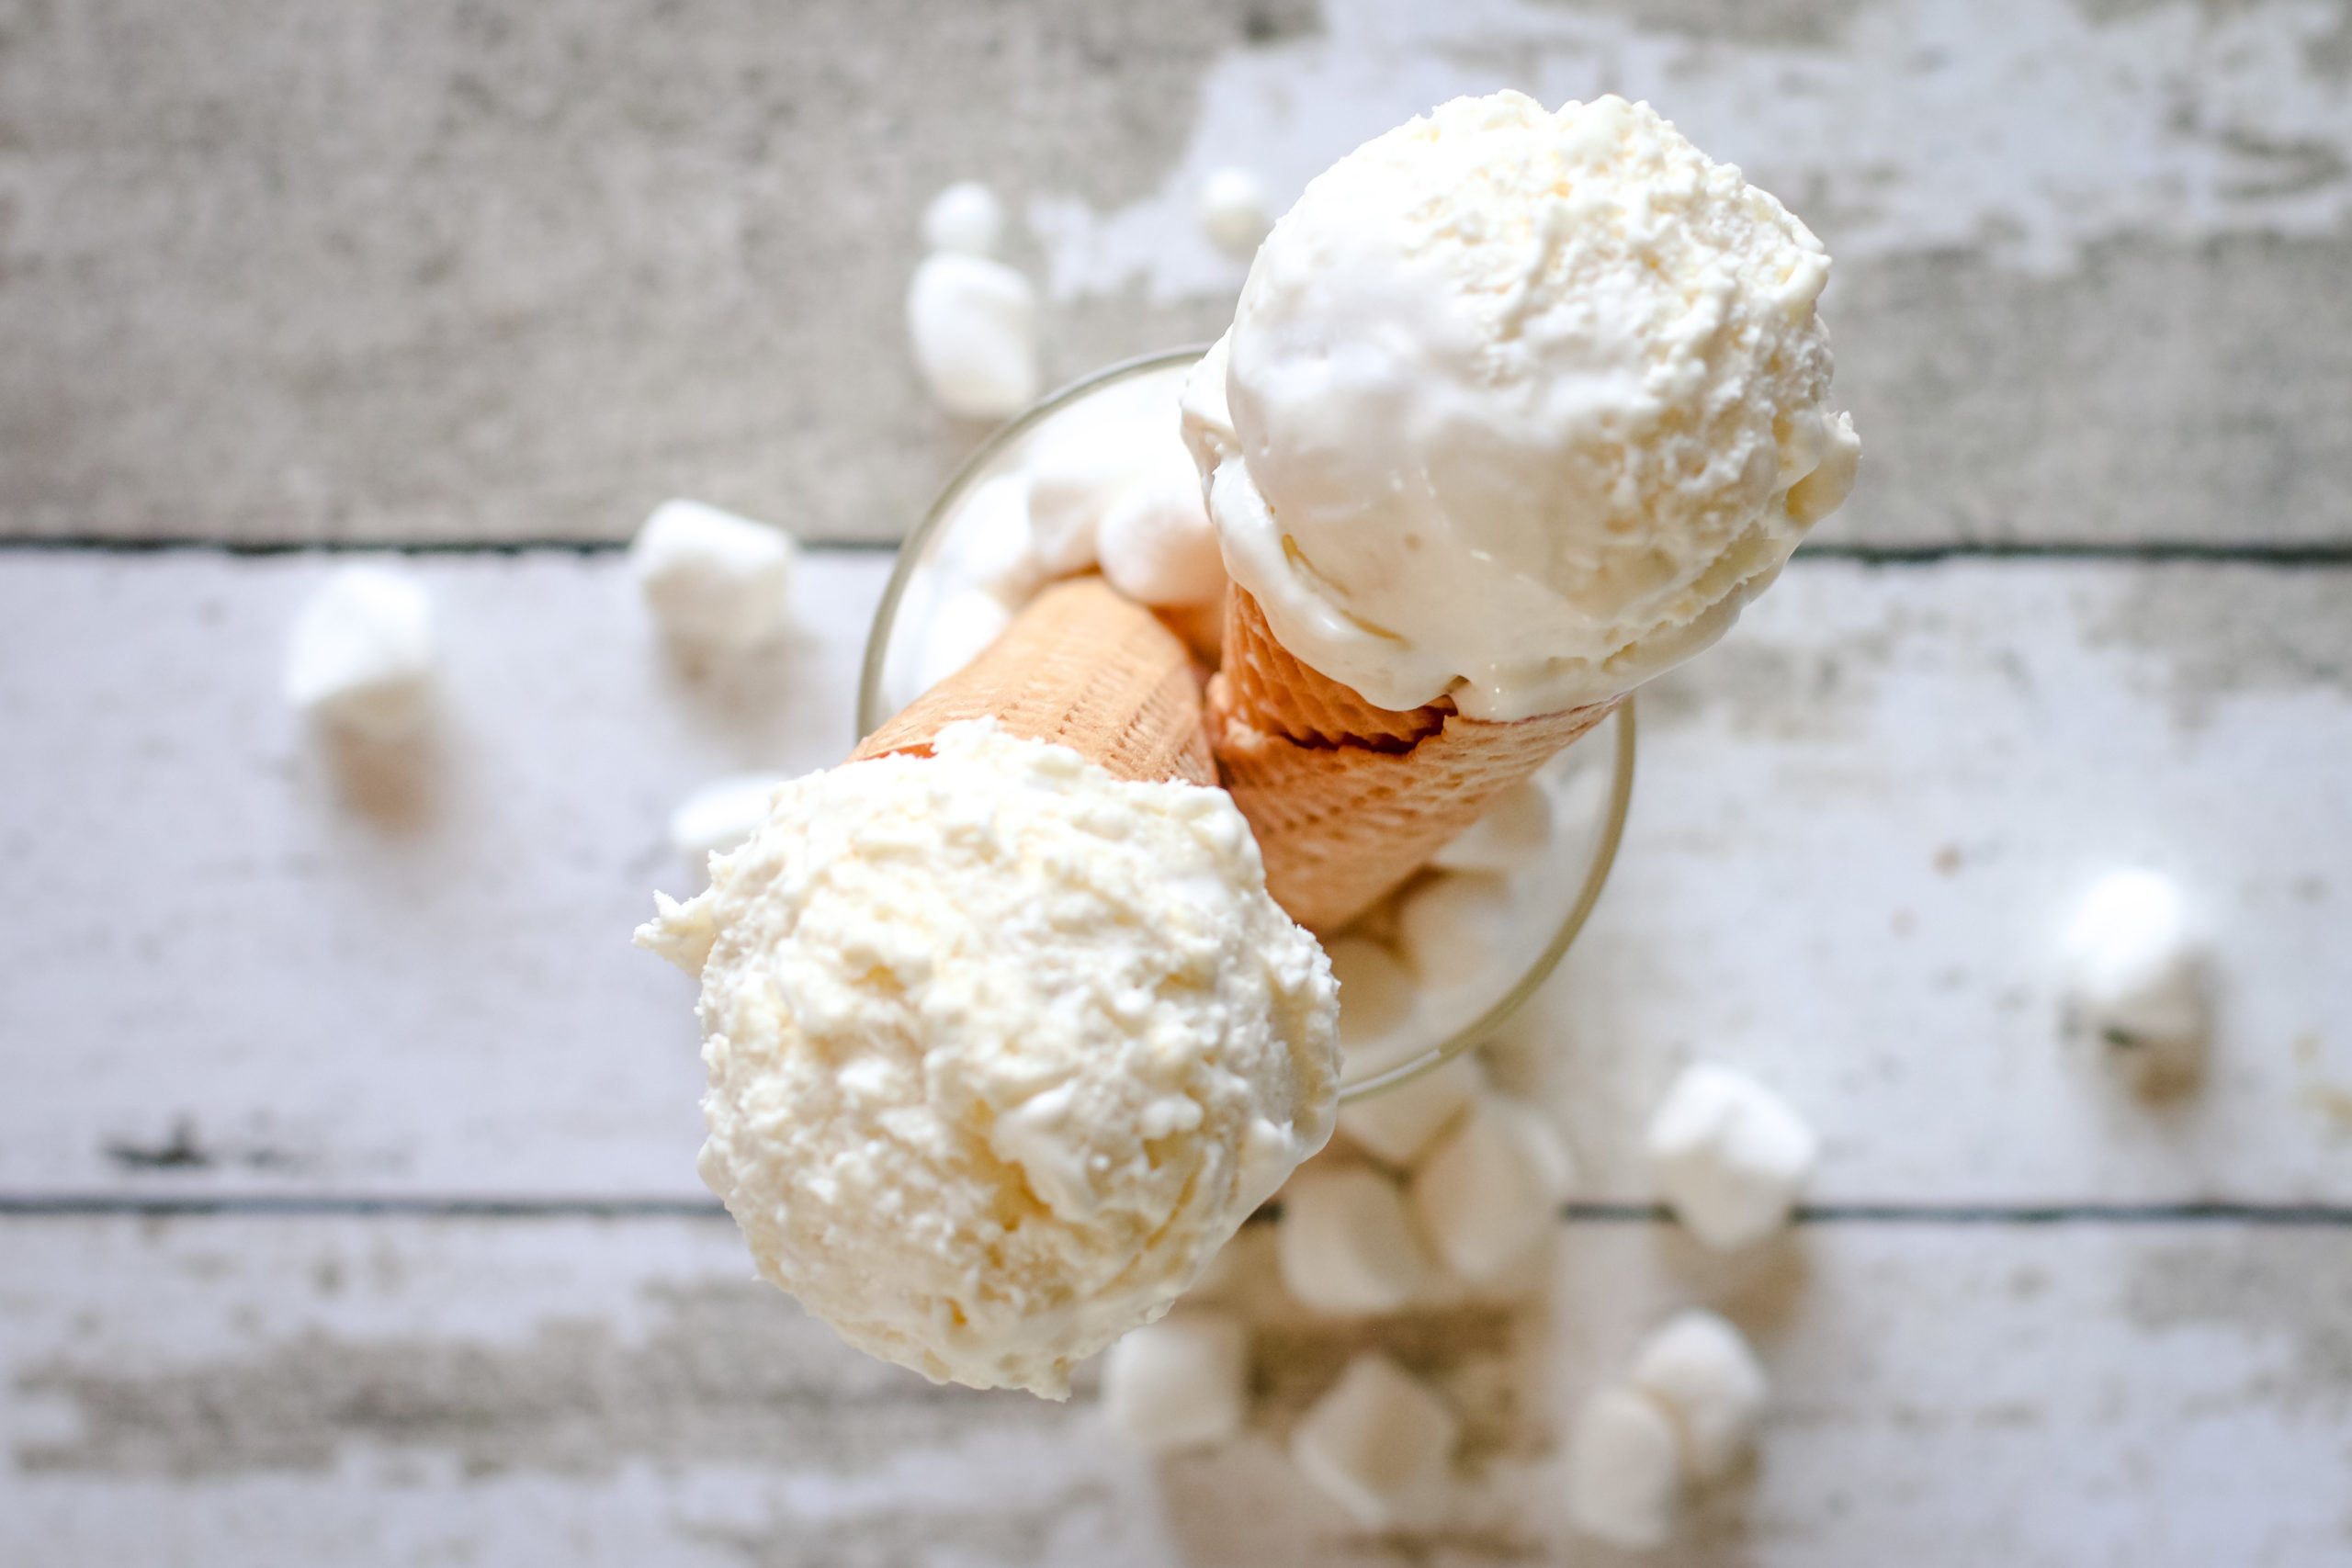
A light, creamy, fluffy, and sweet Marshmallow Ice Cream with no ice cream maker needed. Simple ingredients, easy to make. This one is a crowd favorite!

overhead view of a container of marshmallow ice cream

Prep time: 10 min + freeze time  |  Cook time:   |  Total: 10 min + freeze time

PRINT          RATE

Ingredients

2 cups heavy cream

1 can (14 oz) sweetened condensed milk

1 jar (7 oz) marshmallow fluff

Instructions

1. In a large bowl, add the heavy cream. Using a handheld mixer, beat the heavy cream for a few minutes until stiff peaks form.

2. Add the can of condensed milk and fold into the heavy cream mixture. Once combined, add the marshmallow fluff.

3. I like to start with a spoon or spatula to start mixing and then move to a whisk to get the mixture a little smoother. It’s also really tasty to leave some bigger pieces of the marshmallow fluff in there too. Totally up to you.

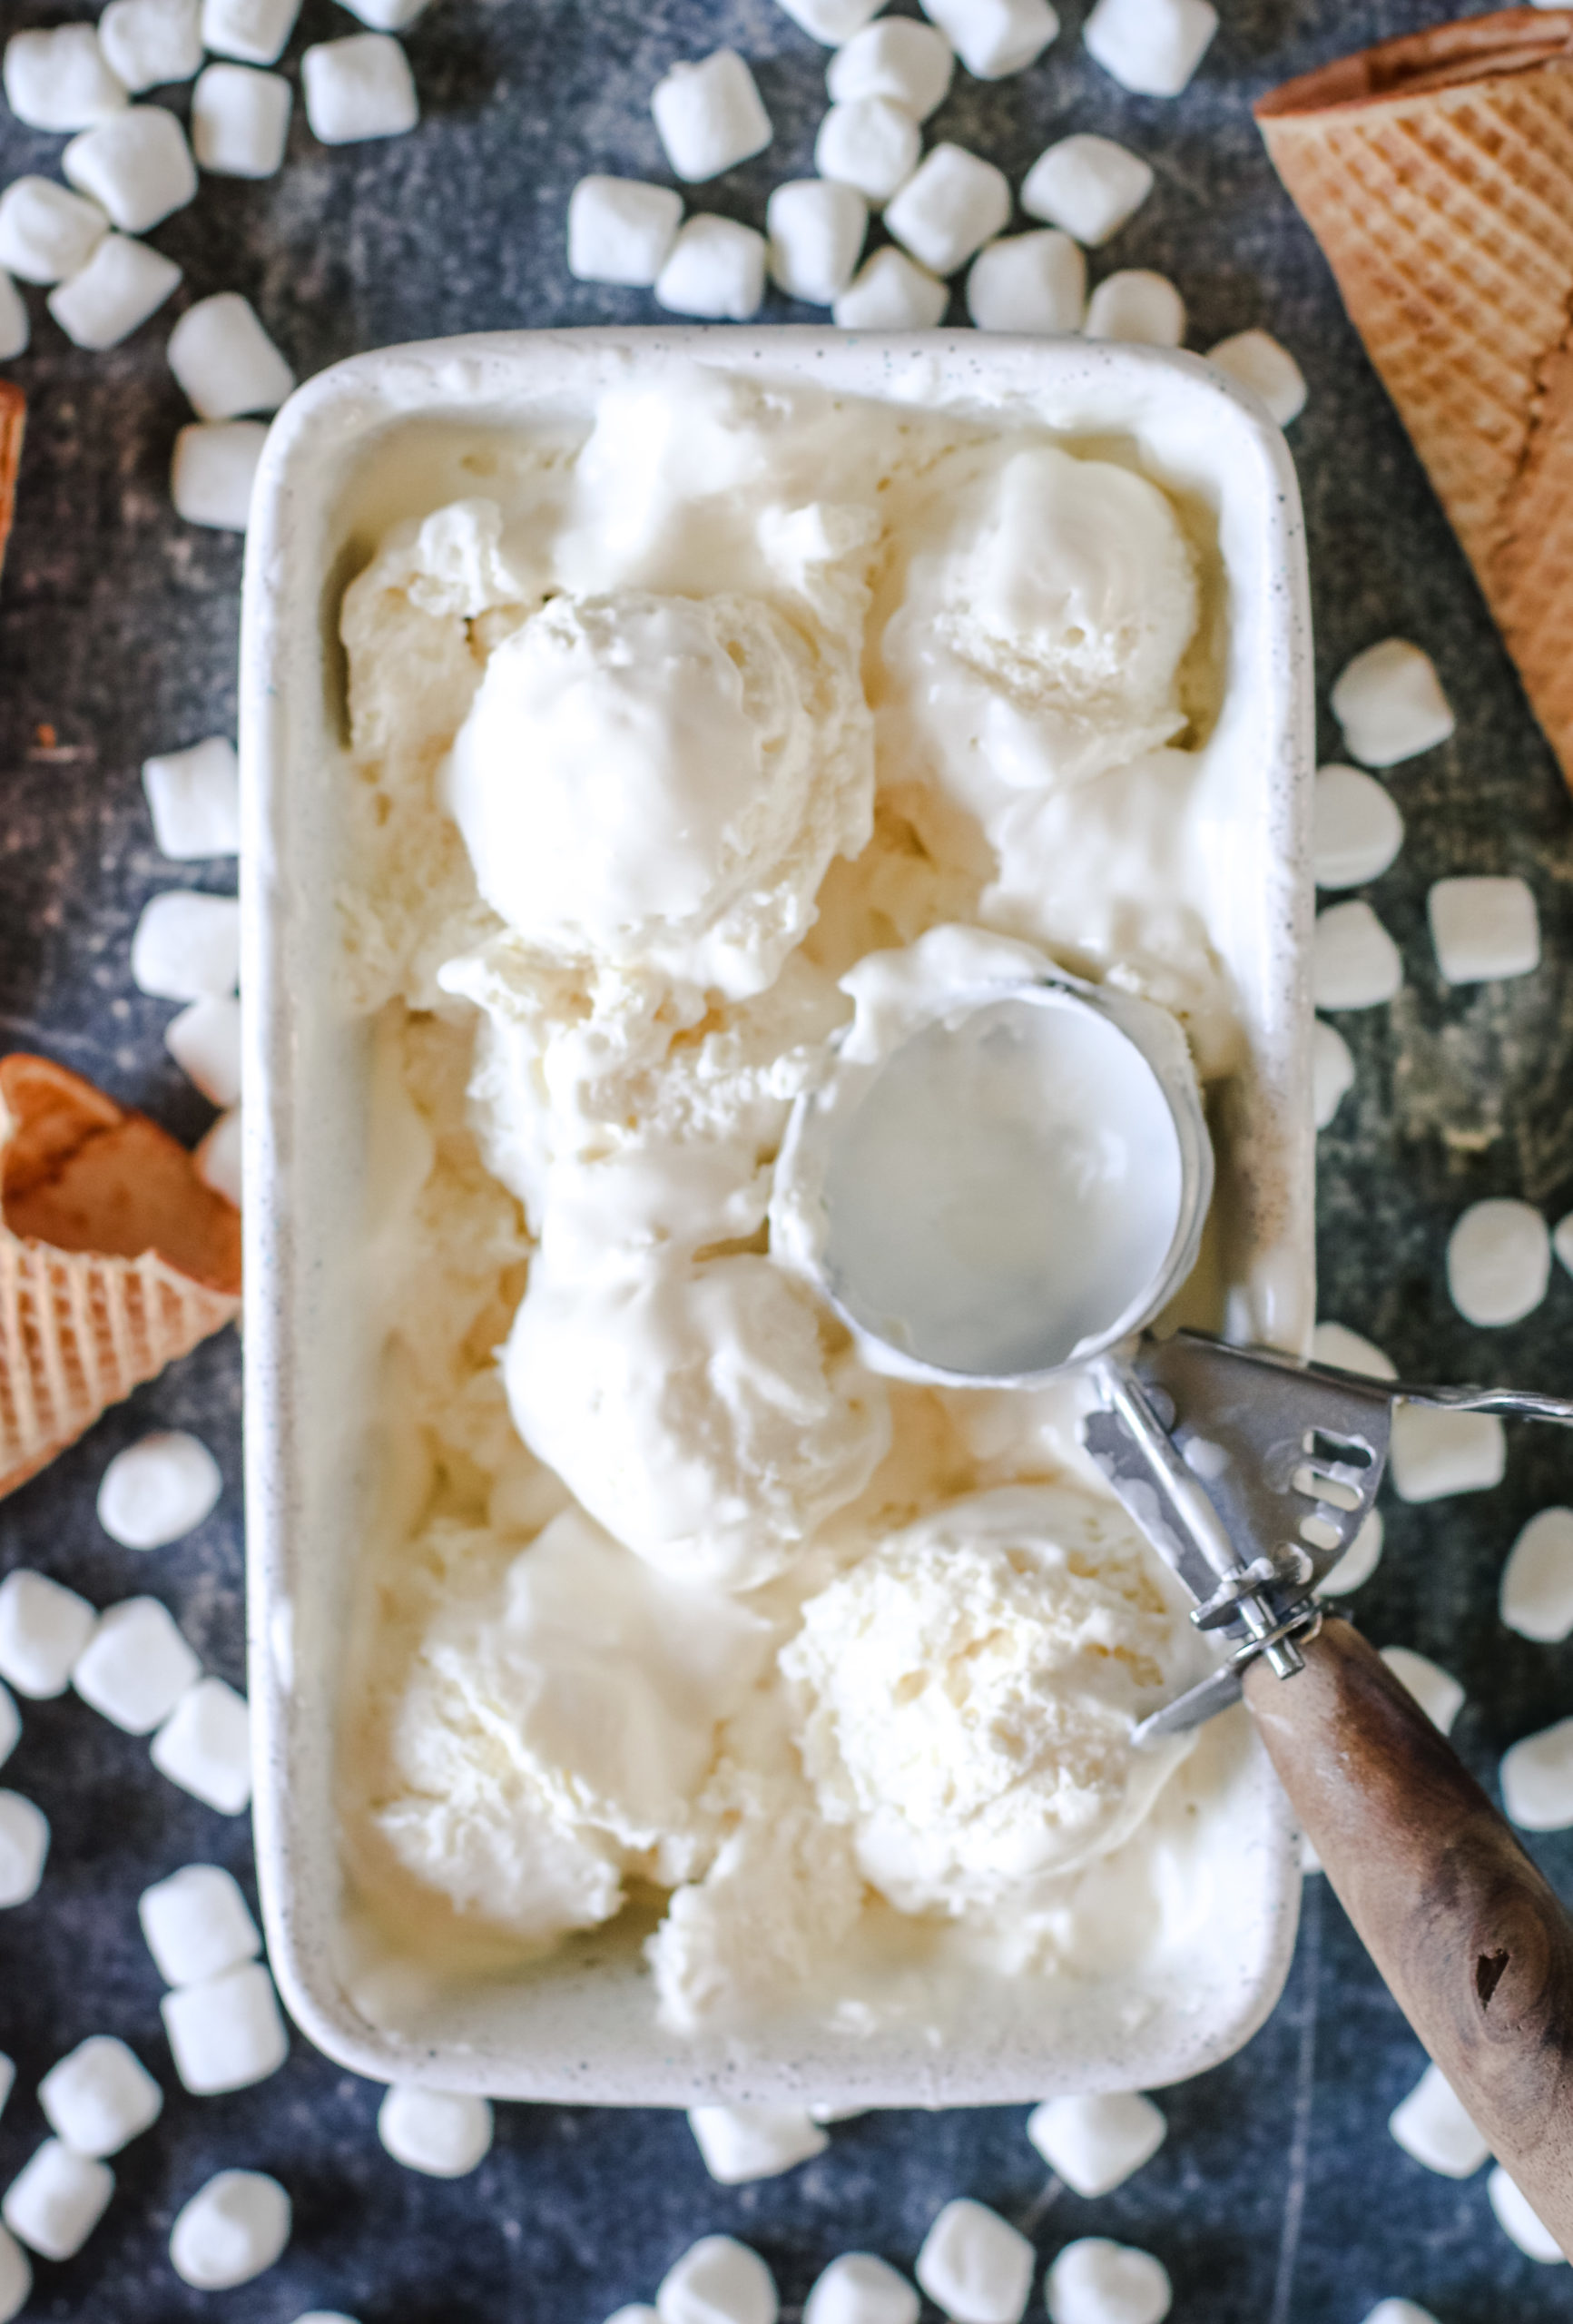
4. Once combined and mixed together, transfer mixture to a container, pan or ice cream container and cover with plastic wrap. Place in the freezer and freeze for several hours and ideally overnight.

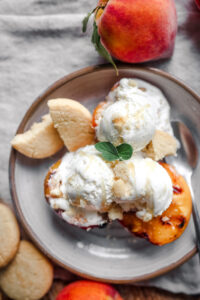
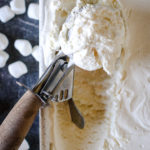
5. Remove from the freezer and scoop, serve and enjoy! Add on top of a warm brownie, so good!

Notes

DID YOU MAKE THIS RECIPE?

Tag @LOLOHomeKitchen on Instagram and hashtag it #lolohk

CHECK IT OUT

Leave A Comment

Recipe rating 5 Stars 4 Stars 3 Stars 2 Stars 1 Star

    • Sign me up. Sign me up. Sign me up. Sign me up. Sign me up. Sign me up.
    • Sign me up. Sign me up. Sign me up. Sign me up. Sign me up. Sign me up.
    • Sign me up. Sign me up. Sign me up. Sign me up. Sign me up. Sign me up.

    Share this: